Hardware Installations and Upgrades
16 Intel® Entry Server Chassis SC5299-E DP/WS/BRP User Guide
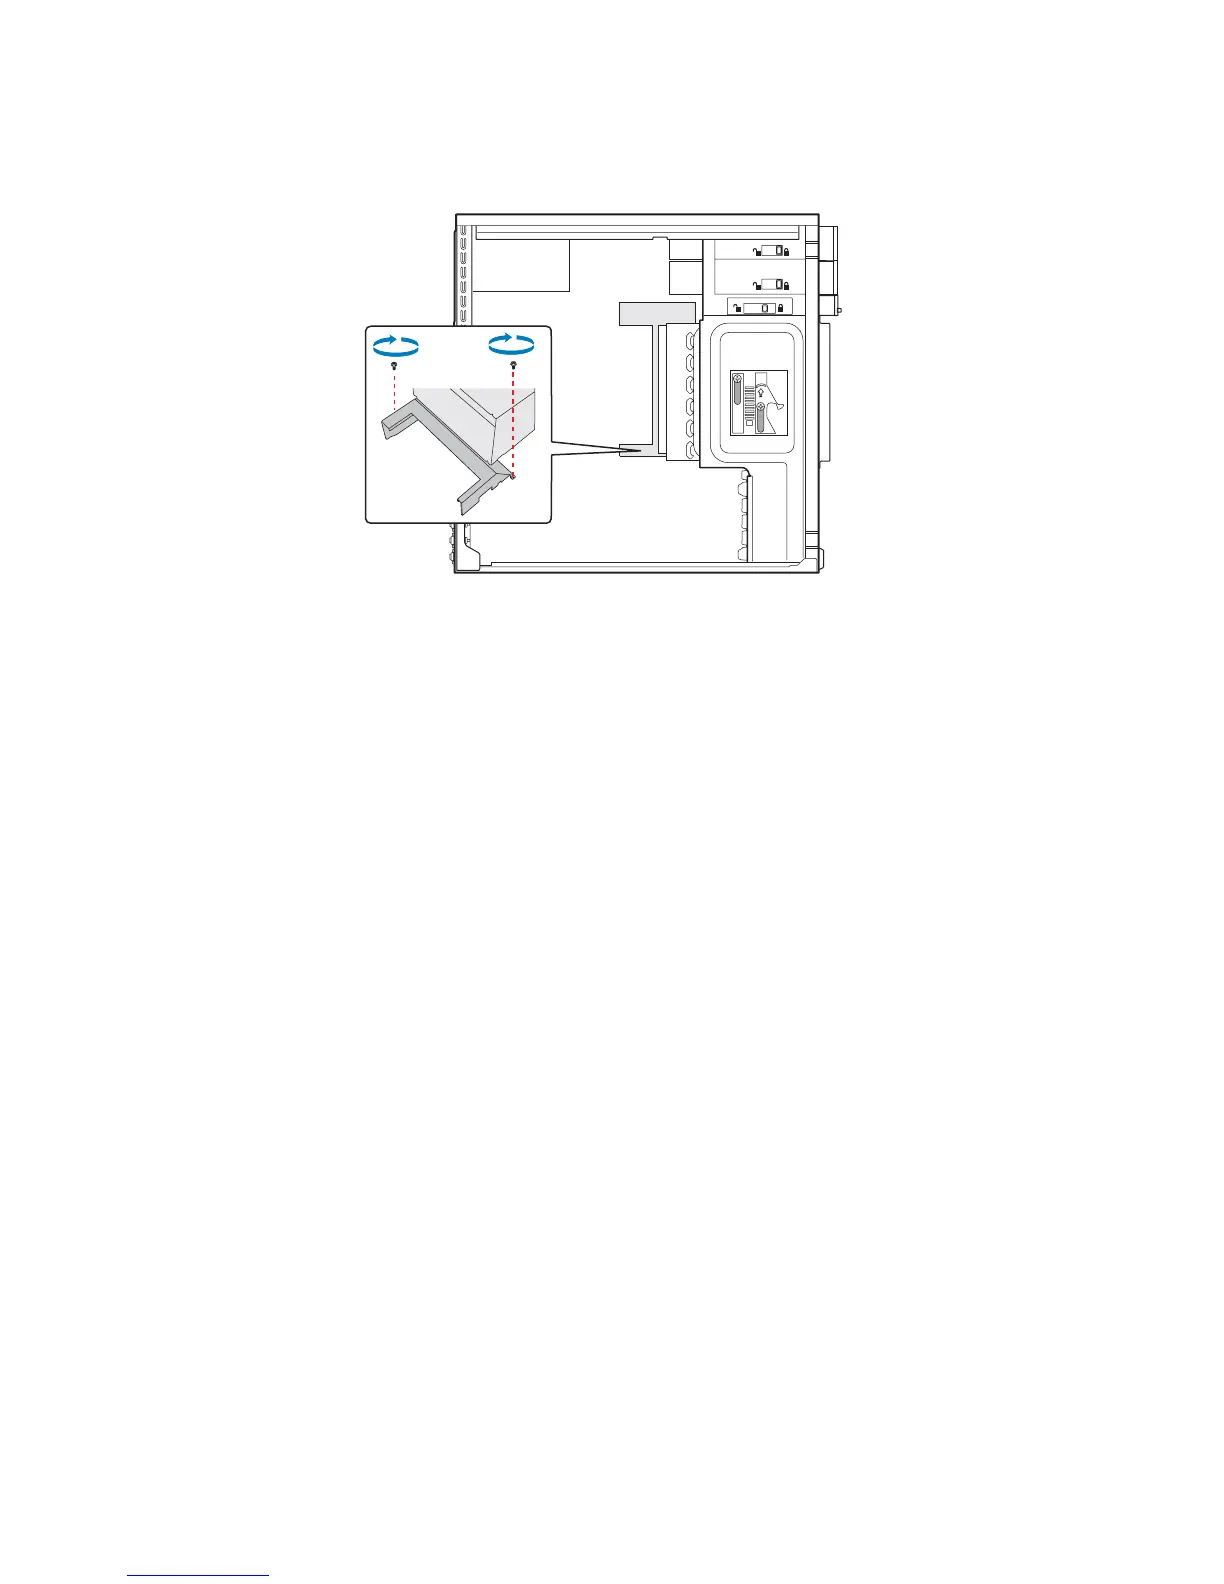
Figure 14. Installing Processor Air Duct
2. Install the left side cover. For instructions, see “Installing the Left Side Cover”.
3. Plug all peripheral devices and the AC power cable into the server. Power up the
server.
Installing or Removing a Server Board
Note: The type of Intel
®
Server Board you can install in your chassis will depend upon the
model of chassis you purchased. For a breakout of server board/chassis model
compatibility, see Table 1, “Breakdown of Intel® Entry Server Chassis SC5299-E
Configurations”.
To install or remove a server board, do the following:
1. Observe the safety and ESD precautions listed in Appendix A, “Safety Information”.
2. Power down the server and unplug all peripheral devices and the AC power cable.
3. Remove the left side cover. For instructions, see “Removing the Left Side Cover”.
4. Remove the front bezel assembly. For instructions, see “Removing the Front Bezel
Assembly”.
TP01137