Hardware Installations and Upgrades
42 Intel® Entry Server Chassis SC5299-E DP/WS/BRP User Guide
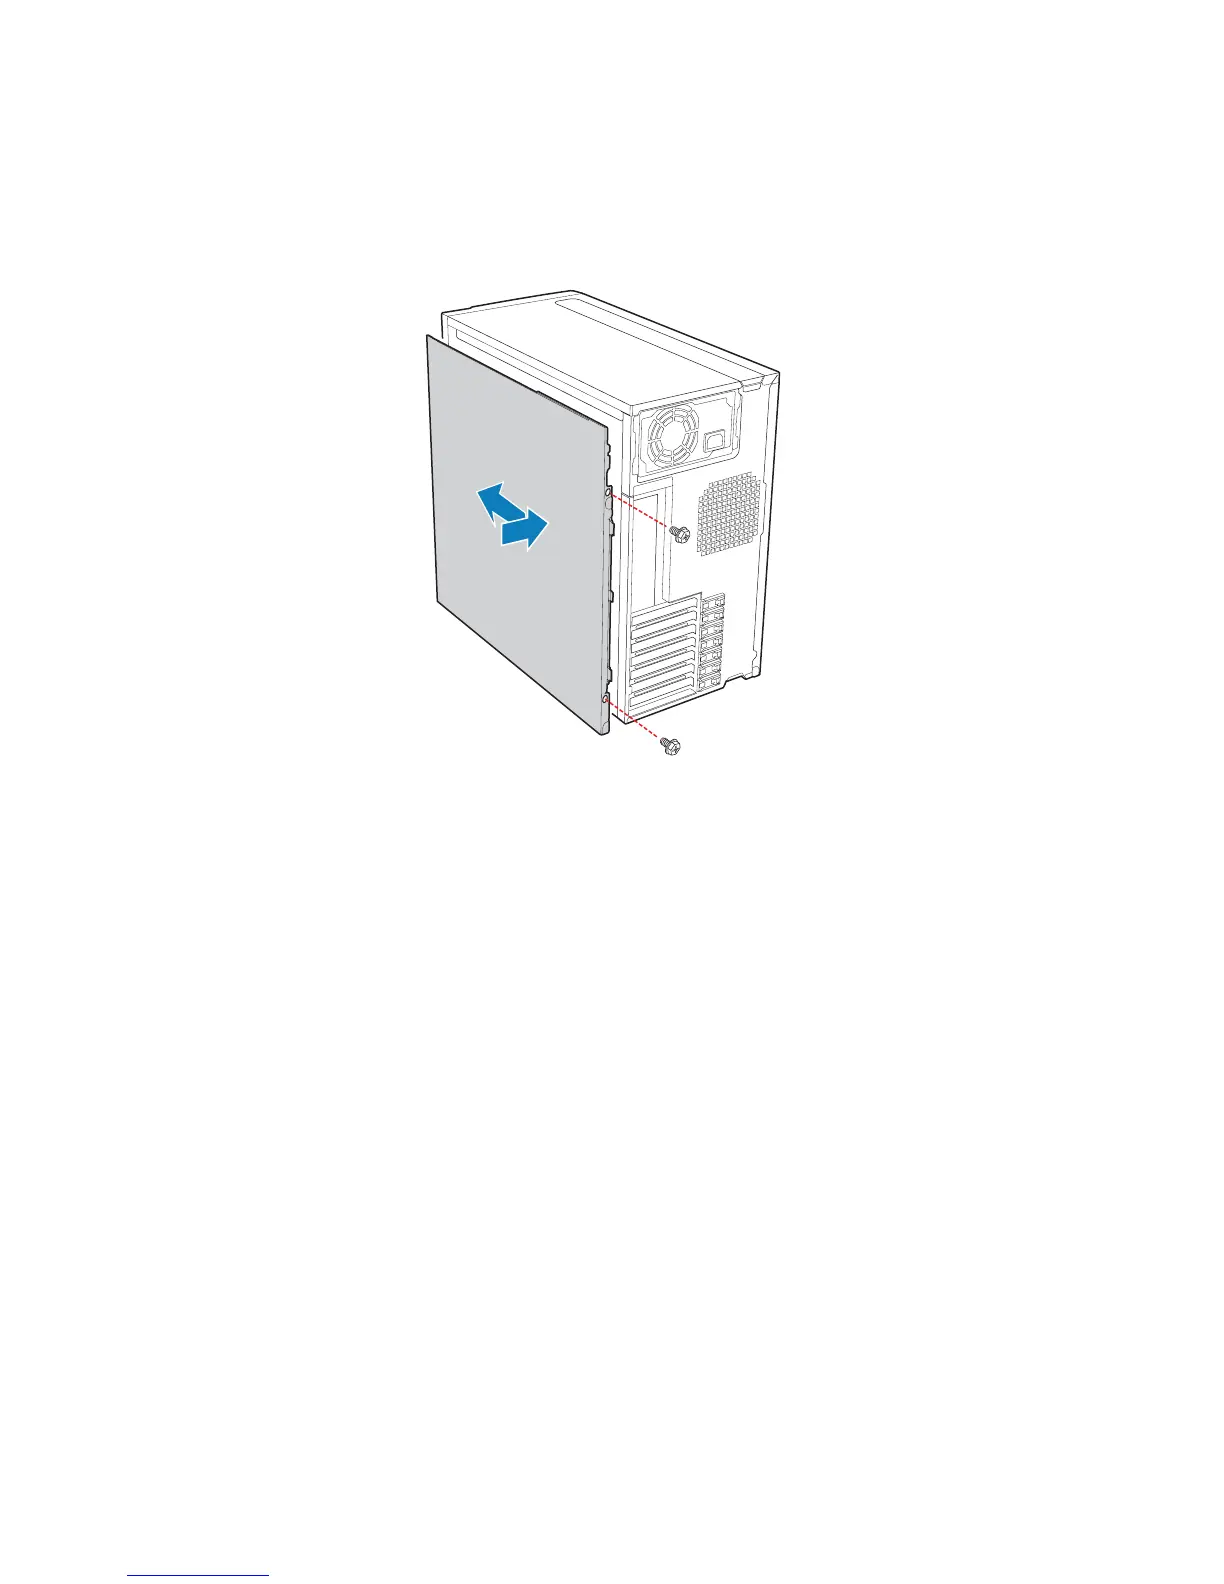
11. Reinstall the right side cover. Reinstall the two screws.
Warning: This chassis must be operated with the right side cover installed to ensure proper cooling.
Figure 51. Re-installing Right Side Cover on Chassis
12. Reinstall the front bezel assembly. For instructions, see “Installing the Front Bezel
Assembly”.
13. Reinstall the left side cover. For instructions, see “Installing the Left Side Cover”
14. Reconnect all peripheral devices and the AC power cable. Power up the server.
Replacing a System Fan
Caution: The system fan for the Intel
®
Entry Server Chassis SC5299-E is NOT hot swappable.
Before removing or replacing a fan, you must first take the server out of service, turn off
all peripheral devices connected to the system, turn off the system by pressing the power
button, and unplug the AC power cord from the system or wall outlet.
1. Observe the safety and ESD precautions listed in Appendix A, “Safety Information”.
2. Power down the server and unplug all peripheral devices and the AC power cable.
3. Remove the left side cover. For instructions, see “Removing the Left Side Cover”.
TP01741