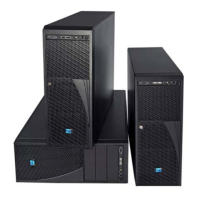
Hot Swap Drive Cage Upgrade Install Instructions (optional)
68 Intel® Entry Server Chassis SC5299-E DP/WS/BRP User Guide
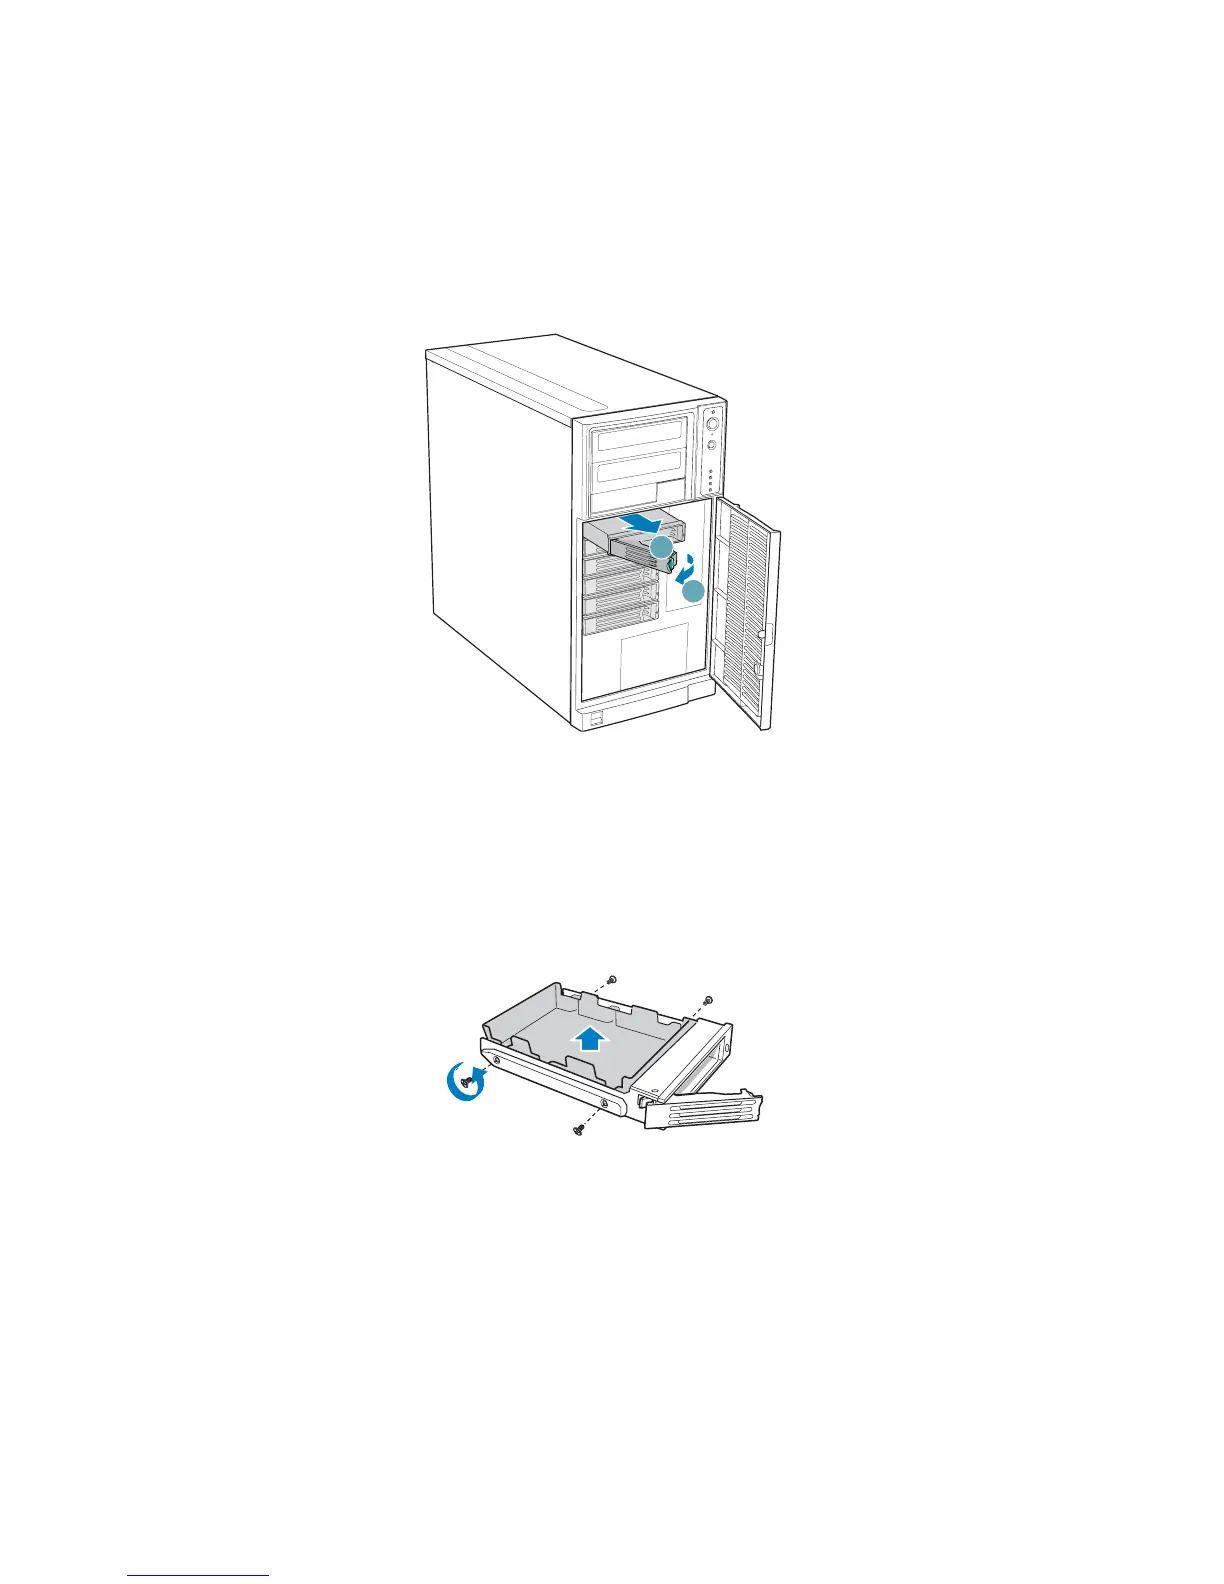
2. Remove a drive carrier from the hot swap drive cage. Press in on the green latch (see
letter “A” in the following figure) at the end of the drive carrier to disengage the drive
carrier from the drive cage. Pull out on the black lever (see letter “B”) to push the
drive carrier partially out of the drive cage. Slide the drive carrier all the way out of
the drive cage.
Figure 85. Releasing Drive Carrier from Hot Swap Drive Cage
3. Remove the four screws that attach the plastic retention device to the drive carrier.
Two screws are located on each side of the retention device.
Note: Store the plastic retention device for future use.
Figure 86. Removing Retention Device from Drive Carrier
4. Remove the hard drive from its wrapper and place it on an anti-static surface.
5. Set any jumpers and/or switches on the drive according to the drive manufacturer's
instructions.
6. With the drive circuit-side down, position the connector end of the drive so that it is
facing the rear of the drive carrier.
AF000312
A
B
TP00928