Event V3 Manual 13
© Jands Electronics July 1995
Diagram 3A, 3B
3.00 The Event Menu System
All recording, editing, setup and other console functions are controlled via a series
of menus. The function keypad along with cursor and value buttons provide the
means of opening the menus and entering information.
Since the Event menus are used in many operations it's worth taking some time to
familiarise yourself with what the various buttons do and some of the shortcuts that
are available.
Whenever one of the ten function buttons : Setup, Build, Clear, Stack, Page, Assign,
File, Memory, Edit or Chase is pressed, a menu opens up in the LCD nearest to the
function buttons and a help message is displayed in the adjacent LCD .
Some functions like Edit and Assign which are used in conjunction with others use
a second button press to select the appropriate menu (i.e. Edit Memory or Edit
Chase). Others such as Setup and Clear provide a number of sub-menus to choose
from.
3.10 Menu Fields
Each menu consists of a number of fields. The name of the field appears on the top
line of the display and the setting or value for that field appears underneath it.
Sometimes a field is used to lead to another menu; in this case, the bottom line shows
[ ] which means “Press the 1 (On) button to open another menu”.
Diagram 3C
T
P
D
+
S
U
P
+
E
t
t
t
hC
+
r
o
t
t
lfM
+
r
o
c
t
dS
o
Kc
o
U
+
t
t
i
o
lP
+
r
t
e
o
E
d
s
o
u
i
t
M
c
t
e
f
o
aa
n
d
o
r
t
o
d
r
c
l
t
s
t
t
i
.
gn
s
y
mi
s
s
n
c
o
s
ns
&
ol
o
e
ut
s
p
e
u
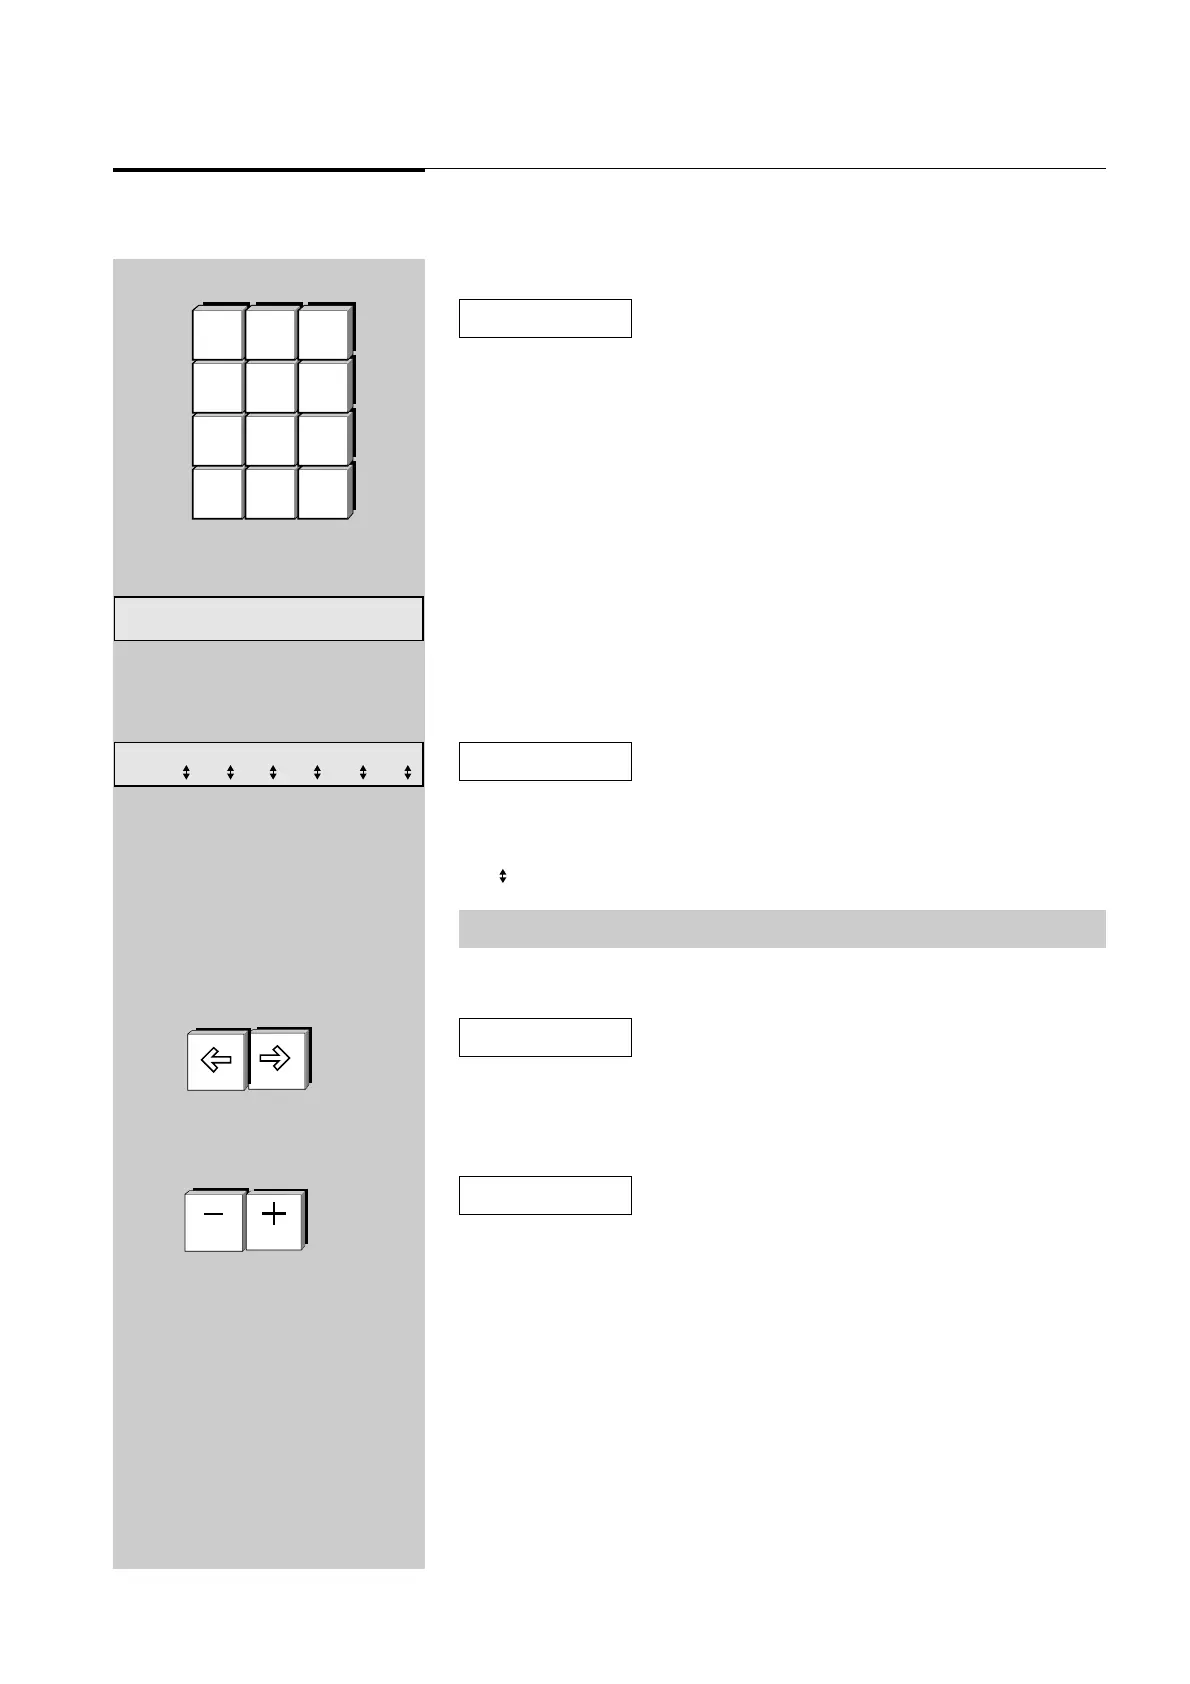
▲ 3E
1
(On) and
2
(Off) Buttons
▲ 3D
Cursor buttons
▲ 3B
Typical help message
▲ 3C
Typical menu field
789
456
123
0
MEMORY EDIT CHASE
PAGE ASSIGN FILE
BUILD CLEAR STACK
EXIT SETUP RECORD
▲ 3A
Function keypad
☞
☞
+
to
3.20 Cursor Buttons
The left arrow and right arrow buttons are used to move the cursor between the
various fields in each menu.
3.30 1 (On) and 2 (Off) Buttons
The 1 (On) and 2 (Off) Buttons are used to change values. The 1 (On) button will
either increase a value or change a setting from Off to On or change a letter/character
on a label. Likewise, the 2 (Off) button will decrease values or change a setting
from On to Off. These buttons are also used in a few menus to toggle between
several choices, e.g. Setting a Chase to forward or reverse.
The buttons operate in three ways:-
* Press: The value increases by 1 with the 1 (On) button or decreases by 1
with the 2 (Off) button.
* Press and Hold: The value scrolls up with the 1 (On) button, or down with
the 2 (Off) button.
* Double Press: The value snaps to maximum with the 1 (On) button or to
minimum with the 2 (Off) button. It may take a couple of attempts to double
press at a fast enough speed to see this work.
Diagram 3D
Diagram 3E
☞
☞
NOTE: As the cursor is moved, the field the cursor is in changes to UPPERCASE.
OFF
ON