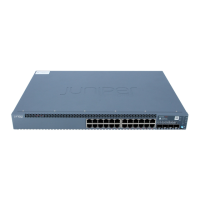
■ EX 4200 Switch—Front-Panel Description on page 11
■ Optical Interface Support—EX 3200 and EX 4200 Switches on page 21
Installing an Uplink Module in an EX-series Switch
EX-series switches have a field-replaceable unit (FRU) uplink module on the front
panel. The uplink module in an EX-series switch is not hot-removable and
hot-insertable.
NOTE: If you insert a transceiver in an SFP uplink module installed in an EX 3200
switch, a corresponding network port from the last four ports is disabled. For example,
if you insert an SFP transceiver in ge-0/1/3, ge-0/0/23 is disabled. The disabled port
is not listed in the output of show interface commands.
Ensure you have the following tools and parts available to install an uplink module
in an EX-series switch chassis:
■ Electrostatic discharge (ESD) grounding strap
■ Cross-head screwdriver (provided in the uplink module kit)
Ensure you understand how to prevent ESD damage (see “Preventing Electrostatic
Discharge Damage” on page 138).
To install an uplink module in an EX-series switch (see Figure 56 on page 102):
1. Attach an electrostatic discharge (ESD) grounding strap to your bare wrist, and
connect the strap to the ESD point on the chassis.
2.
If the switch is on, power it off. Ensure that the AC OK LED on the power supply
is unlit.
3. Loosen the screws that secure the flip-up door covering the empty uplink module
slot on the front panel of the chassis by using the cross-head screwdriver, flip
the door upward, and remove the blanking panel covering the empty uplink
module slot.
4. Remove the uplink module from its bag. Take care not to touch module
components, pins, leads, or solder connections.
CAUTION: Ensure the uplink module is aligned correctly when you slide it into the
slot; misalignment might bend the pins and make the uplink module unusable.
5. Using both hands, place the module in the empty slot and slide it in gently until
it is fully seated.
6. Flip the door down and tighten the screws by using the cross-head screwdriver.
7.
Power on the switch. Ensure that the AC OK LED on the power supply is lit and
is on steadily.
Installing an Uplink Module in an EX-series Switch ■ 101
Chapter 5: Replacing Hardware Components

 Loading...


