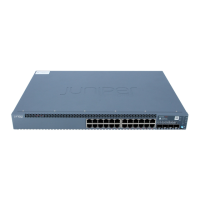
Ensure you have the following tools and parts available to remove a power supply
from an EX-series switch chassis:
■ Electrostatic discharge (ESD) grounding strap
■ Phillips (+) screwdriver, number 2
■ An electrostatic bag or antistatic mat
Ensure you understand how to prevent ESD damage (see “Preventing Electrostatic
Discharge Damage” on page 138).
CAUTION: Do not leave the power supply slot empty for a long time while the switch
is on. The power supply must remain in the chassis for proper airflow.
To remove a power supply from an EX-series switch (see Figure 62 on page 110):
1. Place an electrostatic bag or antistatic mat on a flat, stable surface so you can
keep the power supply on it.
2. Attach an electrostatic discharge (ESD) grounding strap to your bare wrist, and
connect the strap to the ESD point on the chassis.
3. Disconnect power from the switch by performing one of the following:
■ If the power source outlet has a power switch, set it to the OFF (0) position.
■ If the power source outlet does not have a power switch, gently pull out the
male end of the power cord connected the power source outlet.
4. Remove the power cord from the appliance inlet on the power supply faceplate.
For instructions on removing the power cord from the appliance inlet, see
“Connecting AC Power to an EX 3200 or EX 4200 Switch” on page 79.
5. Loosen the locking lever screw on the left front of the power supply by using a
Phillips (+) screwdriver, number 2.
6. Push down on the locking lever until it is in its lowest position.
7. Grasp the power supply handle and pull firmly to slide it halfway out of the
chassis.
8. Place one hand under the power supply to support it and slide it completely out
of the chassis. Take care not to touch power supply components, pins, leads, or
solder connections.
9. Place the power supply in the electrostatic bag or on the antistatic mat.
Removing a Power Supply from an EX-series Switch ■ 109
Chapter 5: Replacing Hardware Components

 Loading...


