CAUTION: CAUTION: Ensure that each power cable lug seats flush against the
surface of the terminal block as you are tightening the socket nuts. Ensure that
each socket nut is properly threaded into the terminal. Applying installation
torque to the socket nut when improperly threaded might result in damage to
the terminal.
CAUTION: You must ensure that power connections maintain proper polarity.
The power source cables might be labeled (+) and (–) to indicate their polarity.
There is no standard color coding for DC power cables. The color coding used
by the external DC power source at your site determines the color coding for
the leads on the power cables that attach to the terminal studs on each power
supply.
10. Verify that the power cabling is correct, that the cables do not touch or block access to services gateway
components, and that they do not drape where people could trip on them.
11. Replace the protective cover onto the input terminals.
12. Attach the power cable to the DC power source, and switch on the dedicated customer-site circuit
breaker. Follow the instructions for your site.
13. Observe the status LED on the power supply faceplate. If the power supply is correctly installed and
functioning normally, the status LED glows green steadily.
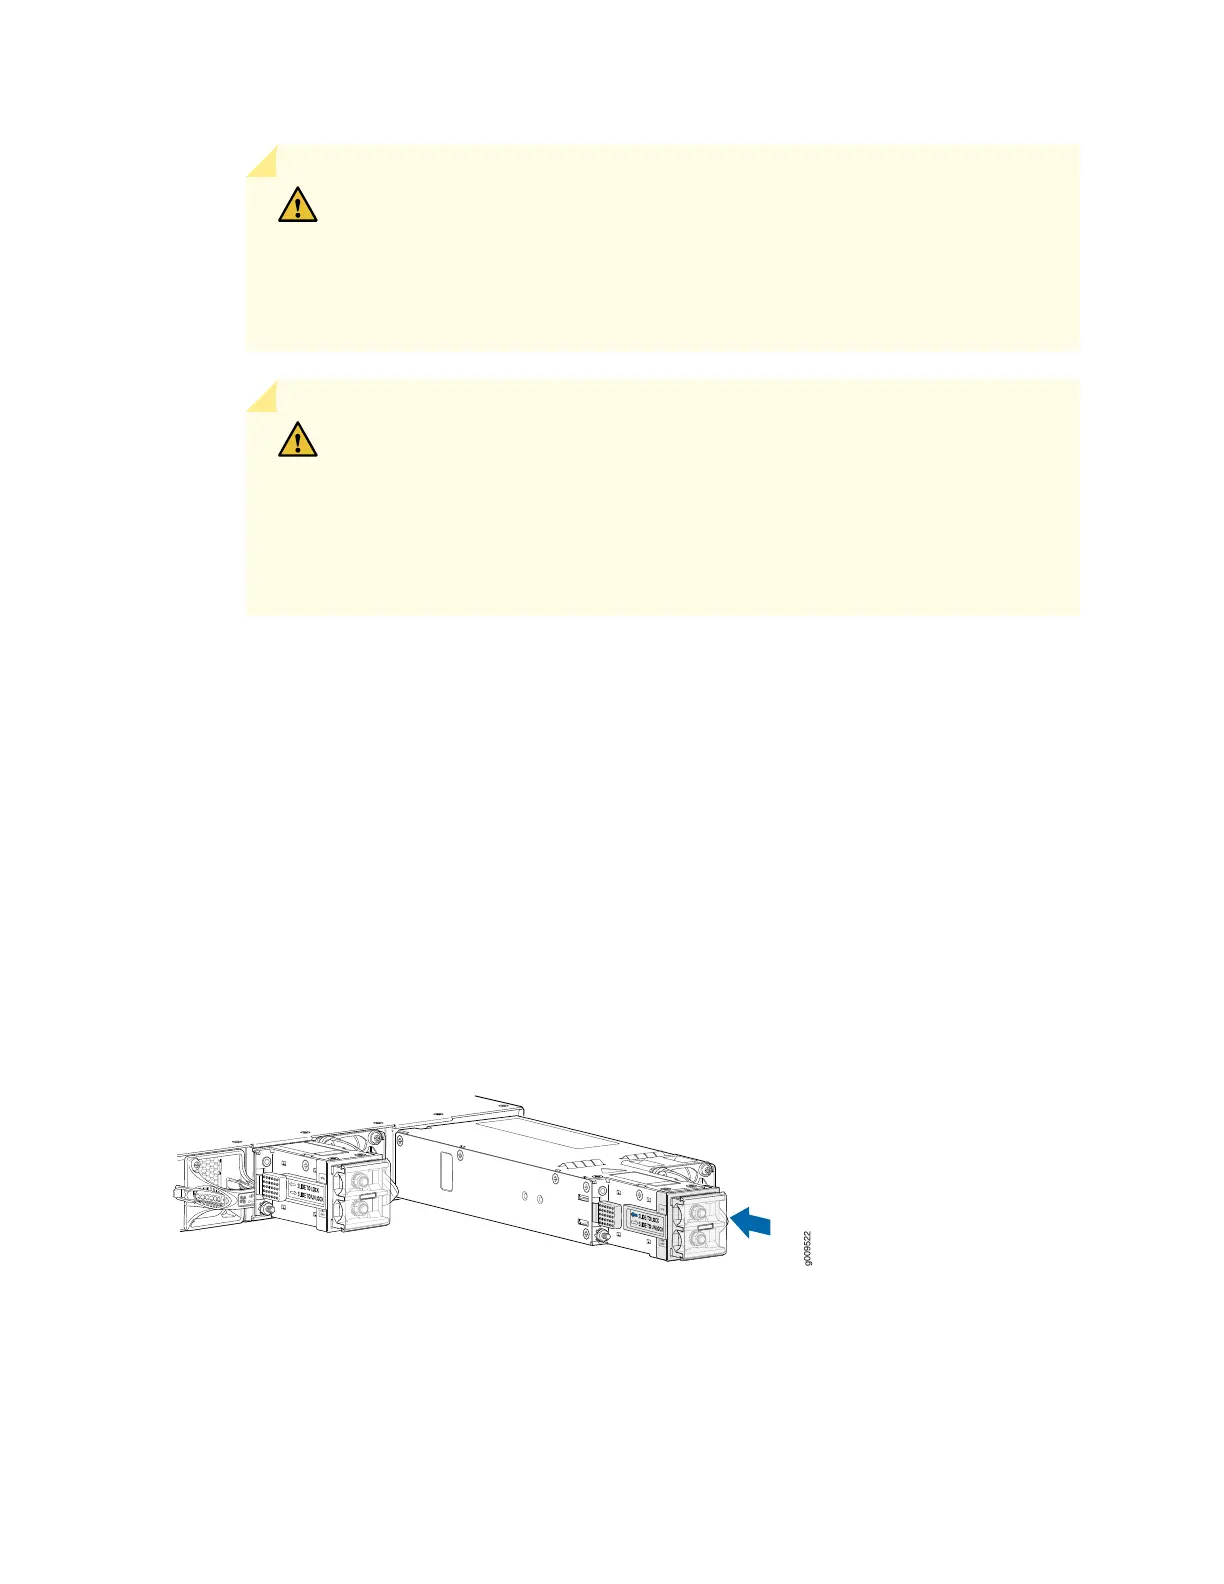
Figure 38: Installing a DC Power Supply
99
 Loading...


