- Digital Microscope VHX-5000 User’s Manual -
Recording/Saving Still Images
5-2
Recording (Saving) Images
Recording/Saving Still Images
This section explains how to capture images. Images can be captured and saved using the [Rec] button on the console, or
through the VHX MENU.
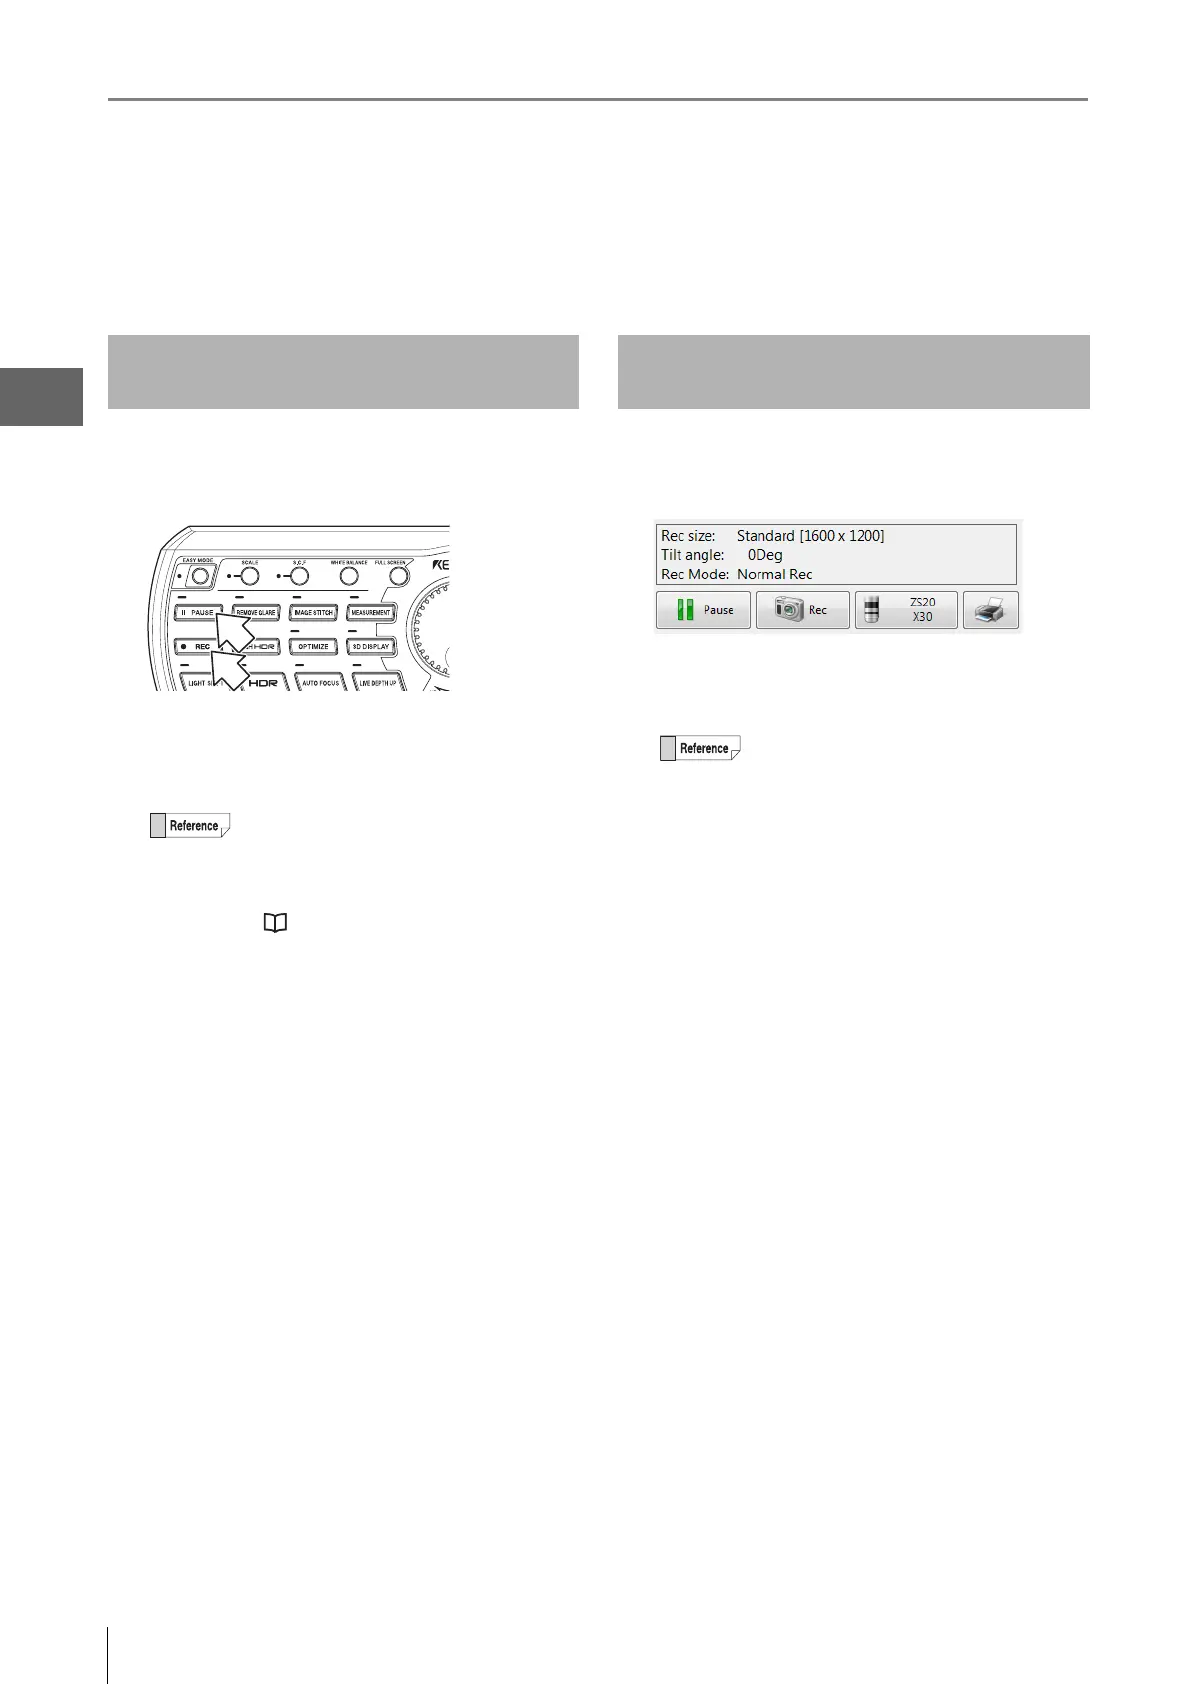
1 Press the [PAUSE] button on the console.
This pauses the image.
2 Press the [REC] button on the console.
This brings up the [Rec] dialog box (Page 5-3).
3 Select the folder to save the image in and enter a
file name in the [Filename] box.
4 Click [Save].
This saves the image data and closes the [Rec] dialog
box.
1 Click [Pause] from the direct buttons.
This pauses the image.
2 Click the Rec icon.
This brings up the [Rec] dialog box (Page 5-3).
3 Select the folder to save the image in and enter a
file name in the [Filename] box.
4 Click [Save].
This saves the image data and closes the [Rec] dialog
box.
To p l a y back the saved image, use the Album function (Page
6-2).
Recording (Saving) from the
Console
• The resolution of the image will be set to the
resolution set in "Rec Settings" (Page 5-5)
from the VHX MENU.
• It is possible to save images simply by
pressing the [REC] button.
"Setting Auto Rec" (Page 5-6)
• If the REC button is pressed without
pressing the [PAUSE] button, the
observation image is paused and the Rec
dialog box appears.
Recording (Saving) using the
Direct Buttons
If the Rec button is pressed without pressing
the [Pause] button, the live image is paused
and appears in the [Rec] dialog box.