Repair GL16
7-14
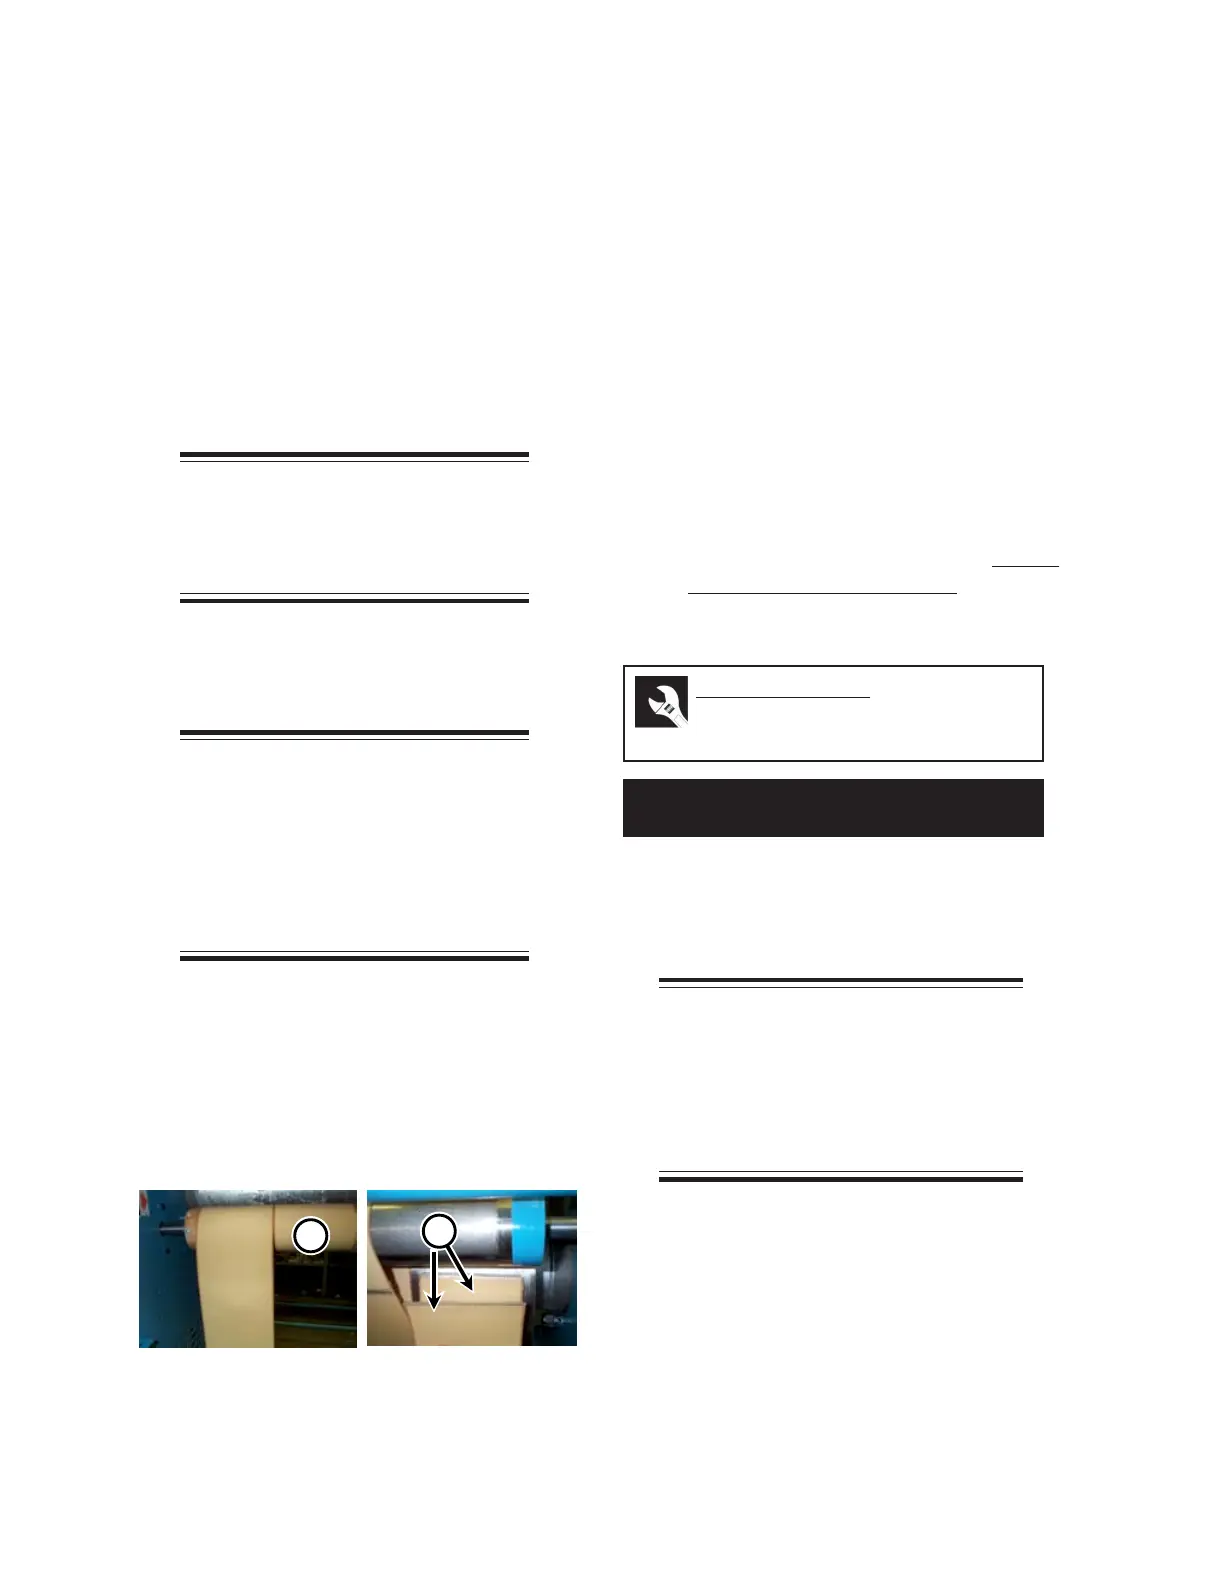
5. Move to the front of the unit at the posi-
tion where the ribbon is broken or miss-
ing. Hang the replacement ribbon in half
over the return ribbon drive roll (Figure
7-14), with the seams on the inside. Do
not crease the ribbon.
6. Grab both ends making sure one side of
the ribbon is over the return ribbon drive
roll and the other end of the ribbon is un-
der this roll.
NOTE: If using HI-LYFE™
extended wear ribbons, position
the darker side of the ribbon facing
the ironing cylinder.
7. Place both ends of the ribbon on the de-
livery ribbons under the ironing cylinder,
pushing them as far back as possible.
NOTE: If an entire set of return
ribbons is being replaced, work at
one end of the unit. Slide the ribbon
over to the other end of the unit.
Repeat this process, working each
ribbon to the last available spot until
all ribbons are in position.
8. Move to the back of the unit where both
ends of the ribbon are now exposed. Wrap
the top end of the ribbon around the cylin-
der and under the idler rolls at the top
(Figure 7-12, B). Pull this end over the
top of the idler rolls so that it is hanging
down the back of the unit.
9. Wrap the bottom end of the ribbon under
the return ribbon guide assembly. Bring it
up to meet the other end. Connect the ends
of the ribbon with a new pin.
10. Repeat Steps 5 to 9 to replace additional
ribbons. Stagger the positions of the lacing
clips to give the flatwork a smooth flow.
11. Remove the wooden wedges from the guide
assembly slots, or untie from above, to put
tension back on to the return ribbons. Rein-
stall the protective backplate at the rear of
the unit.
12. Adjust the ribbons. For more information
within this section, go back to the
Return
Ribbon Tension Adjustment procedure.
Replacing Old Return Ribbons
1. Verify the replacement return ribbons are
the correct size and there is sufficient quan-
tity to complete the procedure. See the
PARTS LIST.
NOTE: HI-LYFE extended wear
ribbons are available. These
ribbons provide superior quality
flatwork finish. Specify HI-LYFE™
extended wear ribbons when
reordering.
2. Turn the power OFF at the main discon-
nect switch. Remove the protective
backplate from the rear of the unit.
3. Release tension on the return ribbons by
securing the return ribbon guide assembly
in a high position either by blocking off with
wooden wedges, or tying off from above
with wire, string, or guide tape.
Perform only when the unit is OFF
(with power disconnected) and COOL.
Required Tools
wooden wedges/wire/string/guide
tape
Figure 7-14: Hang replacement ribbon in half (A)
over return ribbon drive roll, with the
seams on the inside (B). Do not crease.
B
 Loading...