Linksys Voice System Administration Guide 48
Configuring Line Interfaces on the SPA9000
Configuring Phone Lines and Calling Routing Behavior
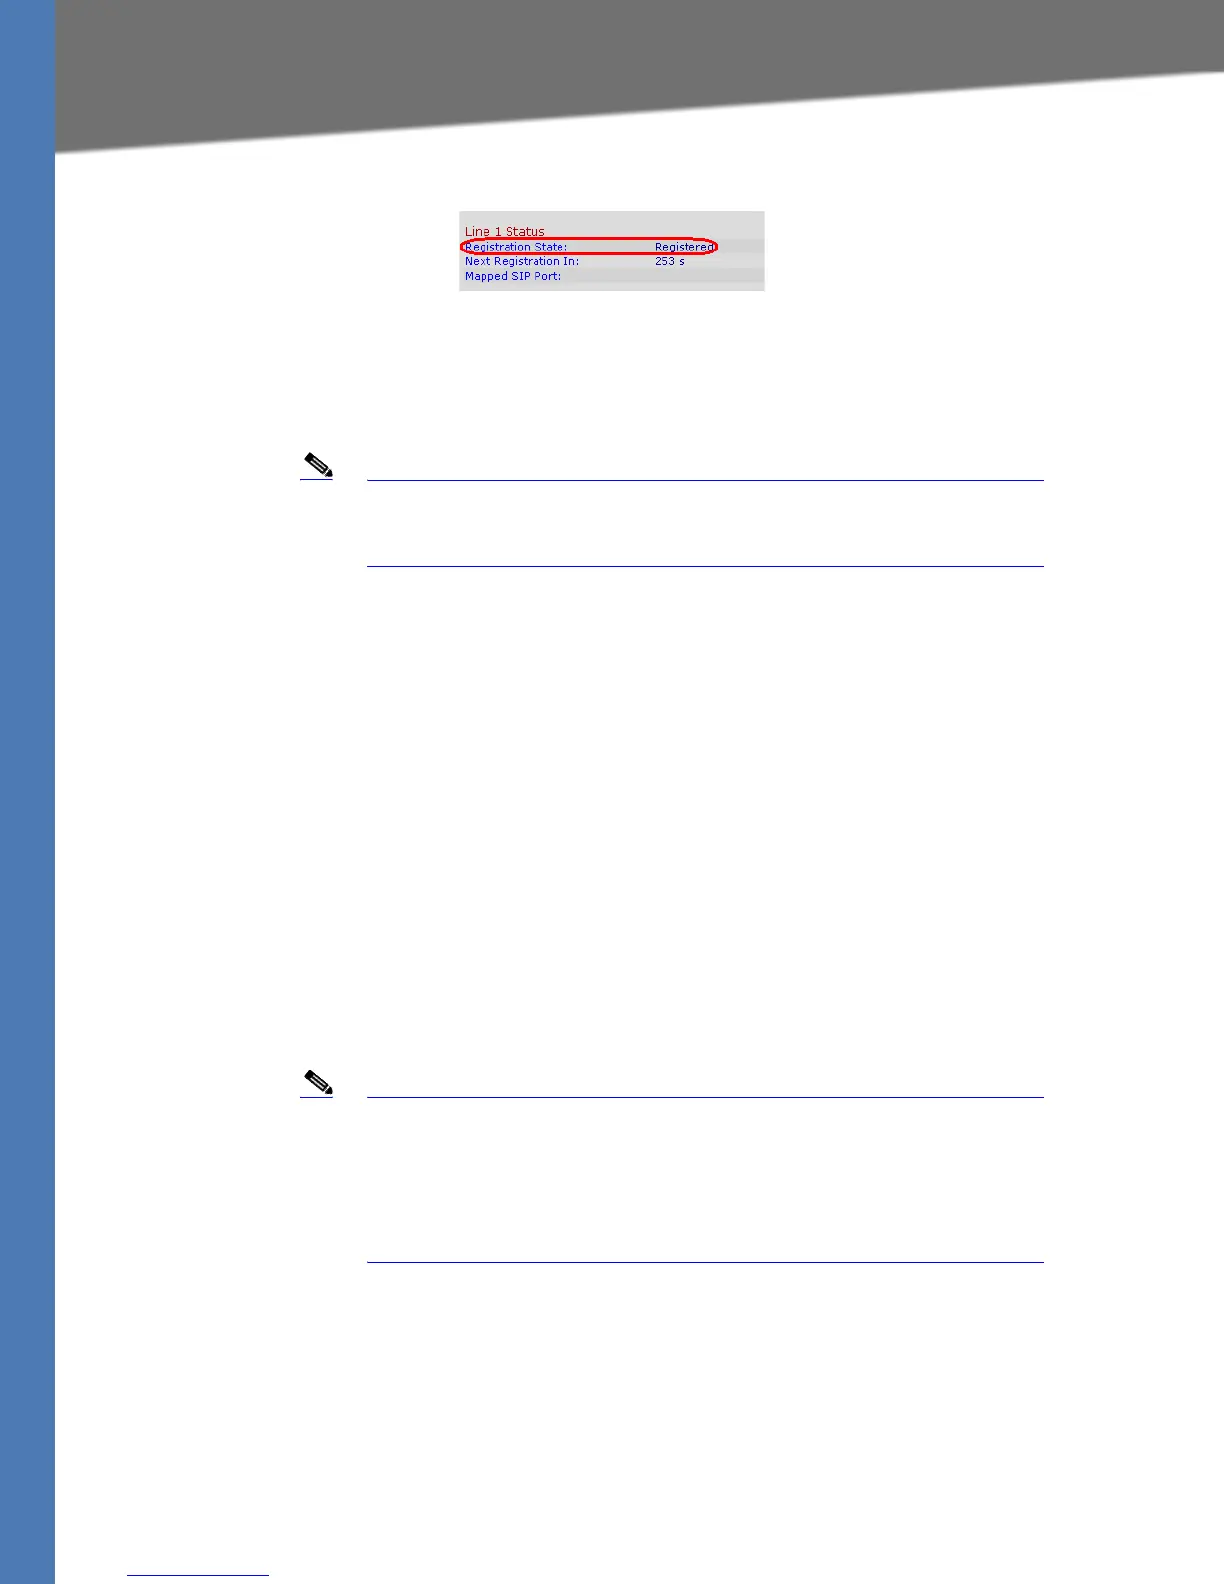
SPA9000 Voice > Info > Line Status
• Use an external phone to place an inbound call to the telephone number that was
assigned by your ITSP. Assuming that you have left the default settings in place, the
Auto Attendant answers the call. You can then dial an extension number to verify that
the call rings to the station.
Note The LVS can be configured to support multiple DIDs per Line Interface.
For more information, ”Supporting Direct Inward Dialing to Phone
Extensions,” on page 69.
Configuring a Line Interface for a SPA400 (PSTN or Voice Mail)
You can configure a line interface to register the SPA9000 to a SPA400 for PSTN access or voice
mail service. To enable the interoperation of the SPA9000 and the SPA400, you need to enter
corresponding information on the SPA9000 Voice > Line page and on the SPA400 Setup >
SPA9000 Interface page. For voice mail service, also configure the SPA400 Setup > Voicemail
Server page.
NOTE:
• The SPA9000 registers to the SPA400. Therefore, the SPA400 must be available when the
SPA9000 attempts to register to it.
• Before you begin this procedure, connect the SPA400 as described in either the SPA400
Quick Install Guide or the LVS Installation and Configuration Guide.
• Determine the DHCP-obtained IP address of the SPA400 by reviewing the DHCP client list
on the router.
Note Important: For optimum Voice Mail performance, a SPA400 should be
dedicated to the Voice Mail application when either of the following
conditions is met:
1) More than 2 FXO connections are required
—OR—
2) More than 2 users commonly access voice mail at the same time.
1. Connect to the SPA9000 administration web server, and choose Admin access with
Advanced settings. (See ”Connecting to the SPA9000 Administration Web Server,” on
page 24.)
2. Click Voice tab > Line N, where N represents the line interface number.
3. From the Line Enable drop-down list, choose yes.
4. Enter the following information:
 Loading...