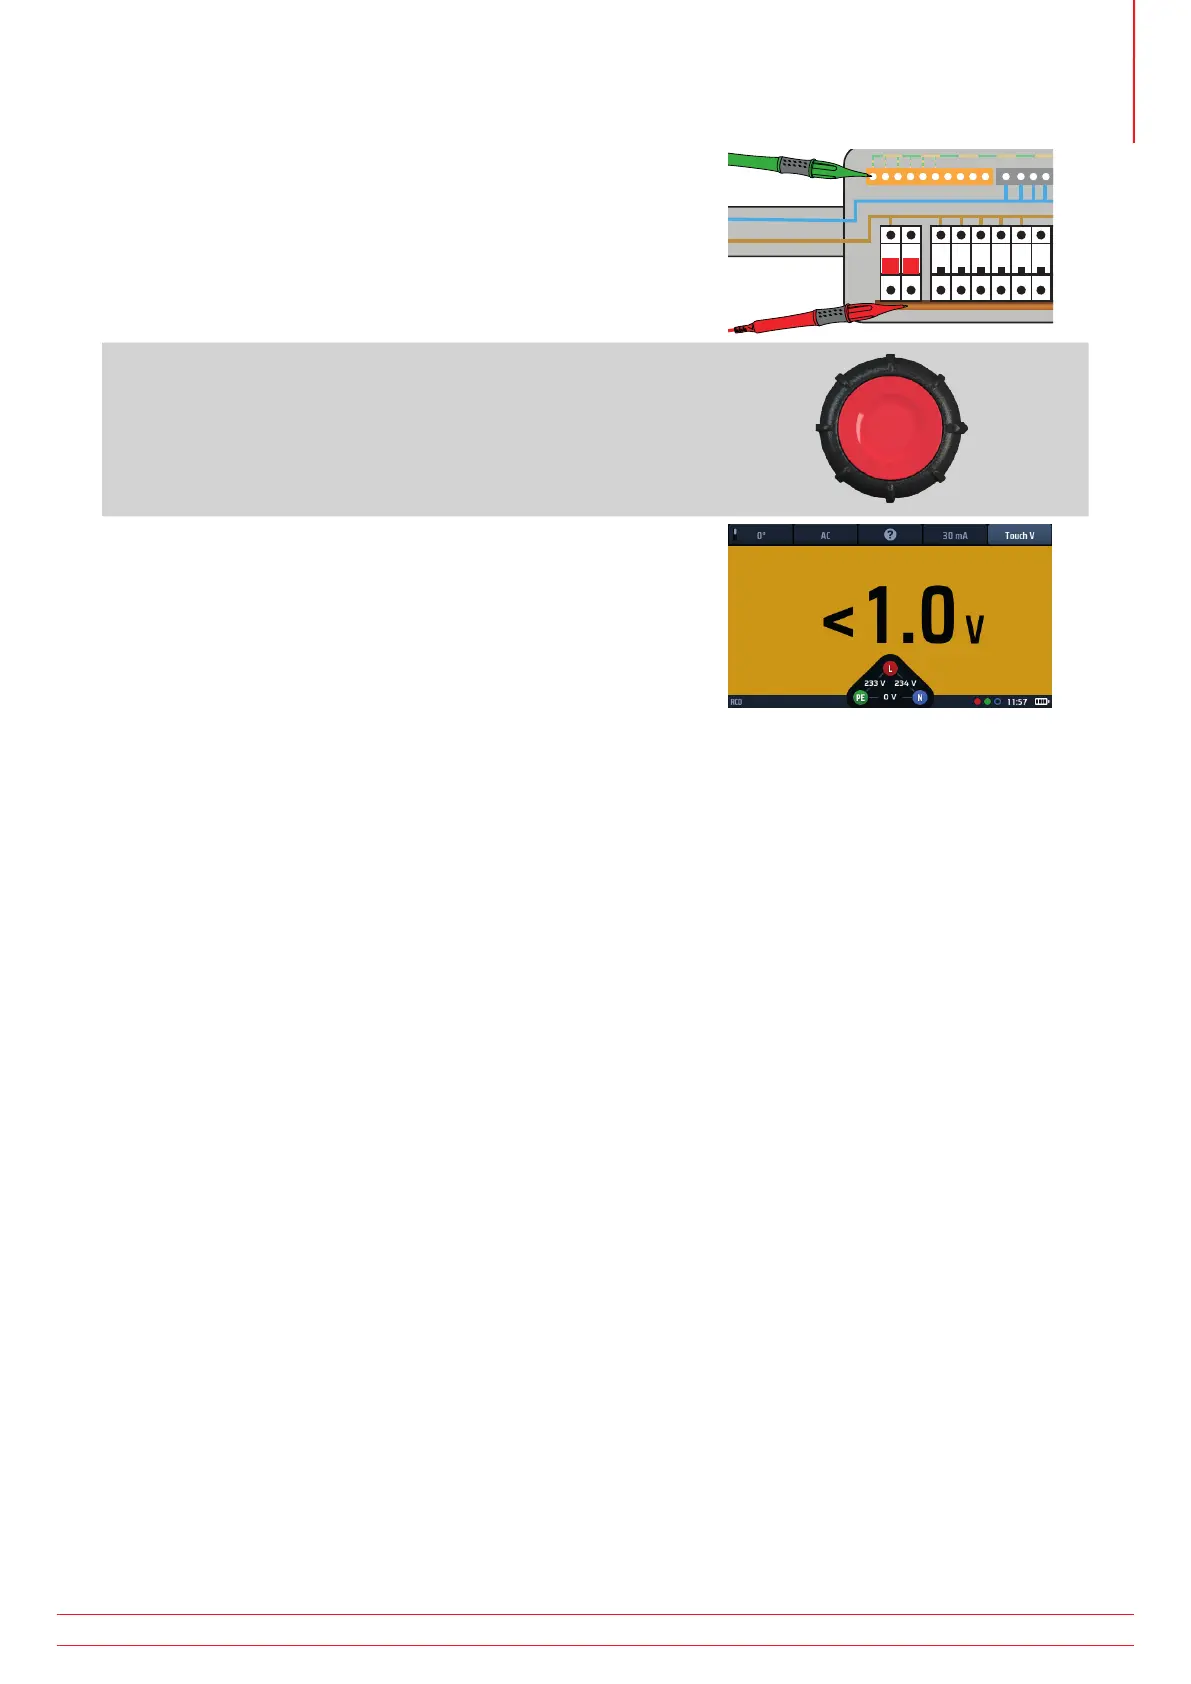
6. Connect your test-leads to the circuit on the load side of the
RCD you want to test.
Use a three-wire connection if you want the instrument to
warn you of reversed L and N.
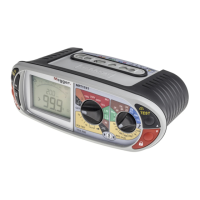
7. Press and release the test button to start the test.
If the AUTO start function is enabled testing will start as soon as
the instrument detects a live circuit, Refer to 15.9.3 AUTO start
test on page 86.
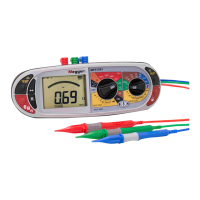
8. The instrument shows the touch voltage in the main area of
the display.
The instrument provides a warning if the touch voltage is
greater than 50 V. This can be changed to 25 V in set up,
Refer to 15.9.2 Maximum touch voltage on page 86.
NOTE : Connection can be made at the end of the circuit, in the distribution board or on the RCD
NOTE : Some RCBOs will not trip if tested by connecting directly onto the screw terminals of the RCBO.
13.9 VAR (Variable RCD)
To test an RCD with a rating that is not included in the standard ratings offered by the instrument, you can use the
VAR option.
The VAR option allows selection of RCD values between 10 mA and 990 mA.
Before you use this option, you must set the rating of the RCD you want to test using the Set VAR option.
This is accessed using the SET VAR function on the right rotary wheel when Hot key 4 is active. It CANNOT be
accessed directly from the Hot key 4.
13.9.1 Using the VAR option
The VAR option can be used in any of the RCD tests except Type B and EV modes.
The same maximum current limit applies to standard values. That is the maximum current cannot exceed 1000 mA.
So, a 250 mA type AC test cannot be run at 5 x I as it will exceed 1000 mA.
www.megger.com MFT-X1
59
Residual current device (RCD) testing