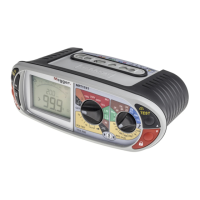
3. Repeatedly press Hot key 1 to select impedance
measurement (Z).
3.1. Alternatively, press Hot key 1 once and use the right-
hand rotary knob to select impedance measurement (Z)
4. Repeatedly press Hot key 2 to select no RCD.
4.1. Alternatively, press Hot key 2 once and use the right-
hand rotary knob to select no RCD
5. Repeatedly press Hot key 4 to select either 2 wire or 2 wire
HR testing.
5.1. Alternatively, press Hot key 4 once and use the right-
hand rotary knob to select either 2 wire or 2 wire HR
testing.
6. Repeatedly press Hot key 5 to select L-PE, L-N or one of the
three phase options L1-L2, L2-L3 or L3-L1.
6.1. Alternatively, press Hot key 5 once and turn the right-
hand rotary knob to select L-PE, L-N or one of the three
phase options L1-L2, L2-L3 or L3-L1.
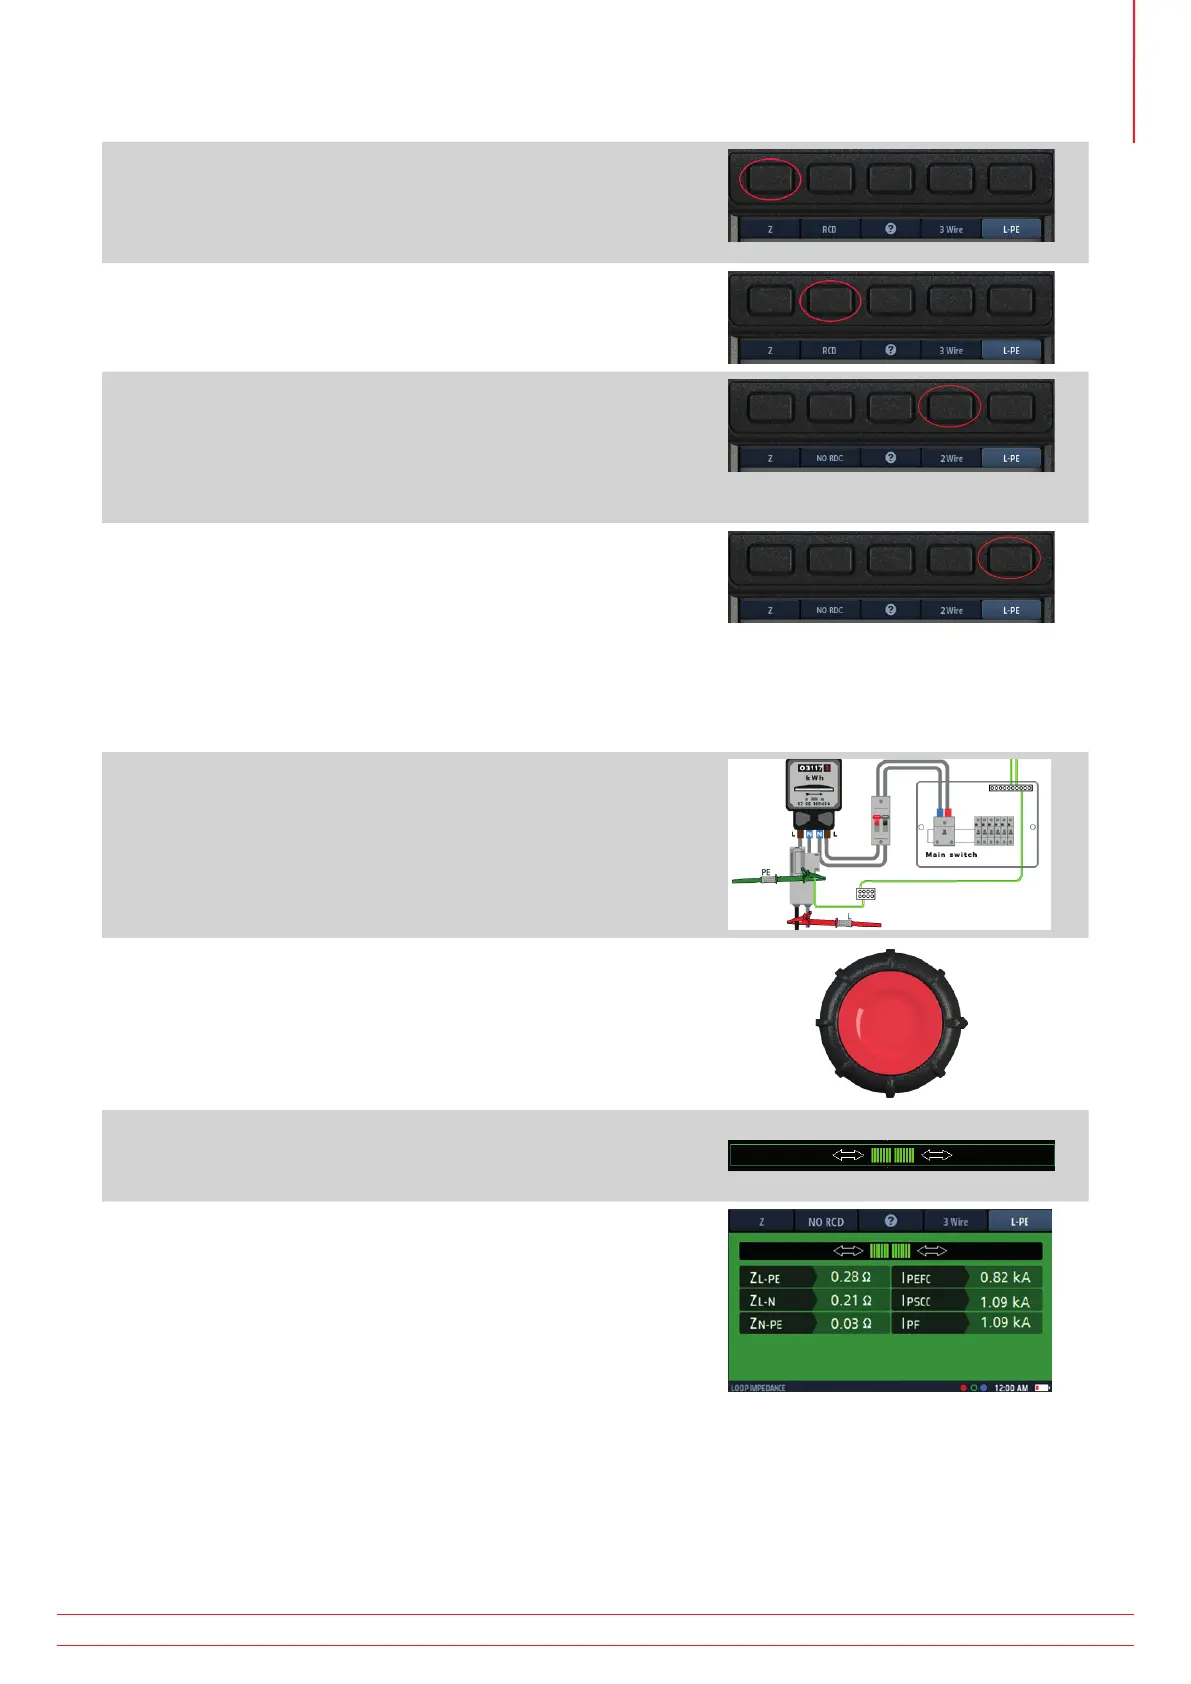
The example here shows an L-PE test using 2 wire with No RCD
in circuit.
7. Connect your test-leads to the conductors at the point on
the circuit where you want to measure the Loop Impedance,
either L-PE, L-N or one of the three phase options
L1-L2, L2-L3 or L3-L1.
The example here shows connection for an L-PE
measurement.
8. Press and release the test button
NOTE : If AUTO START is enabled in settings, press the test
button BEFORE connecting the test-leads. The test will
then start when it detects a live circuit on connection of
the leads, Refer to 15.8.3 AUTO test start on page 85.
9. When the Confidence Meter™ bar reduces towards the
middle as the circuit is analyzed.
10. When the test is complete, the display shows the Loop
Impedance, in this case ZL-PE and the prospective earth-fault
current, IPEFC.
www.megger.com MFT-X1
67
Earth Loop Impedance testing – TrueLoop™
 Loading...