5. Repeatedly press Hot key 4 to select 2 wire, 2 wire HR or
3 wire testing. The 2 wire HR option is only available for
circuits with No RCD option selected.
5.1. Alternatively, press Hot key 4 once and use the right-
hand rotary knob to select 2 wire, 2 wire HR or 3 wire
testing. The 2 wire HR option is only available for
circuits with No RCD option selected.
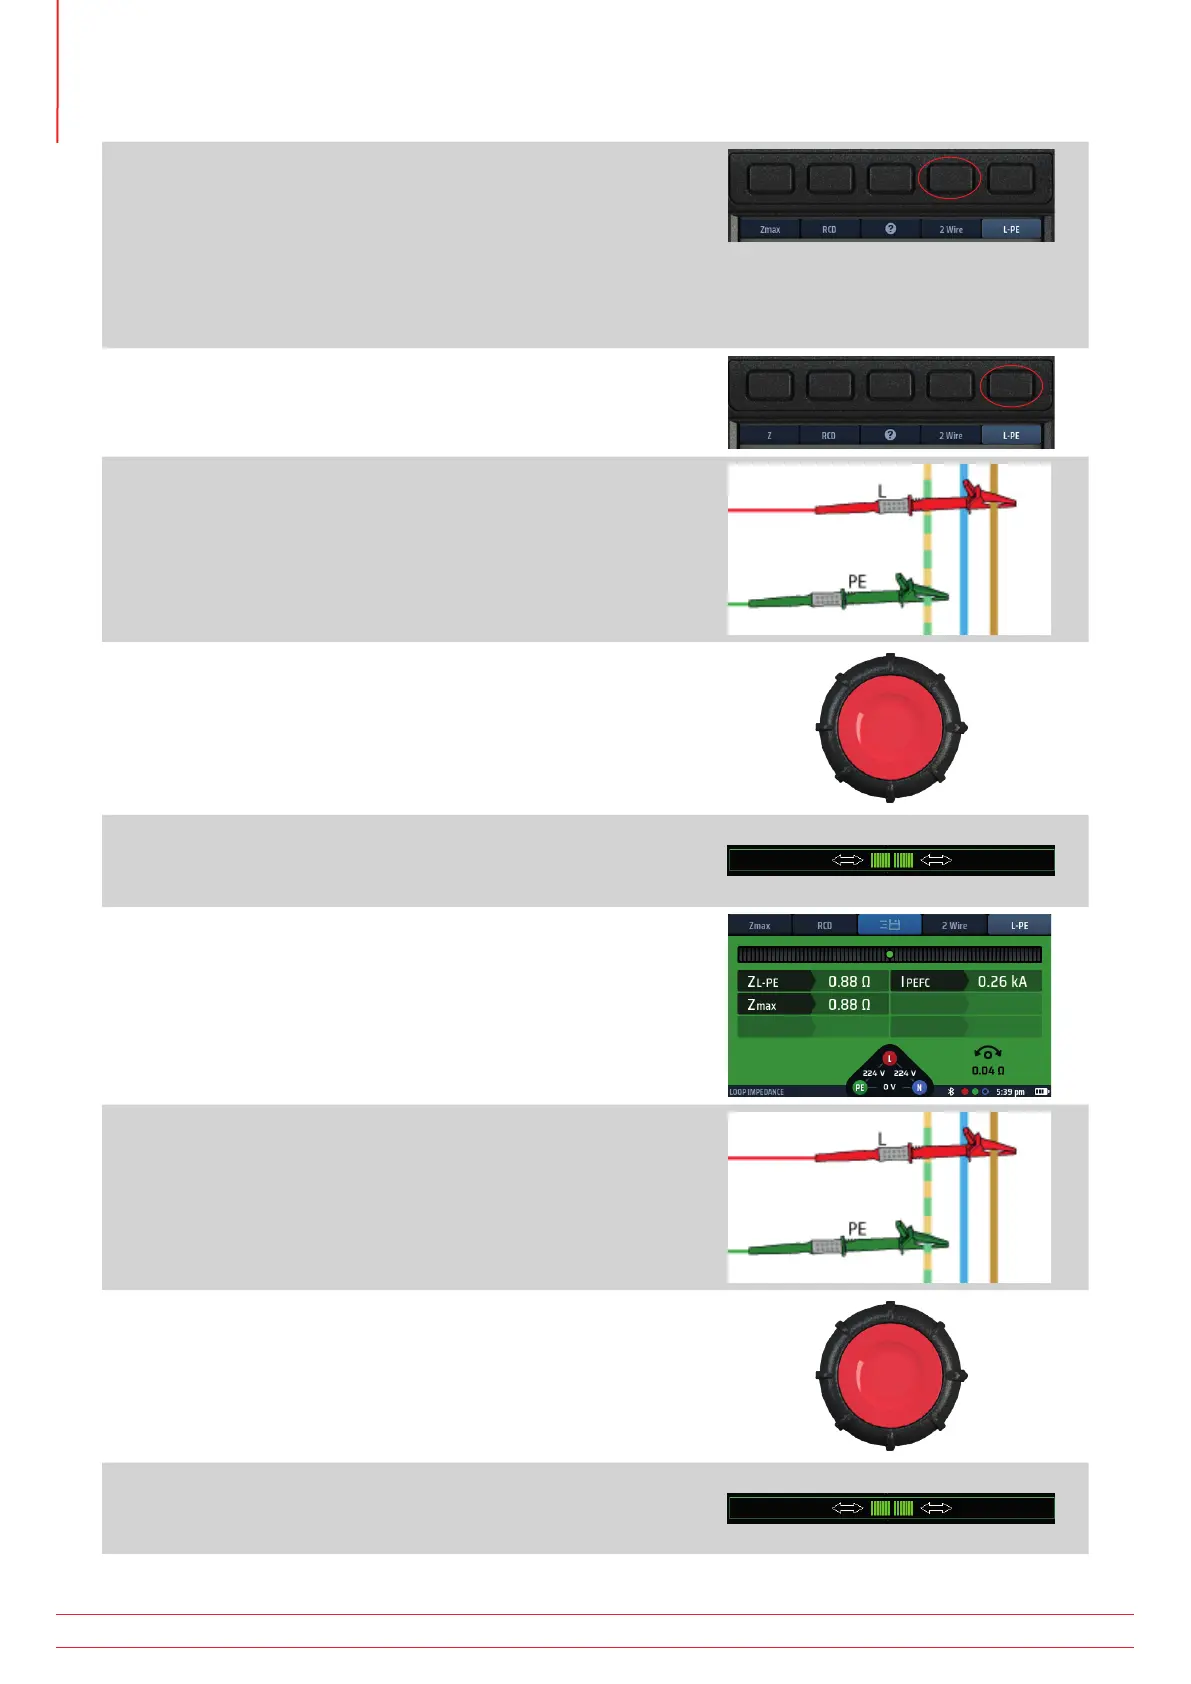
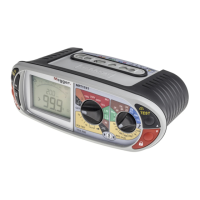
6. Repeatedly press Hot key 5 to select L-PE.
6.1. Alternatively, press Hot key 5 once and use the right-
hand rotary knob to select L-PE.
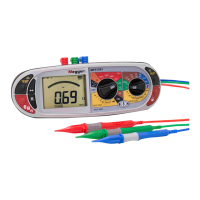
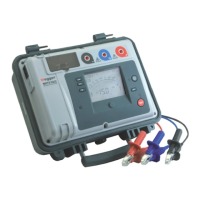
7. Connect your test-leads to the L and PE conductors at the
point on the circuit where you want to measure the Loop
Impedance.
8. Press and release the test button
NOTE : If AUTO START is enabled in settings, press the test
button BEFORE connecting the test-leads. The test will
then start when it detects a live circuit on connection of
the leads. Refer to 15.8.3 AUTO test start on page 85..
9. When the Confidence Meter™ bar reduces towards the
middle as the circuit is analyzed.
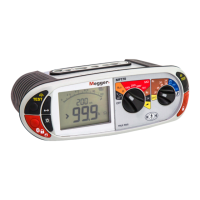
10. The display shows the Loop Impedance (ZL-PE) and the
prospective earth-fault current, IPEFC.
It also shows Zmax which, for the first test in a series, will be
the same as ZL PE.
11. Reconnect the instrument at the next point where you want
to measure Zmax.
If AUTO START is enabled in settings press the test button
BEFORE connecting the test-leads.
12. Press and release the test button if AUTO START is not
enabled.
13. When the Confidence Meter™ bar reduces towards the
middle as the circuit is analyzed.
www.megger.com
MFT-X1
70
Earth Loop Impedance testing – TrueLoop™