Section 2 - Setup and Calibration
90-8M0070299 eng MAY 2012 Page 11
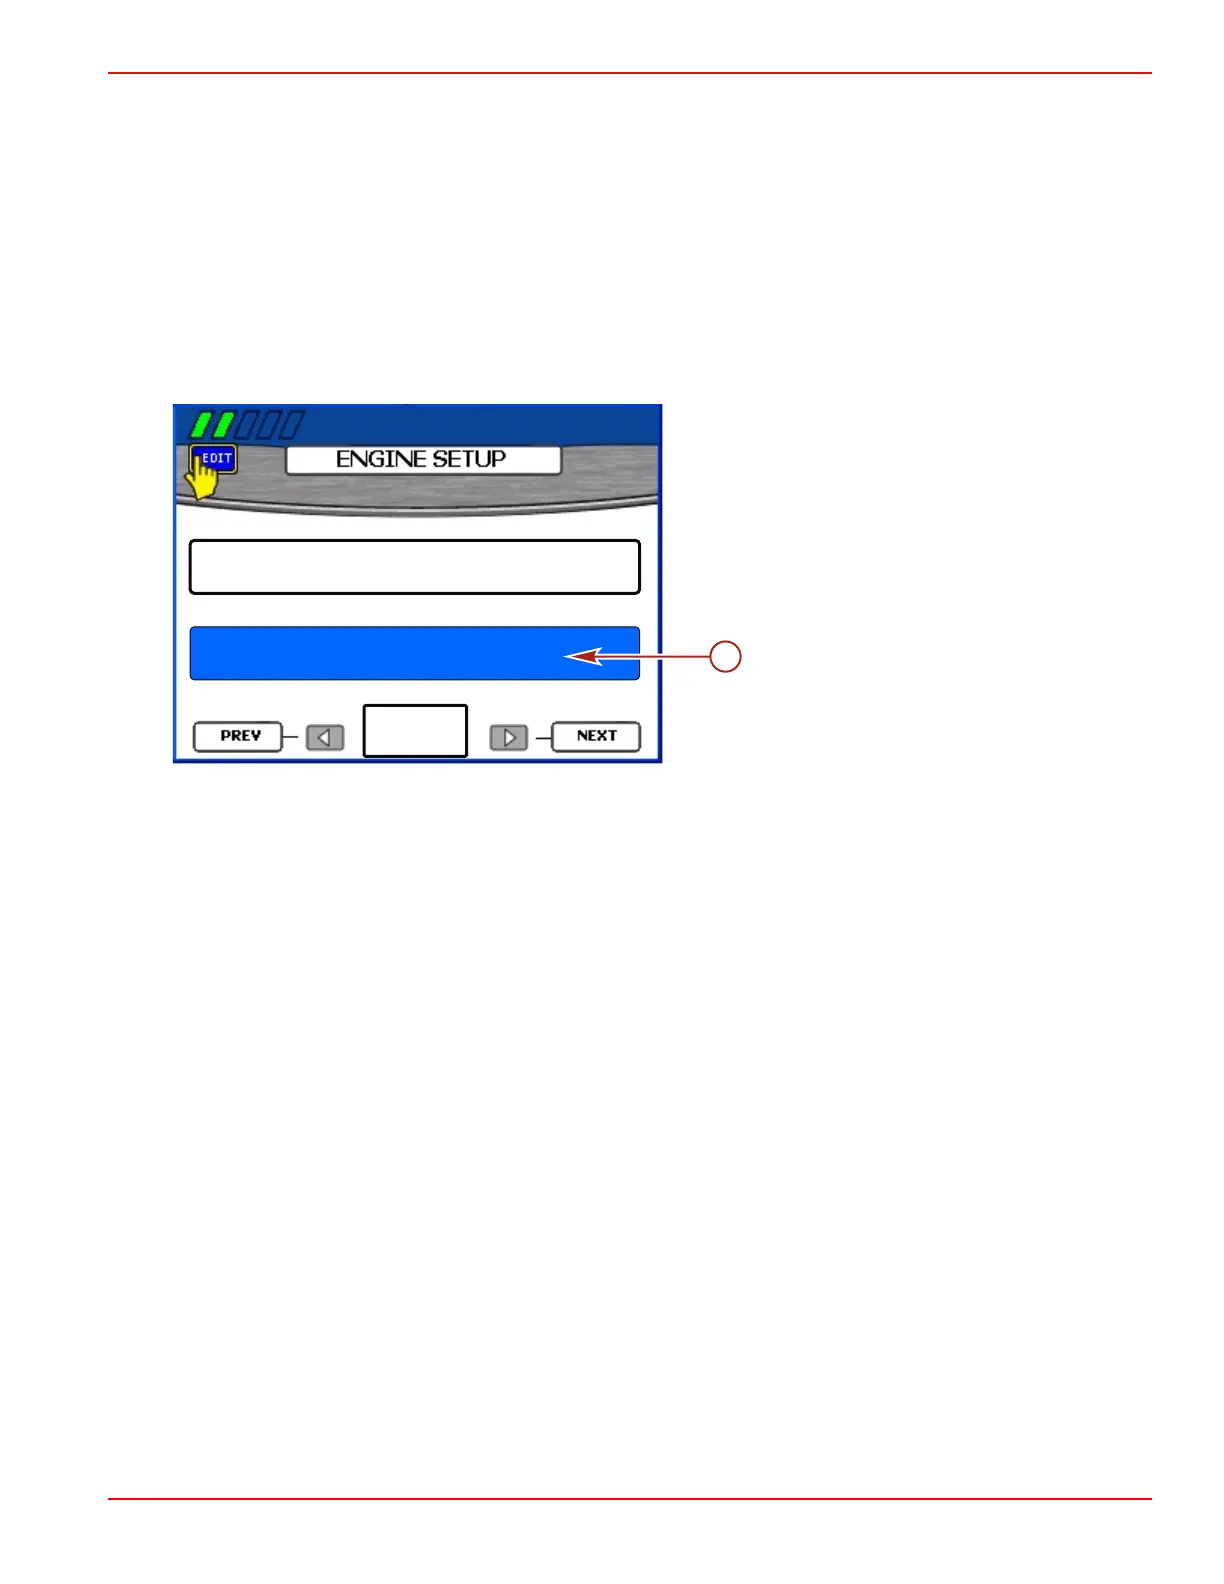
IMPORTANT: The "ENGINE TYPE" option may be blank when the "ENGINE SETUP" screen initially appears. Before
beginning this procedure, wait until an engine type appears in the "ENGINE TYPE" option, this could take several seconds. If
an engine type does not appear, check that all engine ignition keys are in the "RUN" position and all VesselView units are
properly connected.
1. Wait until an engine type appears in the "ENGINE TYPE" option. The "ENGINE TYPE" option may take several seconds to
detect the engine.
2. Press the check button to access the "ENGINE TYPE" option. The "EDIT" icon with a hand will appear in the upper
left‑hand corner of the screen and the engine type window will highlight with the color blue.
3. If the engine type is not correct, press the left or right arrow on the arrow pad to scroll through the available engine types.
Press the down arrow on the arrow pad to access the next option selection.
4. If the installed power package has emissions control with onboard diagnostics (OBD), the malfunction indicator lamp (MIL)
can be enabled or disabled. Press the left or right arrow on the arrow pad to change the malfunction indicator lamp to "MIL
Enabled" or "MIL Disabled." Press the down arrow on the arrow pad to access "NUMBER OF ENGINES" option selection.
a - Malfunction indicator lamp selection
5. By default, the number of engines with VesselView is four engines. You can change the number of engines.
NOTE: Although you may select up to four engines, VesselView displays data for a maximum of three gasoline or diesel
engines. Choosing four engines enables you to add two more tanks; and to view the total fuel flow, fuel range, and drive
link gauges for all engines. Some data may not be displayed when a single VesselView is used with a triple engine power
package. It is recommended that a second VesselView unit be used for a quad engine configuration.
6. Press the right arrow on the arrow pad to increase the number of engines or the left arrow to decrease the number of
engines.
7. Confirm your selections by pressing the check button.
8. Press the right arrow on the arrow pad to continue to the "DISPLAY SETUP" screen.
Display Setup
The "DISPLAY SETUP" screen enables you to choose where the data for each engine is displayed on VesselView. Typically,
the engines are displayed left to right in the same order as their physical locations port to starboard. Some helm configurations
may require different display settings. If you choose to display only one engine in a multiengine application, VesselView
displays the collective data such as total fuel flow and range for all engines, but displays engine specific data for only the
engine selected for that display.
IMPORTANT: Do not choose the same screen location for more than one engine.
1. If the screen locations are correct, proceed to step 6; otherwise, press the check button to access the "RIGHT SIDE"
option.
NOTE: The "DISPLAY SETUP" screen shown is for dual engines. Triple and quad applications will show three options.
The third option will be listed as "CENTER" location. Single engine applications will have one option.
Gas Inboard No Troll
ENGINE TYPE:
NUMBER OF ENGINES:
1
MIL Disabled
MALFUCTION INDICATOR LAMP:
a
47773