Section 2 - Setup and Calibration
Page 16 90-8M0070299 eng MAY 2012
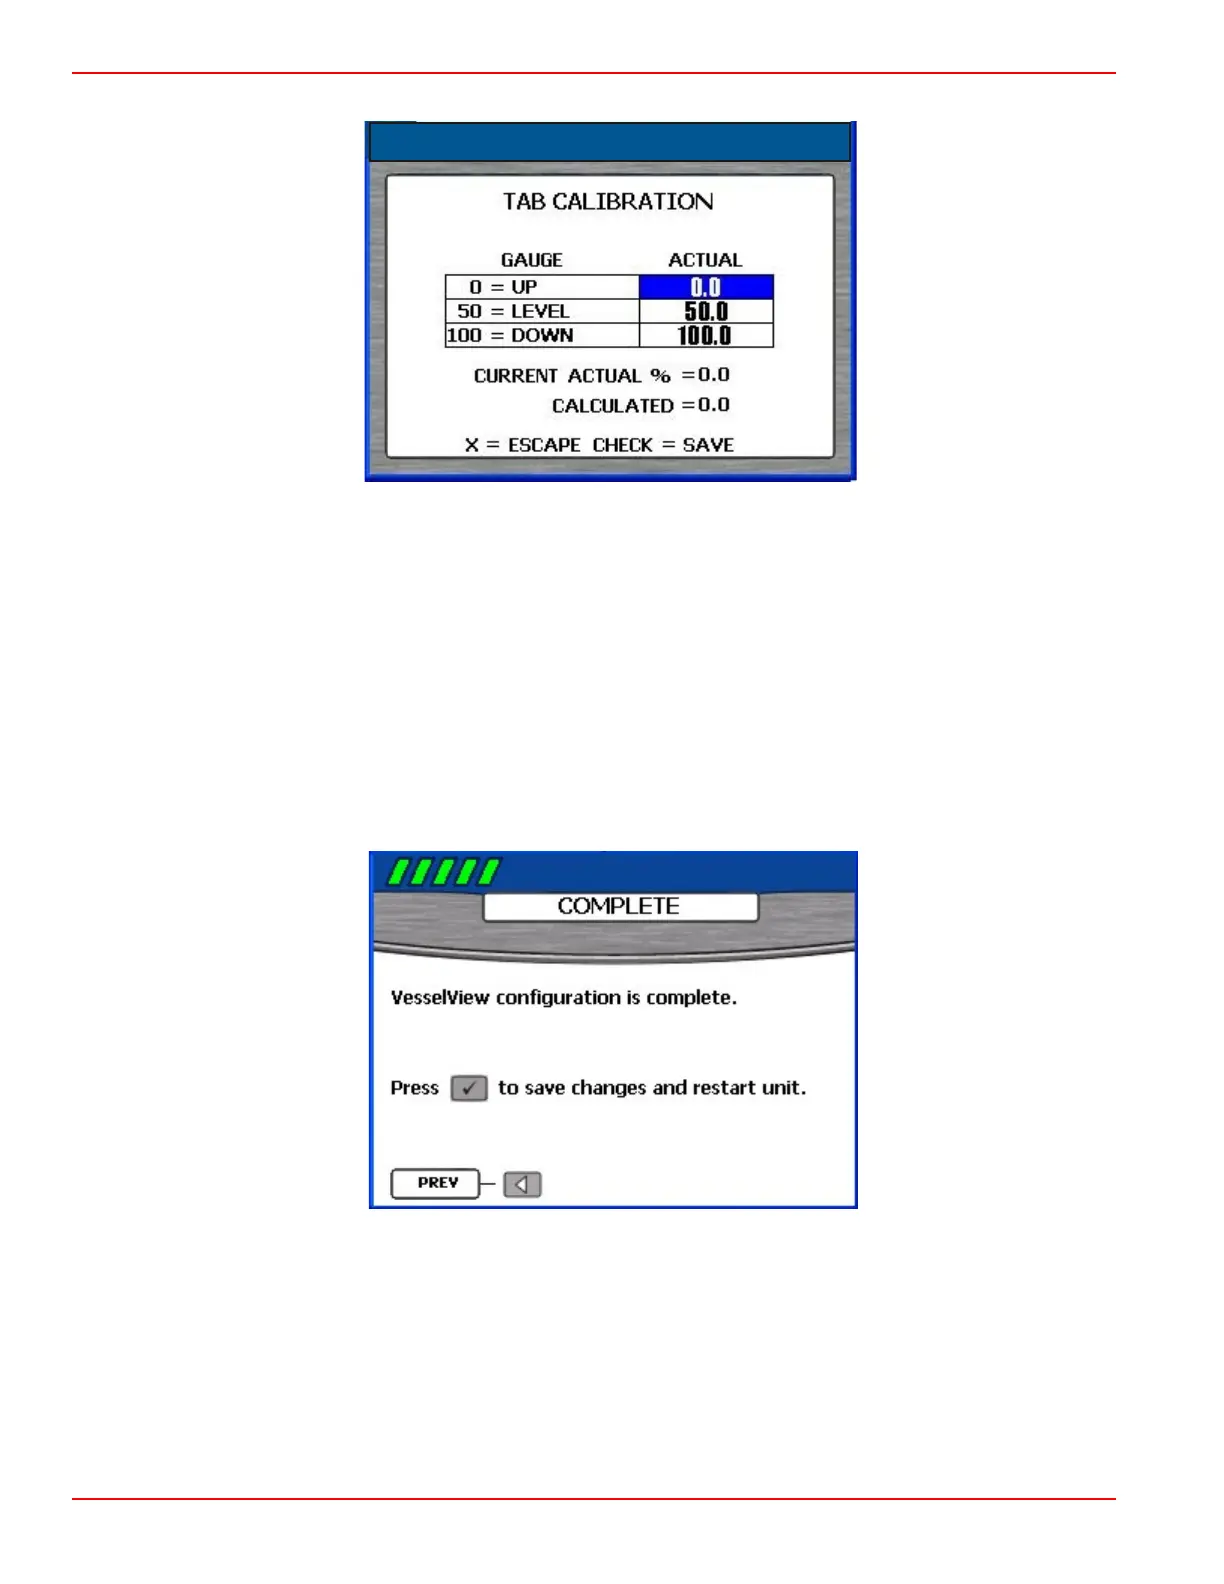
25. Press the up arrow on the arrow pad to highlight the "ACTUAL UP" option.
26. Press the left or right arrow on the arrow pad to adjust the "ACTUAL UP" tab percentage to match the "CURRENT
ACTUAL %."
27. Press the check button to save the calibration and go back to the "TAB CALIBRATION" screen.
28. If more than one tab exists on the vessel, perform steps 15–27 for the remaining tabs.
29.
When all the tabs have been calibrated, end the calibration process by selecting the "X" button.
NOTE: After any change or customization to the VesselView configuration, a blue pop‑up message will appear as a
reminder to save the session. It is recommended that all session changes be saved before holding the "
X
" button while
keying all engines off. Refer to
Section 1
‑
Saving the Settings
.
30. When calibrating the tabs is completed, press the right arrow on the arrow pad to continue to the "COMPLETE" screen.
Device Setup Complete
The setup wizard displays the "COMPLETE" screen after you have completed all the steps of the wizard. To review your
choices or to go back to a screen to make corrections, use the left arrow button.
When you are sure that your selections are correct, press the check button to save your configuration and restart the
VesselView unit. VesselView displays a saving settings message, then restarts. The restart process may take a few minutes.
NOTE: If you want to change the vessel configuration after exiting the setup wizard, you may either restart the wizard by
choosing "RESET SETTINGS" on the "Factory Reset" screen in the "Calibrate" menu or reconfigure the vessel using the
"Configuration" menu.