12 Probes and Biopsy
Operator’s Manual 12 - 23
Be sure to perform inspections before and after use of the needle-guided bracket. If an abnormality
is found on the needle-guided bracket, immediately stop using it and contact MINDRAY Customer
Service Department or sales representative.
• Sterilize the needle-guided bracket before and after use.
• Put on the sterile probe sheath before installing to the probe.
• Confirm that the needle-guided bracket is free of damage, deformation, stripping, malfunction,
loose, or missing parts.
• Confirm that the needle-guided bracket is securely mounted in the correct position.
• Select the proper needle according to the specification above, and adjust the needle shift to the
same specification of the selected needle.
NGB-004 Metal-needle undetachable needle-guided bracket
Perform the following procedure:
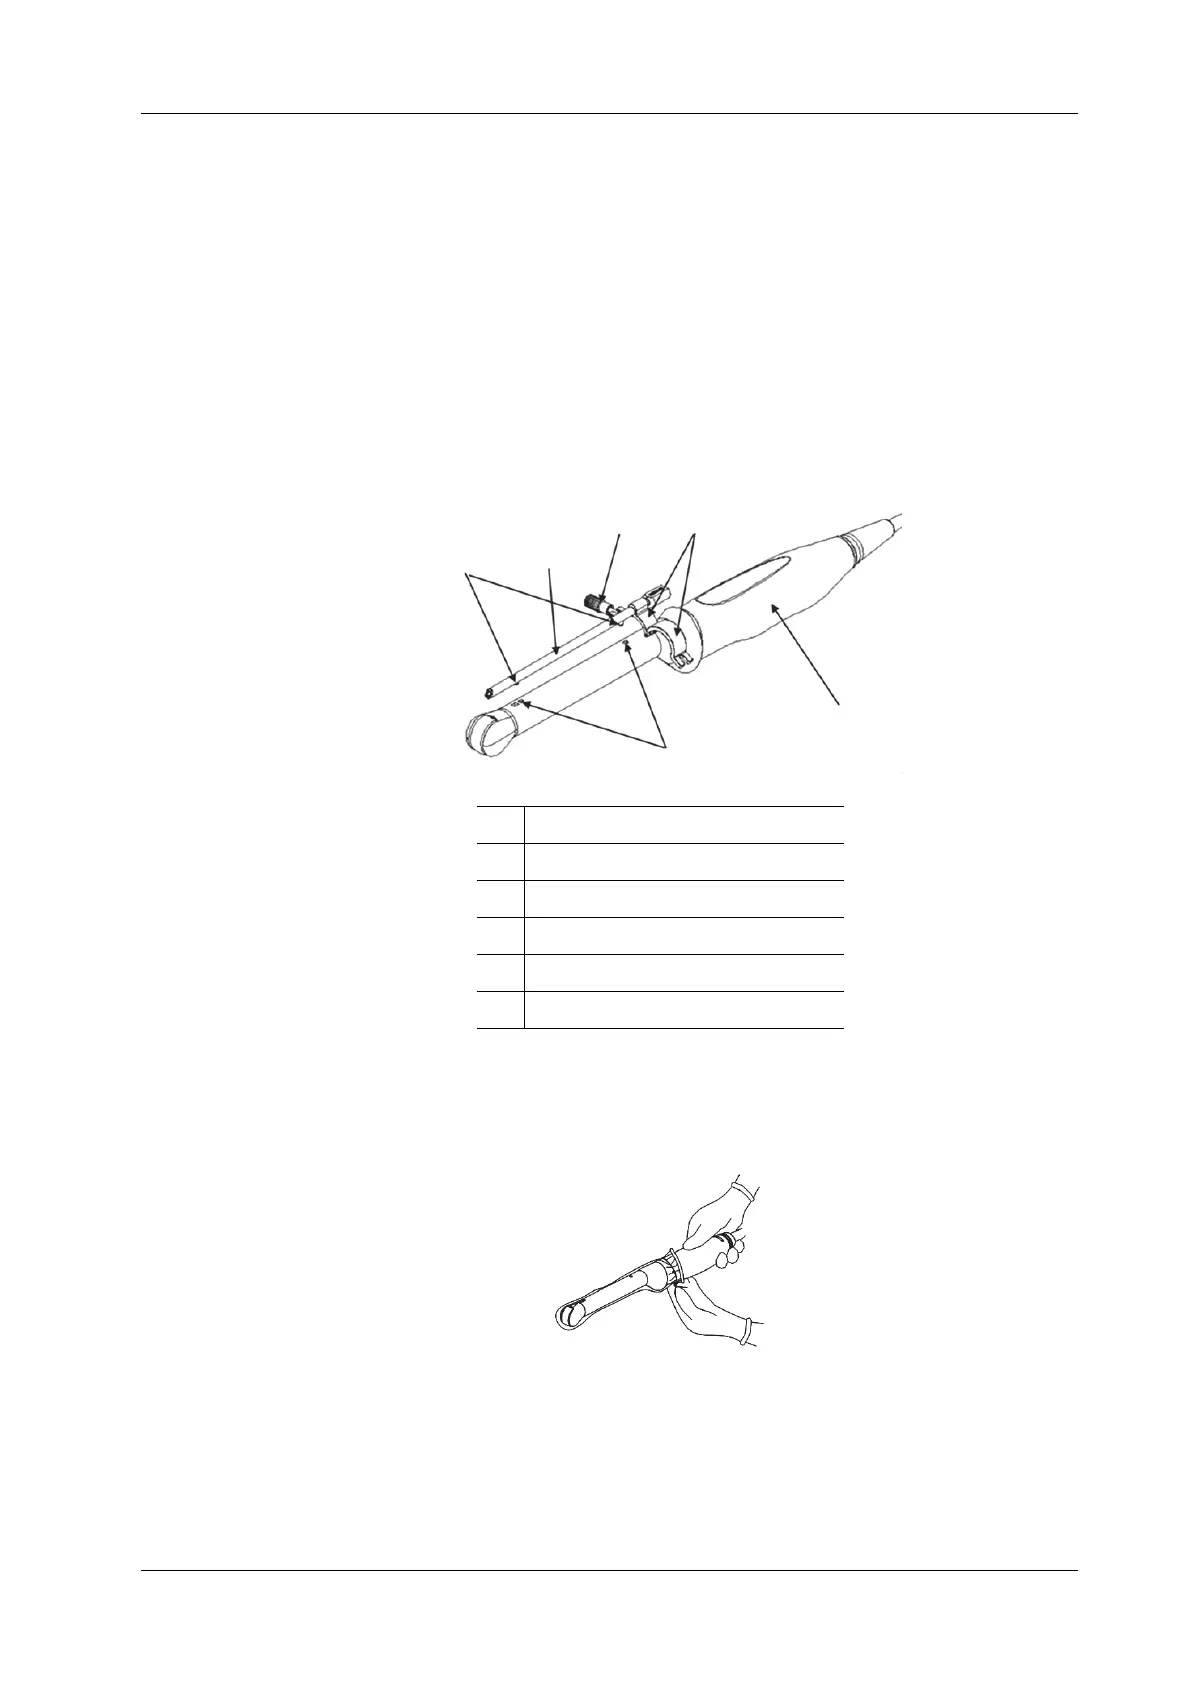
1. Install the needle-guided bracket:
a. Put on the sterile probe sheath.
b. Open the retaining clamp, align the needle-guided bracket with the probe to align the
locating bulge on the needle guide with the locating grooves on the probe, then turn the
retaining clamp to align it with the probe.
1 Locating bulge
2Needle guide
3 Locking nut
4 Retaining clamp
5Probe
6 Locating groove