12 - 46 Operator’s Manual
12 Probes and Biopsy
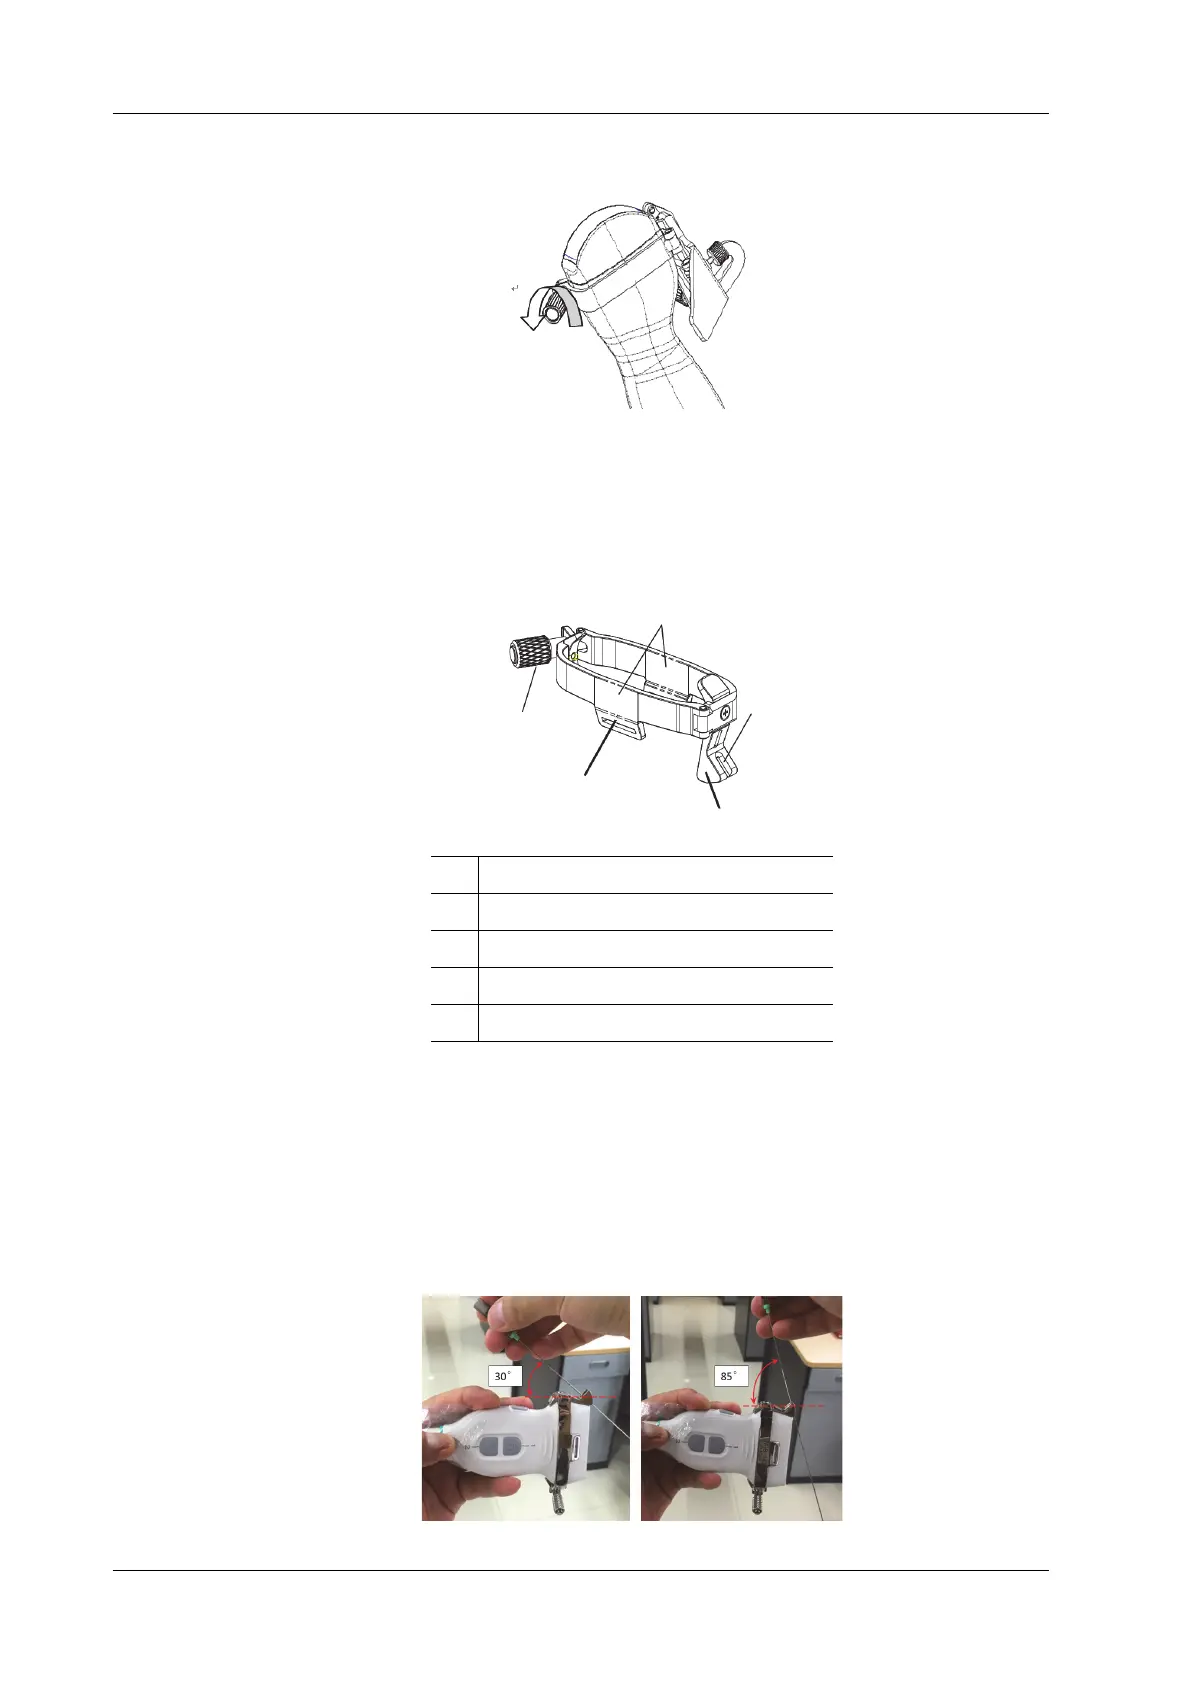
5. Remove the needle-guided bracket:
a. Rotate the clamping nuts of the needle guided-bracket on right and left side (following the
direction of the arrow). The needle guided-bracket is separate from the probe.
b. Hold the probe and take out the bracket.
NGB-043 Metal-needle detachable needle-guided bracket
Perform the following procedure:
1. Install the needle-guided bracket:
a. Put on the sterile probe sheath.
b. Hold the probe in one hand, select the correct needle-guided bracket and hold it with the
other hand. Match the grooves of the needle-guided bracket to the tabs of the probe.
c. Mount the bracket onto the probe, and rotate the locking nut to fix the bracket.
2. Insert the biopsy needle:
1 Locking nut of left and right clamps
2Groove
3Guide frame
4 Guide block hole
5Clamps