24.2 PROPERLY WORKING CHECK
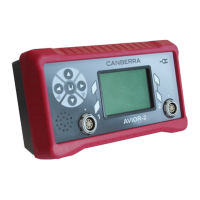
24.2.1 AVIOR-2
Functionality to check Procedure
Detection of the CSP probes by
the device.
- Connect a CSP probe. The display should read « Search »
followed by « Probe found »
Communication with CSP probe - Connect a CSP probe. Wait for initialization and check that the
device displays the measurement
Powered by the sector - Check that the charging indicator lights up during the power
connection.
Powered by USB - Check that the charge indicator lights up during USB connection.
Key detection on AVIOR-2 - Open the menu, and go to « USB mode », then « Connect a
USB key ». (See § 14.2)
- Check the communication with the USB key.
AVIOR-2 detection on PC - Open the menu, and go to « USB mode », then « Connect to a
computer » (See § 14.1).
- Check that the AVIOR-2 data is accessible from the PC..
Loud speaker sound - Make a long press on the left button to open the sound setting
(see § 13.4).
- Vary the volume to check the operation of the speaker.
Navigation buttons - Browse the menu using at least once the 5 buttons to check
their operation.
Backlight - Make a long press on the right button to check the correct
operation of the backlight (see § 13.3).
AVIOR-2 I/O
24V power supply - Check that the charge indicator lights up when connecting 24V.
Digital I/O check - Check the state of the relays with an ohmmeter (see § 19.1).
Receipt of data by the RS485
- Connect the AVIOR-2 to a PC via the RS485 (See §19.2.).
- Open a software using the ModBus protocol and then
interrogate the device.
Headphones sound - Connect the headphones to the jack..
- Make a long press on the left button to open the sound setting.
- Vary the volume to check the operation of the headphones.