Replacing a faulty hard drive 107
ATTENTION
Replacement drives must be the same size or larger than the drives
being replaced.
10
Set the hard drive settings as described in "Hard drive configuration"
(page 103).
For instructions on changing the hard drive’s settings, refer to the
drive manufacturer’s documentation.
11
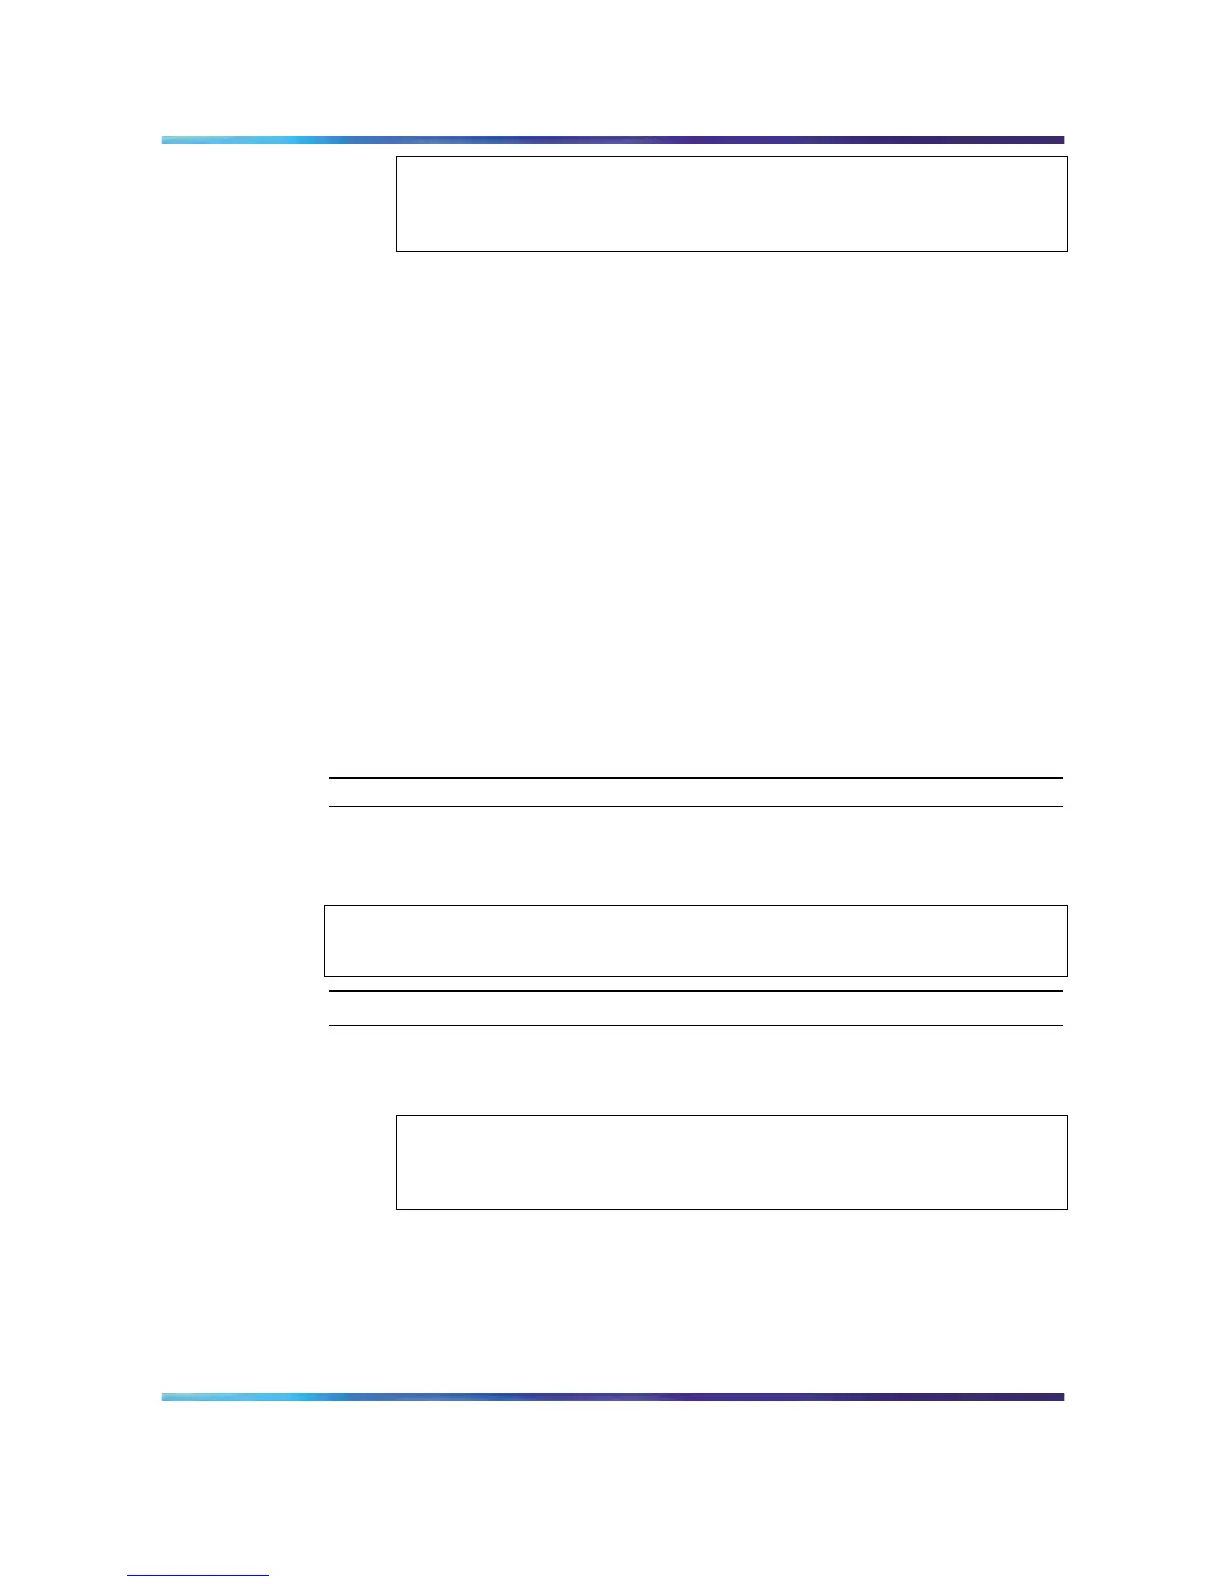
If you are replacing an existing hard drive, remove the old drive from
the drive carrier as follows:
a. Remove the four screws that attach the drive to the carrier.
b. Lift the carrier off of the hard drive.
c. Place the drive in an antistatic protective wrapper.
12
Position the new drive component-side down inside the drive carrier,
and then attach the four screws that you removed earlier.
Ensure that the connectors on the back of the drive are flush with
the rear of the drive carrier.
13
Continue with "To install the hard drive" (page 107).
—End—
To install the hard drive
ATTENTION
The last bay must remain empty to ensure proper system cooling.
Step Action
1 Slide the hard drive and drive carrier assembly (with the exposed
drive facing up) into the server bay.
ATTENTION
To provide more space inside the server so that you can connect the
cables, do not push the drive all the way in (that is, until it clicks into place).
2
If not already done: Temporarily remove the front system fans from
their slots in the bottom fan holder foam.
Do not disconnect the fans’ power cables.
Nortel CallPilot
703t Server Maintenance and Diagnostics
NN44200-702 01.03 Standard
5.0 3 April 2007
Copyright © 2007, Nortel Networks Nortel Networks Confidential
.