45530603TH Rev.2
5-37
Oki Data CONFIDENTIAL
5. MAINTENANCE MENUS
5.3.2.7 Density adjustment test
The density adjustment test is used for performing a density adjustment function test and
displaying the result of it to judge whether the density adjustment mechanism is proper.
Chapter 2 “Overview on density adjustment” should be followed for recovery from an error.
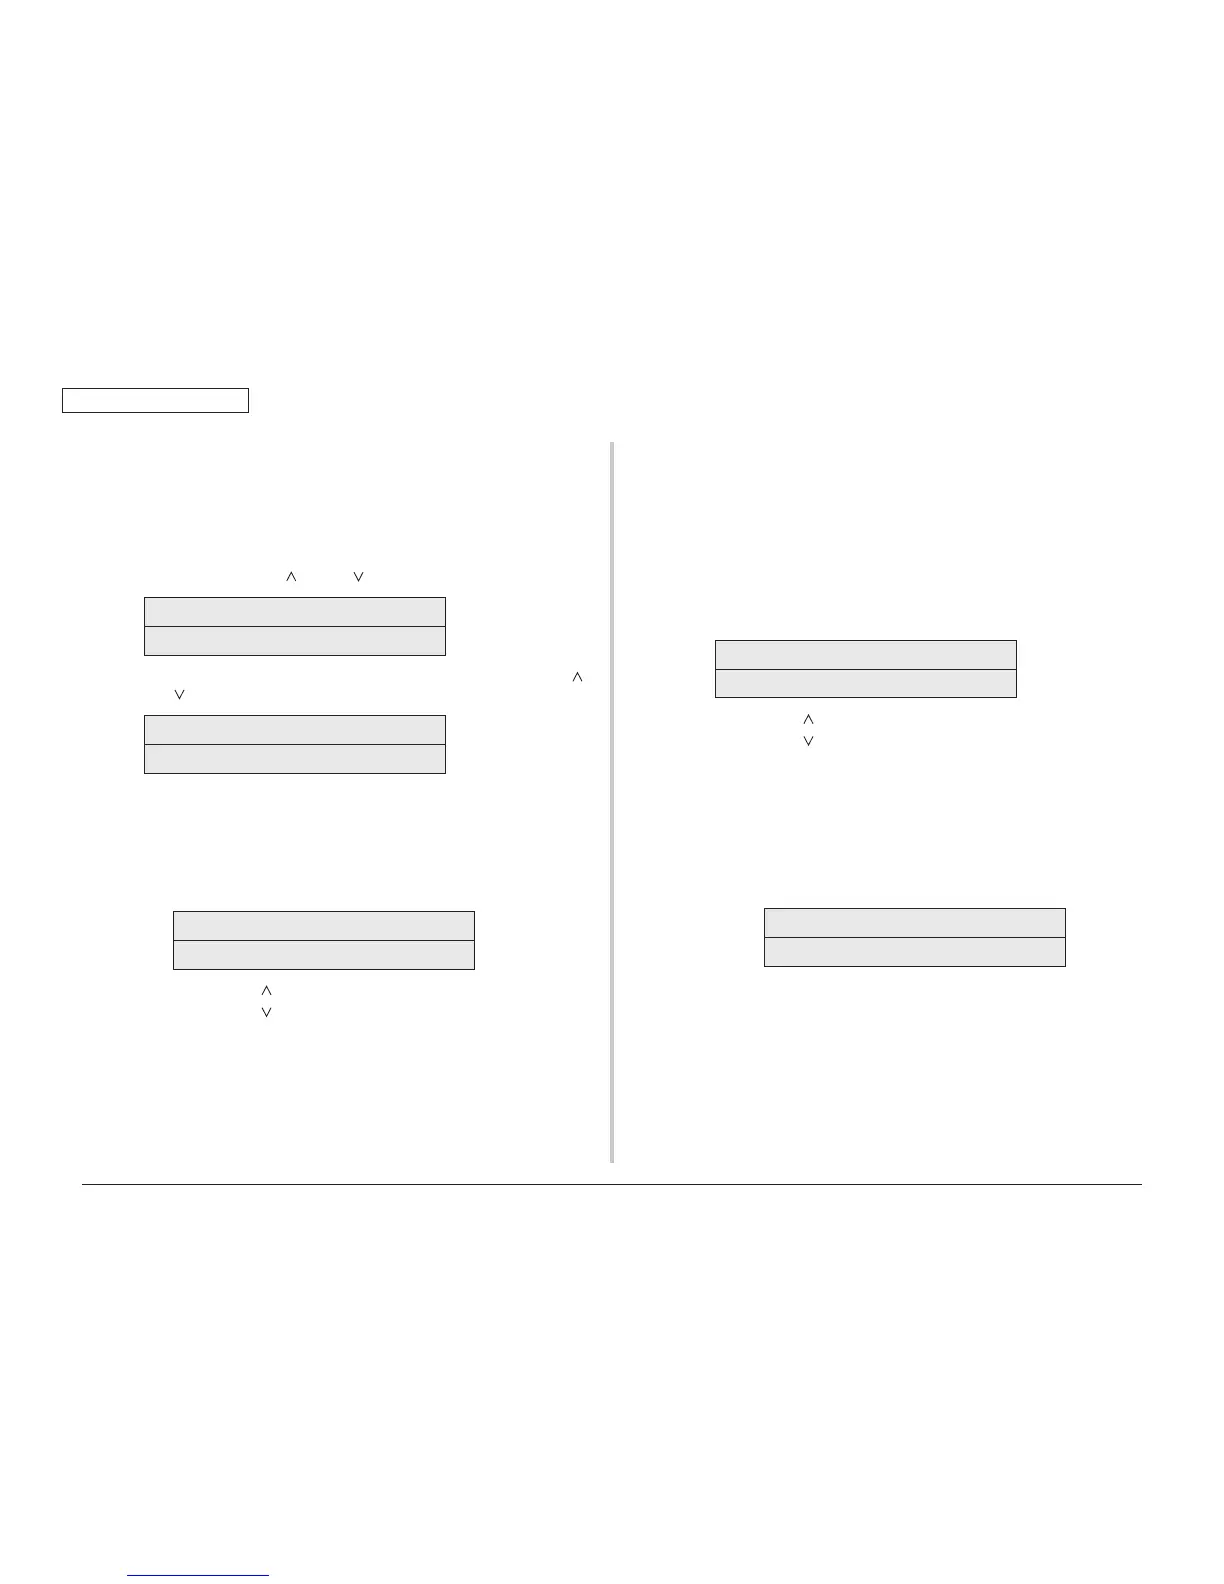
1. Enter the self-diagnostic-mode(Level1) and, until the following message
appears, press the MENU
or MENU button.
Dens aDJ test
2. Press the OK button. The following message appears. Press the MENU or
MENU
button until the intended option appears.
Dens aDJ test
Dens aDJ eXecUte
3. Press the OK button. The test of an option displayed on the panel is performed:
<When DENS ADJ EXECUTE is performed>
①
Density adjustment test is executed, and the lower line of the display starts
blinking)
②
When the test ends, the upper line of the display shows the result of the test (OK
or an error name), the lower line of the display shows ‘****RESULT’.
oK
Dens aDJ ResULt
Pressing the
MENU
button displays the next test result.
Pressing the
MENU
button displays the preceding test result.
Press the BACK button to return to step 2 (“DANS ADJ RESULT”).
③
Pressing the CANCEL button during the test cancels the test, restoring the state
of step 2 (“DENS ADJ RESULT”).
<When DENS ADJ RESULT is executed>
Same as the operation of the
②
button in the excuting of the 'DENS ADJ EXECUTE '.
<When DENS ADJ PAR-SET is executed>
Displays the setting of Parameter for Density adjustment
<When AUTO CALIBRATION is executed>
①
The auto setting for the density sensor correction value is executed, and the
lower line of the display starts blinking.
②
When the test ends, the upper line of the display shows the result of the test (OK
or an error name), the lower line of the display shows ‘****RESULT’.
oK
Dens aDJ ResULt
Pressing the
MENU
button displays the next test result.
Pressing the
MENU
button displays the preceding test result.
Press the BACK button to return to step 2.
③
Pressing the CANCEL button during the test cancels the test, restoring the state
of step 2.
Note! The special jig should be used for this test execution.
Remark: The following message appears while the printer is initialized, the
printer displays some alarms or whose cover is opened.
ng
Dens aDJ ResULt
4. Repeat the step 3 when necessary.
5. Press the BACK button to end the test (the state returns to the step 1).