24
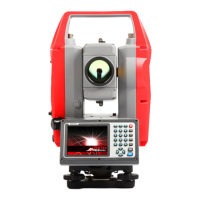
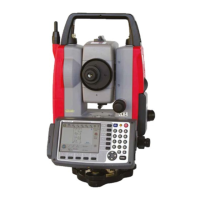
4.3 Function of MEASURE screen
Aim at the reference point and press [ENT] to view
the MEASURE screen.
Press the [F1][MEAS] to measure the Distance and
display the Coordinates.
Press [F2][SAVE] to save the measured data.
Press [F3][ME/SAVE] to measure and save the measured data.
The survey data is not saved if no PN is input.
Press [F4][EDIT] to edit the PN,Point Name,PH,Prism Height and PC,Point Code.
Input your desired Point name, Prism height and Point code.
Press [F5][ACCEPT] if the current PN, PH and
PC are acceptable.
If PointCode exists, you can easily select them
from the list or edit one of them after
pressing the [ENT]. For using Point Code List,
please refer to “5.4.1 Point Code”.
Press [F5][PAGE] to view another menu.
EDM settings can be selected by pressing
[F1][EDM].
For example, change 1.PRIM. MEAS KEY (MEAS)
to TRACK SHOT or TRACK CONT if you want to
use tracking measurement with primary MEAS key
(MEAS).
The target type can be selected by pressing [F2][TARGET].
 Loading...