PAGE 4-4
1118824, VER. 00
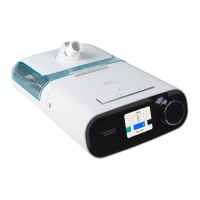
1. Plug the device into an AC power source. The RAMP button lights up and the opening screen
momentarily appears.
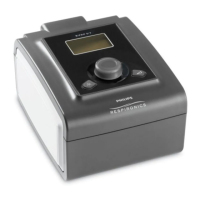
2. The next screen to appear is the Home screen, shown below.
FIGURE 4-2: HOME SCREEN
3. Turn the UI Knob to toggle between the four options. Highlight “Therapy” or the Therapy icon.
Press the UI Knob to turn on the airflow and begin therapy.
4. Press the UI Knob again to turn off therapy and return to the Home screen.
4.2 NAVIGATING THE DEVICE SCREENS
In either User Mode or Provider Mode, turn the UI Knob to toggle between options and settings on the screen.
Press the UI Knob to choose an option or setting that is highlighted. If you choose “Back” on any screen, it will
take you back to the previous screen.
4.3 USER AND PROVIDER MODES
The devices are equipped with the following control modes:
• User Mode - The parameters that can be modified by the patient are limited.
• Provider Mode - used by homecare Professionals to set the device’s parameters for the patient’s
needs.
NOTE
• The screens shown throughout this manual are examples
only. Actual screens may vary slightly.
• Your device will either display in text mode (English only) or
icon mode.
Therapy
Info
Comfort
Setup
Text View
 Loading...