PAGE 6-8
1118824, VER. 00
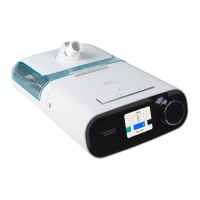
6.1.4 REPLACING THE TOP COVER
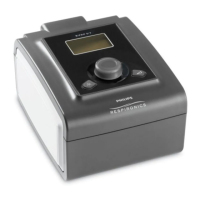
FIGURE 6-7: TOP COVER (BIPAP AVAPS SHOWN)
TO REMOVE THE TOP COVER
1. Remove the UI Knob. Refer to Replacing the User Interface (UI) Knob.
2. Place the device on a protected work surface and carefully turn it over to expose its bottom.
3. Using a Torx T15 screwdriver, remove the two #6 x 1-3/4” screws that secure the Top Cover to the
Bottom Enclosure. Refer to Figure 6-8.
4. While securely holding the device together, carefully return it to its upright position.
5. Lift the Top Cover away from the Bottom Enclosure. The SD Card Slot Cover is loosely installed in
the Top Cover.
6. The Keypad has a tendency to remain in the Top Cover. If necessary, remove the Keypad from the
Top Cover and maintain it for installation in the replacement Top Cover.
Included in Kit Tools Required
Top Cover T15 Torx screwdriver
 Loading...