PAGE 6-18
1118824, VER. 00
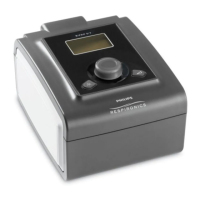
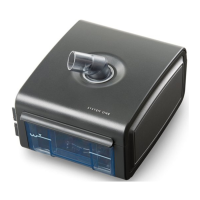
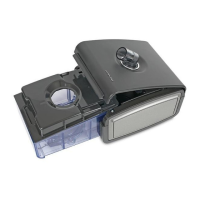
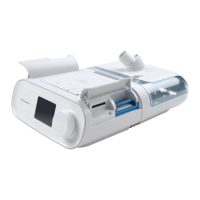
6.1.11 REPLACING THE FLOW MANIFOLD
FIGURE 6-16: FLOW MANIFOLD
To remove the Flow Manifold:
1. Remove the UI Knob. Refer to Replacing the User Interface (UI) Knob.
2. Remove the Top Cover. Refer to Replacing the Top Cover.
3. Remove the Main PCA. Refer to Replacing the Main PCA.
4. Lift the Flow Manifold off of the Right Side Assembly.
To install the Flow Manifold:
1. Place the Flow Manifold onto the Right Side Assembly as shown in Figure 6-16.
2. Assemble the remainder of the device as instructed in previous sections.
Included in Kit Tools Required
• Flow Manifold • T15 Torx screwdriver
NOTE
The other type is for devices that have a Pressure Sensor.