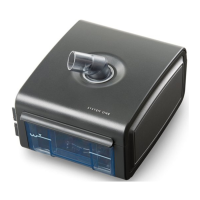
PAGE 6-151118824, VER. 00
4. Using a T8 Torx screwdriver, remove the seven #4 x 1/2” screws that secure the Blower Cap to the
Bottom Enclosure. The screws are indicated by the white arrows in Figure 6-13.
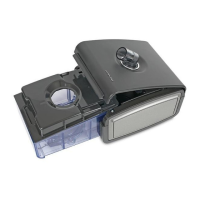
5. Push the grommet and the Blower wiring harness through its mounting hole in the Blower Cap.
6. Remove the Blower Cap from the Bottom Enclosure.
To install the Blower Cap:
1. Insert the Blower wiring harness and grommet through its mounting hole in the Blower Cap. Verify
that the grommet seats properly in the hole.
2. Align the Blower Cap with the Blower Housing in the Bottom Enclosure.
3. Secure the Blower Cap to the Blower Housing using the seven #4 x 1/2” screws.
4. Assemble the remainder of the device as instructed in previous sections.
 Loading...