PAGE 6-251118824, VER. 00
6.1.17 REPLACING THE AIR INLET SEAL
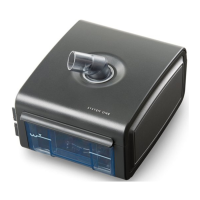
FIGURE 6-22: AIR INLET SEAL
TO REMOVE THE AIR INLET SEAL:
1. Remove the UI Knob. Refer to Replacing the User Interface (UI) Knob.
2. Remove the Top Cover. Refer to Replacing the Top Cover.
3. Remove the Main PCA. Refer to Replacing the Main PCA.
4. Remove the Blower Cap. Refer to Replacing the Blower Cap.
5. Remove the Blower Assembly. Refer to Replacing the Blower Assembly and/or the Blower Outlet
Bellows.
6. Remove the Right Panel Assembly. Refer to Replacing the Right Panel Assembly.
7. Remove the Humidifier Cable. Refer to Replacing the Humidifier Cable.
8. Remove the Blower Housing. Refer to Replacing the Blower Housing.
TO INSTALL THE AIR INLET SEAL:
1. Install the Air Inlet Seal in the Bottom Enclosure. Verify that it is flush with the Bottom Enclosure
and fully seated on the two prongs as shown in Figure 6-22.
2. Assemble the remainder of the device as instructed in previous sections.
Included in Kit Tools Required
Air Inlet Seal
• T8 Torx screwdriver
• T15 Torx screwdriver
 Loading...