Starting up with PC Worx Engineer
107709_en_00 PHOENIX CONTACT 53 / 140
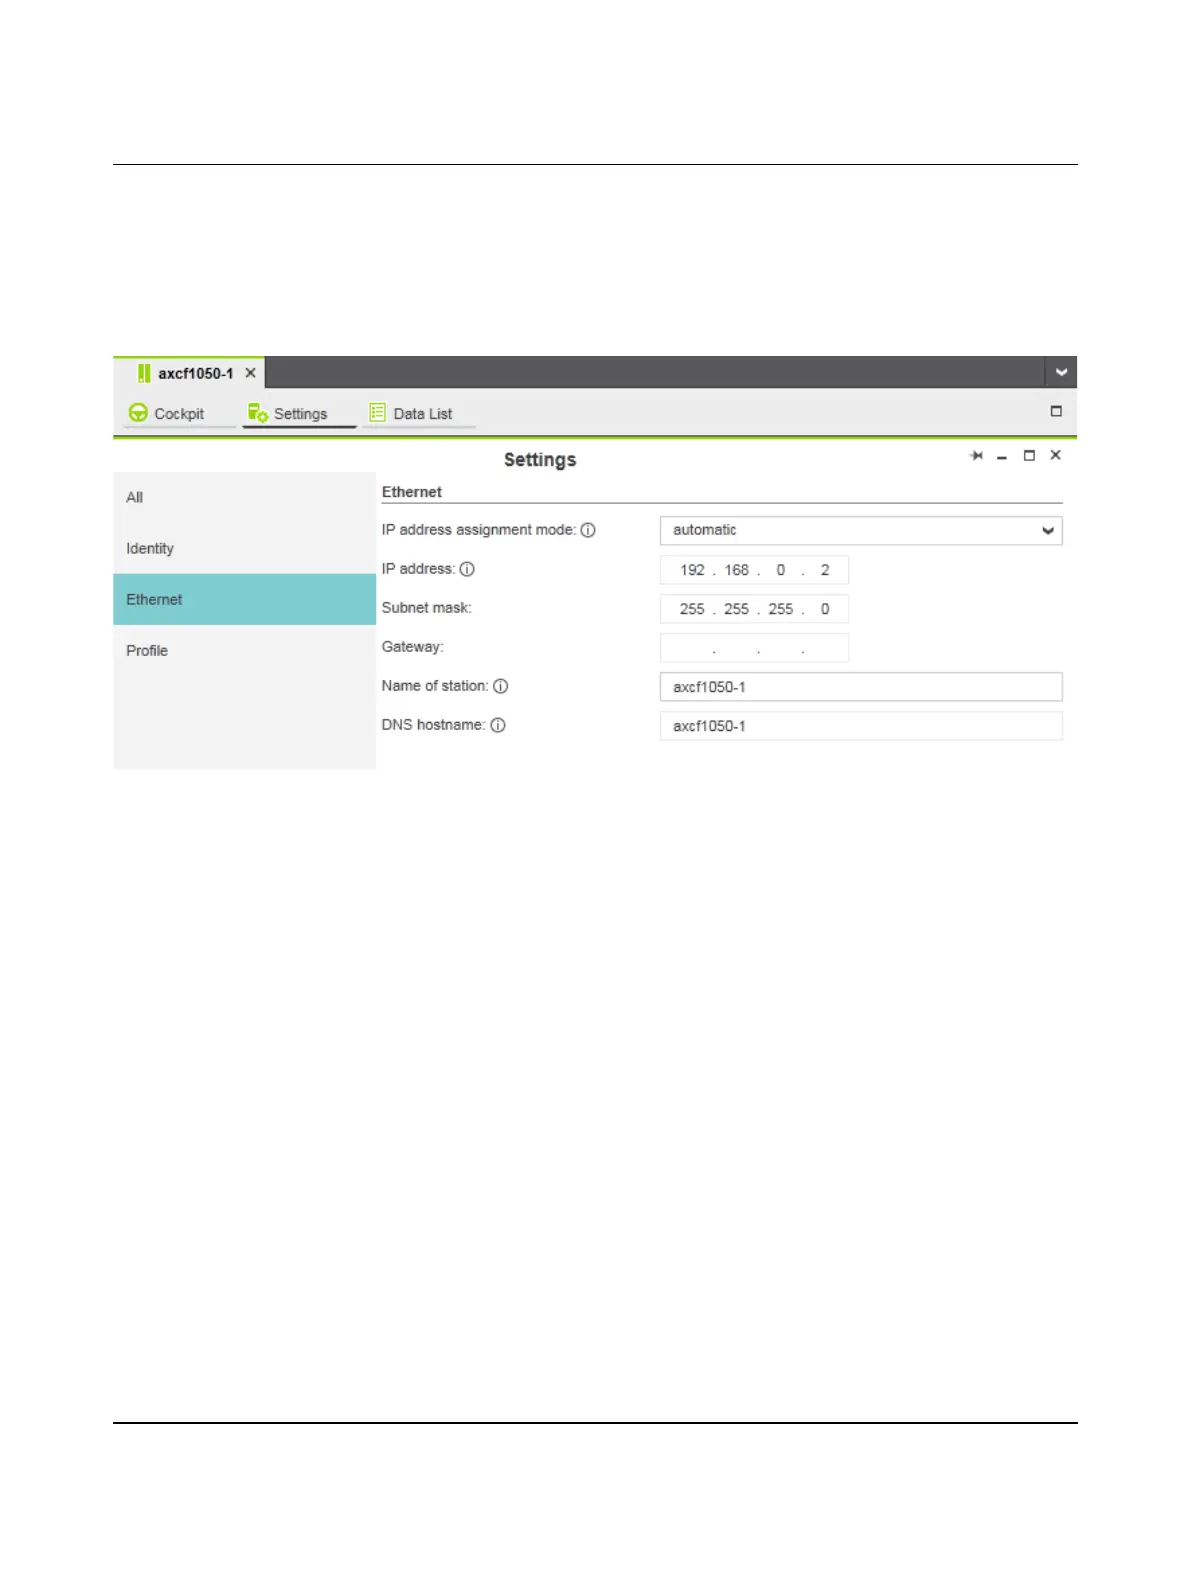
6.5.2 Setting the IP address
• Double-click on the controller node in the “PLANT” area.
The “axcf1050-1” editor group opens.
• Select the “Settings” editor.
• Select the “Ethernet” view.
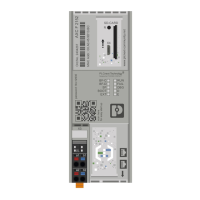
Figure 6-4 Setting the IP address
The IP address of the controller can be set automatically or manually. The IP address is as-
signed to the controller when you have connected PC Worx Engineer to the controller, see
Section 6.7, “Connecting to the controller”.
Setting the IP address au-
tomatically
• Select “automatic” in the “IP address assignment mode” drop-down list.
PC Worx Engineer automatically assigns an IP address to the controller from the set IP ad-
dress range (see Section 6.5.1, “Setting the IP address range”) as soon as a connection to
the controller is established (see Section 6.7, “Connecting to the controller”).
Setting the IP address
manually
• Select “manual” in the “IP address assignment mode” drop-down list.
• Enter the IP address, subnet mask and gateway in the respective input fields.
PC Worx Engineer assigns the manually set IP address to the controller as soon as a con-
nection to the controller is established (see Section 6.7, “Connecting to the controller”).
 Loading...