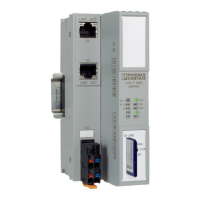
AXC F 1050
132 / 140 PHOENIX CONTACT 107709_en_00
B Appendix for document lists
B 1 List of figures
Section 3
Figure 3-1: Components of the controller ..............................................................15
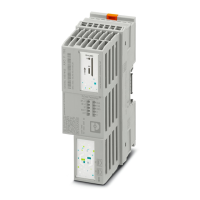
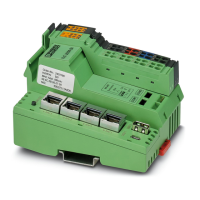
Figure 3-2: Axioline F station with AXC F 1050 controller ......................................18
Figure 3-3: AXC F 1050 as a PROFINET controller ..............................................19
Figure 3-4: AXC F 1050 as a PROFINET device ...................................................20
Figure 3-5: Redundant superordinate control system and subordinate net-
work ring redundancy using MRP .......................................................21
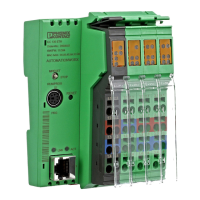
Figure 3-6: Connection and operating elements of the controller ..........................23
Figure 3-7: Diagnostics and status indicators .......................................................24
Figure 3-8: Mode selector switch ..........................................................................28
Figure 3-9: Reset button (1, concealed) ................................................................29
Figure 3-10: Internal basic circuit diagram ..............................................................31
Figure 3-11: Interfaces: (1) Ethernet, (2) service interface (Micro-USB type
B) ........................................................................................................32
Figure 3-12: Ethernet interface and pin assignment ................................................33
Figure 3-13: Terminal points for the supply voltage (communications power
U
L
) ......................................................................................................34
Figure 3-14: Structure of the controller bus base module ........................................34
Section 4
Figure 4-1: Placing the module vertically .............................................................36
Figure 4-2: Horizontal (A) and vertical (B) mounting position ................................38
Figure 4-3: Structure of an Axioline F station .........................................................39
Figure 4-4: Mounting the bus base modules .........................................................40
Figure 4-5: Snapping the controller into place .......................................................40
Figure 4-6: Inserting the SD card ..........................................................................41
Section 5
Figure 5-1: Overload range with fall-back characteristic curve .............................44
Figure 5-2: Overload range without fall-back characteristic curve .......................44
Figure 5-3: Connecting a solid cable .....................................................................45
Figure 5-4: Connecting a stranded conductor .......................................................45
 Loading...