Mounting hardware
107709_en_00 PHOENIX CONTACT 37 / 140
4.2 Basics
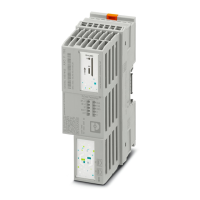
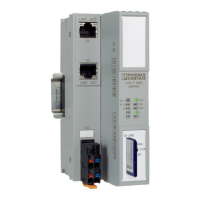
Mounting location The controller meets the requirements for the IP20 degree of protection. The compact de-
sign means that the controller can be installed in standard terminal boxes.
Mounting / DIN rail The controller is mounted on a 35 mm standard DIN rail without any tools using the bus base
module. The controller is mounted perpendicular to the DIN rail.
The local bus is created automatically when the bus base modules of the controller and
Axioline F devices are installed next to one another.
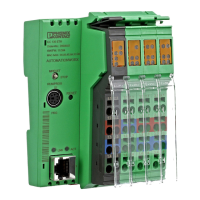
Supply plug The controller has a supply plug for connecting the power supply. The plug has spring-cage
terminal blocks. With suitable conductors, the conductors can be connected using direct
connection technology (Push-In technology).
FE connection There are two FE springs (metal contacts) on the bottom of the controller which establish
the connection to the functional ground when the controller is snapped onto a grounded DIN
rail.
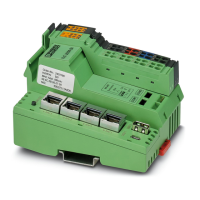
End brackets Mount end brackets on both sides of the Axioline F station. The end brackets ensure that
the Axioline F station is correctly mounted. End brackets secure the station on both sides
and keep it from moving from side to side on the DIN rail. Phoenix Contact recommends the
following end brackets:
For basic information on the Axioline F system and its installation, particularly mount-
ing/removing Axioline F modules, please refer to the UM EN AXL F SYS INST user man-
ual (“Axioline F: System and installation”).
• Observe the notes on securing the DIN rail and fastening elements as well as the
notes on mounting distances in the UM EN AXL F SYS INST user manual.
For additional information, please refer to Section 5.2.2, “Connecting the power supply”.
Table 4-1 Recommended end brackets
Mounting position Ambient conditions End brackets
Horizontal; A in
Figure 4-2 on
page 38:
Normal CLIPFIX 35,
CLIPFIX 35-5
High shock and vibration load E/AL-NS 35
Other; B in Figure 4-2
on page 38
Normal E/AL-NS 35
High shock and vibration load
 Loading...