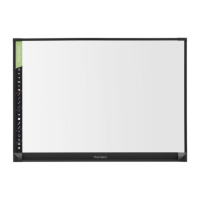
36 Working with Snapshots
TS and Webster
®
WORKING WITH SNAPSHOTS
A snapshot captures the current image of the PolyVision product in the
Webster software. Taking a snapshot does not change the image; it
captures the image in a Webster file.
Snapshots can be:
• Edited
• Saved
• Printed
• Sent in e-mail
• Exported
• Published as HTML or Adobe Acrobat PDF files
CREATING A SNAPSHOT
To capture a snapshot:
• TS and TSL models: Tap the Snapshot icon on the whiteboard icon
strip. Refer to “Whiteboard Icons” on page 14.
• Walk-and-Talk models: Press the Save button on the remote control.
• Click the Snapshot button in the annotation toolbar. Refer to “The
Webster Annotation Toolbar” on page 17.
• Choose “Snapshot” from the Edit menu.
• In projection mode, tap either the Snapshot or Screen Snapshot button
in the projection toolbar. Refer to “The Projection Toolbar” on page 27.
To capture a snapshot and start over with a blank current board pane in the
software:
• TS and TSL models: Tap the Snapshot/Erase All icon on the
whiteboard icon strip. Refer to “Whiteboard Icons” on page 14.
• Walk-and-Talk models: Press the Erase All button on the remote
control.
• Click the Snapshot/Erase All button on the annotation toolbar.
• Choose “Snapshot/Erase All” from the Edit menu.
Webster_draft2.book Page 36 Friday, November 3, 2006 2:24 PM