70 Webster Options
TS and Webster
®
“Drag and drop file”: Choose the file type of the resulting image when you
drag and drop a snapshot into another application. In Windows, the
options are bitmap or metafile. On a Macintosh, the options are picture,
bitmap, Compressed PICT, JPEG, JPEG-2000, MacPaint, Photoshop,
PNG, QuickTime Image, SGI, TGA, Adobe PDF, and TIFF formats.
“Backdrop export”: (Windows only) When you export a snapshot or the
current board to use as a backdrop, check to make the resulting image file
“8-bit color,” which saves memory and “Match source resolution,” which
retains the resolution of the original source graphic rather than filling the
board’s dimensions.
To restore factory default options:
• Click “Restore Defaults.”
CUSTOMIZING PROJECTION MODE SETTINGS
You can specify features that are available in projection mode. (Refer to
“Using Webster with a Projector” on page 23.)
To customize projection mode settings:
1 Choose “Options” from the Edit menu (Windows) or “Preferences”
from the application menu (Mac).
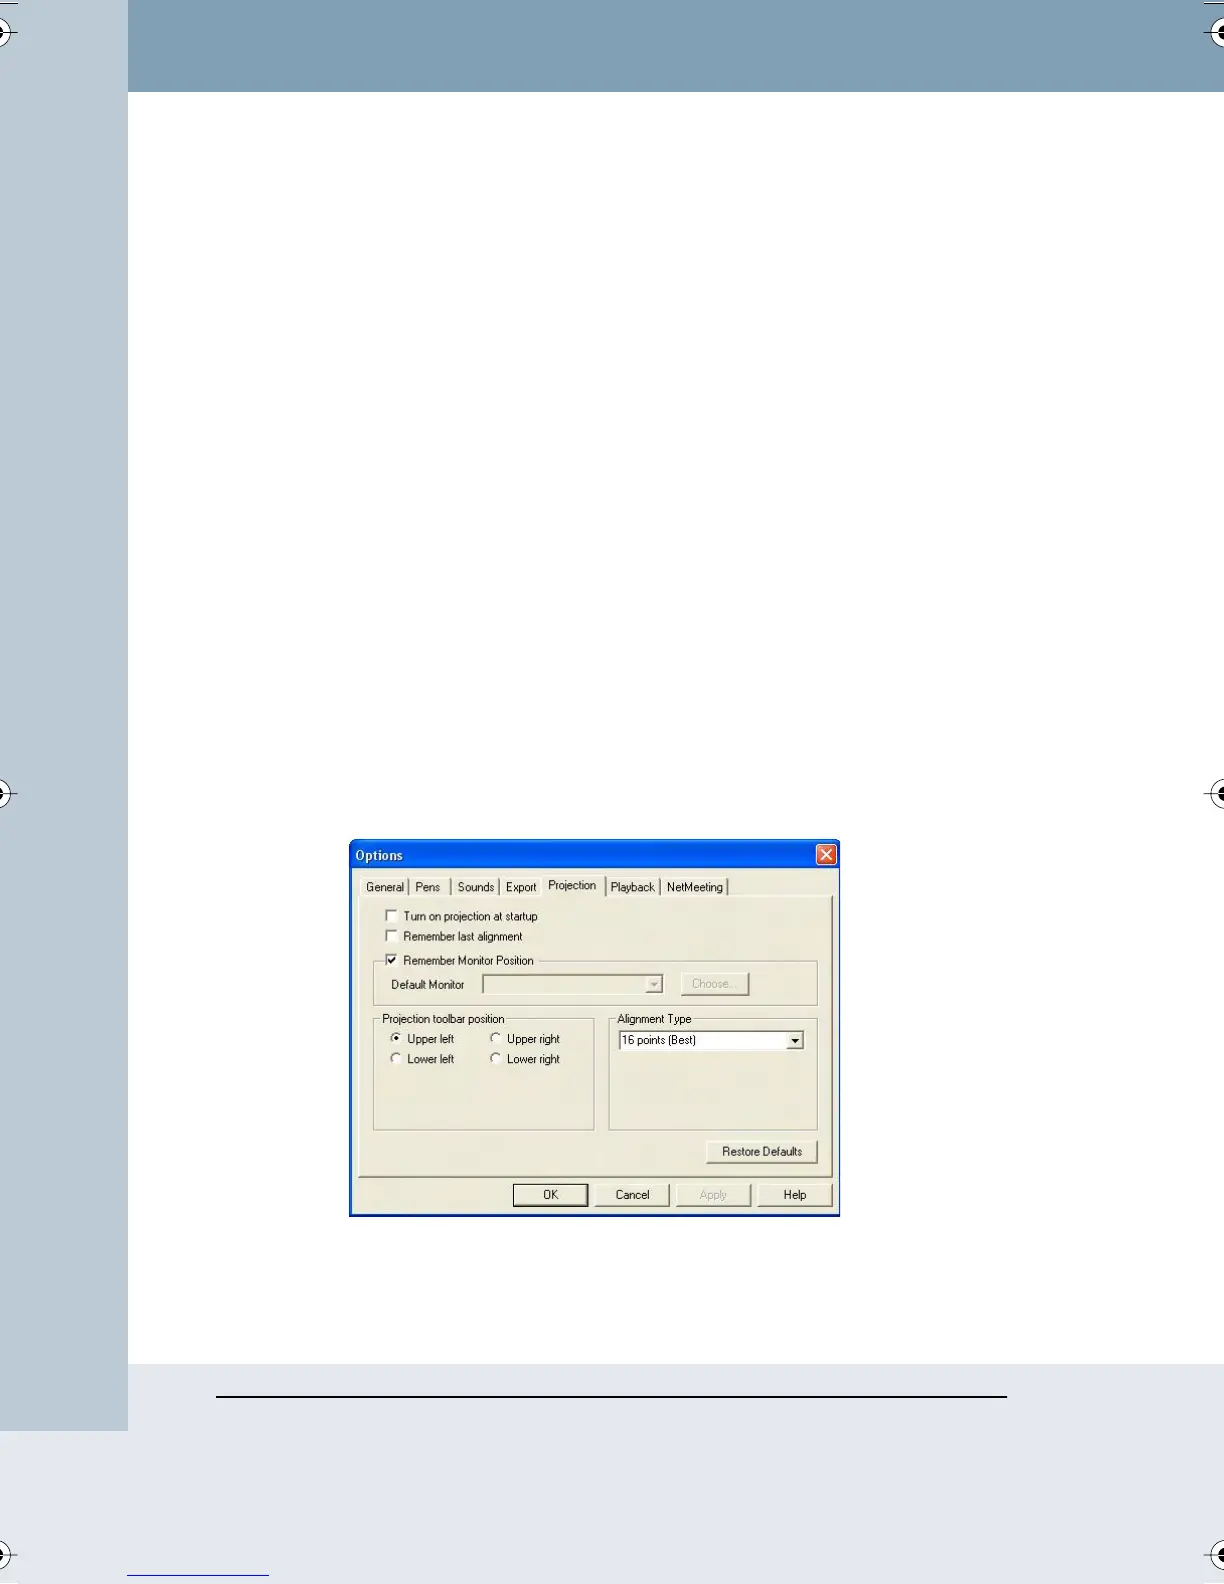
2 Click the “Projection” tab. The following dialog appears:
“Turn on projection at startup”: Check to enter projection mode
automatically whenever you launch Webster. This setting is recommended
for permanently connected FSM models.
Webster_draft2.book Page 70 Friday, November 3, 2006 2:24 PM