88 Installing the TS and TSL Series Whiteboards
TS and Webster
®
Connecting to Your Whiteboard
There are three basic steps to installing the TS Wireless transceiver on your
whiteboard:
1 Mounting the whiteboard transceiver.
2 Connecting the serial communications cable.
3 Connecting the power cable.
Mounting the Whiteboard Transceiver
We recommend mounting the whiteboard transceiver on top of the
whiteboard above the upper-left corner of the board. The transceiver with
the long cord mounts on the whiteboard. The transceiver is held in place
using double-sided foam tape. However, we recommend that you set up
both the board transceiver and computer transceiver of TS Wireless and
check that you have a working communications link between the two
transceivers before using the foam tape. The foam tape is not reusable.
There are two basic considerations for mounting the transceiver on the
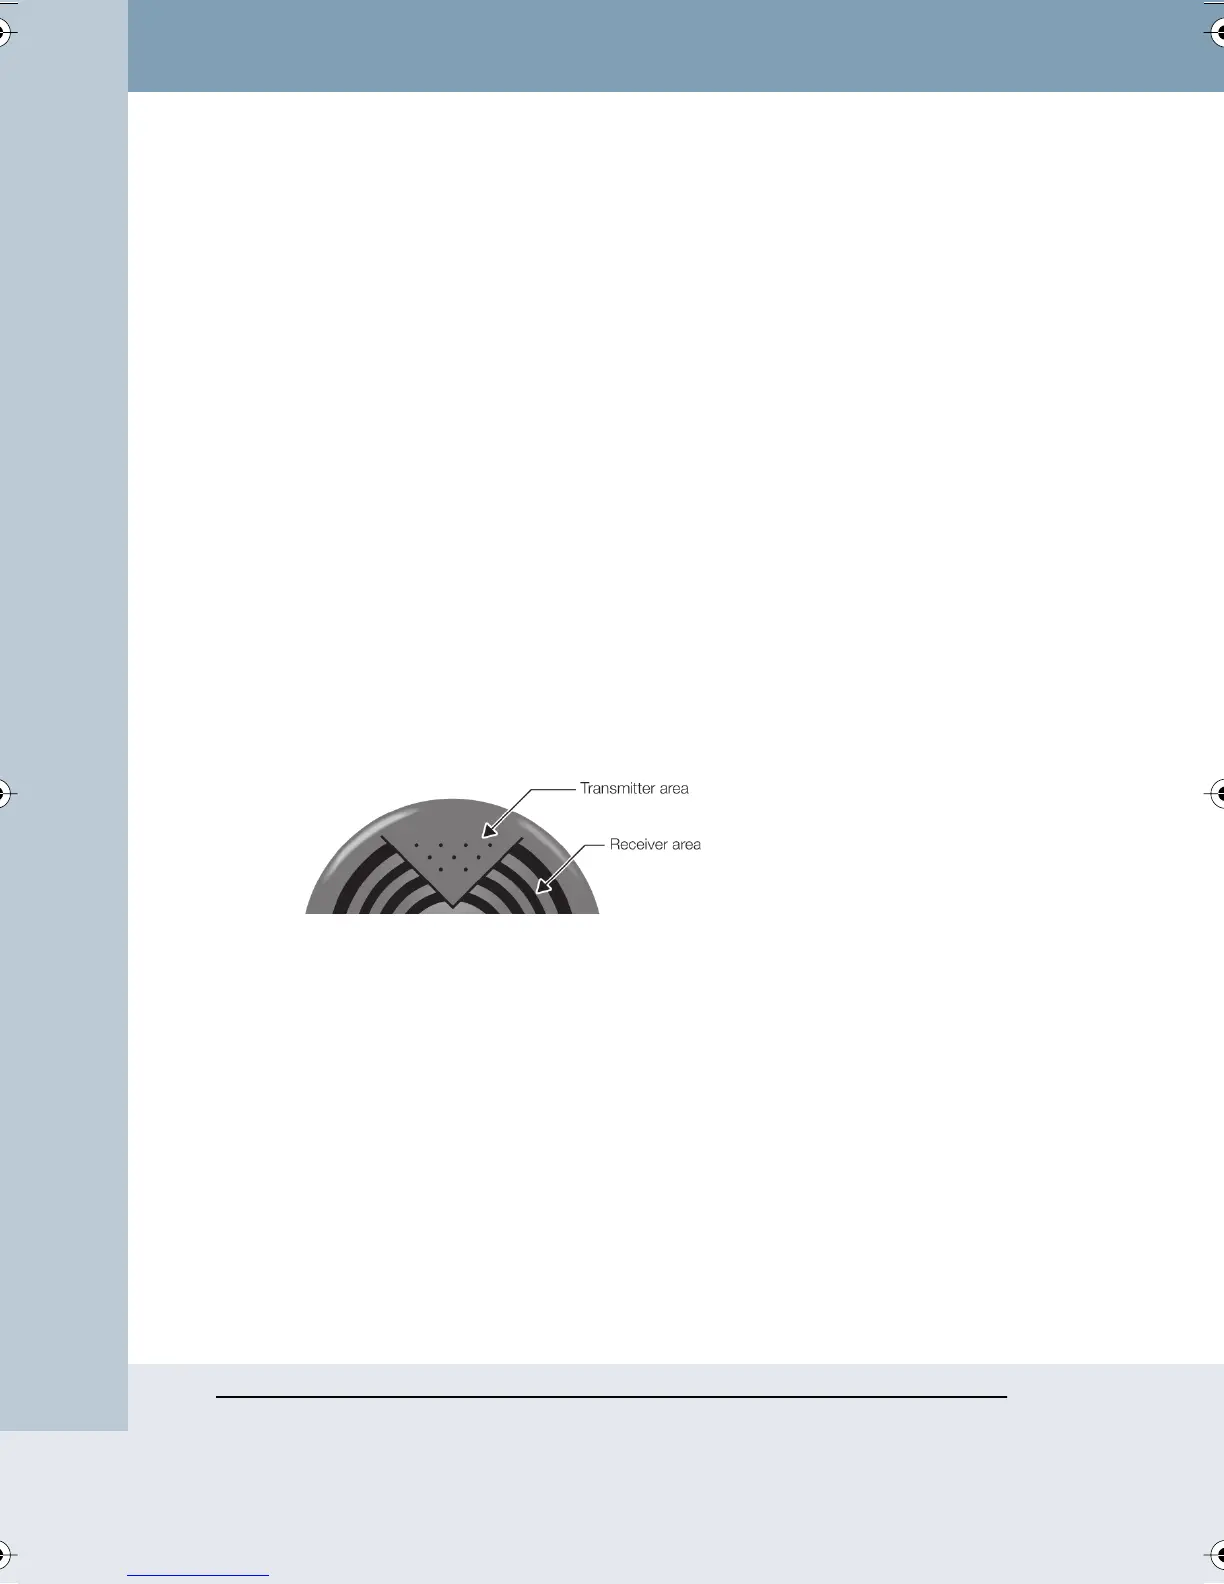
board. The most important of these considerations is assuring there are no
shadows cast on the receiver section of the transceiver.
In most circumstances, the best position for avoiding shadows is to mount
the transceiver as far forward as possible on the top of the whiteboard’s
frame. If your ceiling does not reflect IR well, try mounting the board
transceiver on the left side of the board near the top of the board. This
arrangement uses the left wall of the room as a reflector instead of the
ceiling.
The second consideration is minimizing the slack in the cable that runs
from the transceiver to the serial connection at the lower-left corner of the
board. This consideration is most important on mobile boards where a
loose wire might be snagged while the board is being moved. The slack
can either be coiled behind the whiteboard, or the transceiver can be
moved along the top of the board until the slack is taken up. It is best to
plug in the serial connector before making the final adjustment to take up
any slack. Note that the cable should come away from the serial connector
Webster_draft2.book Page 88 Friday, November 3, 2006 2:24 PM