Working with Snapshots 51
TS and Webster
®
To print snapshot(s) on a Macintosh:
1 Select a snapshot(s) to print or the current board pane.
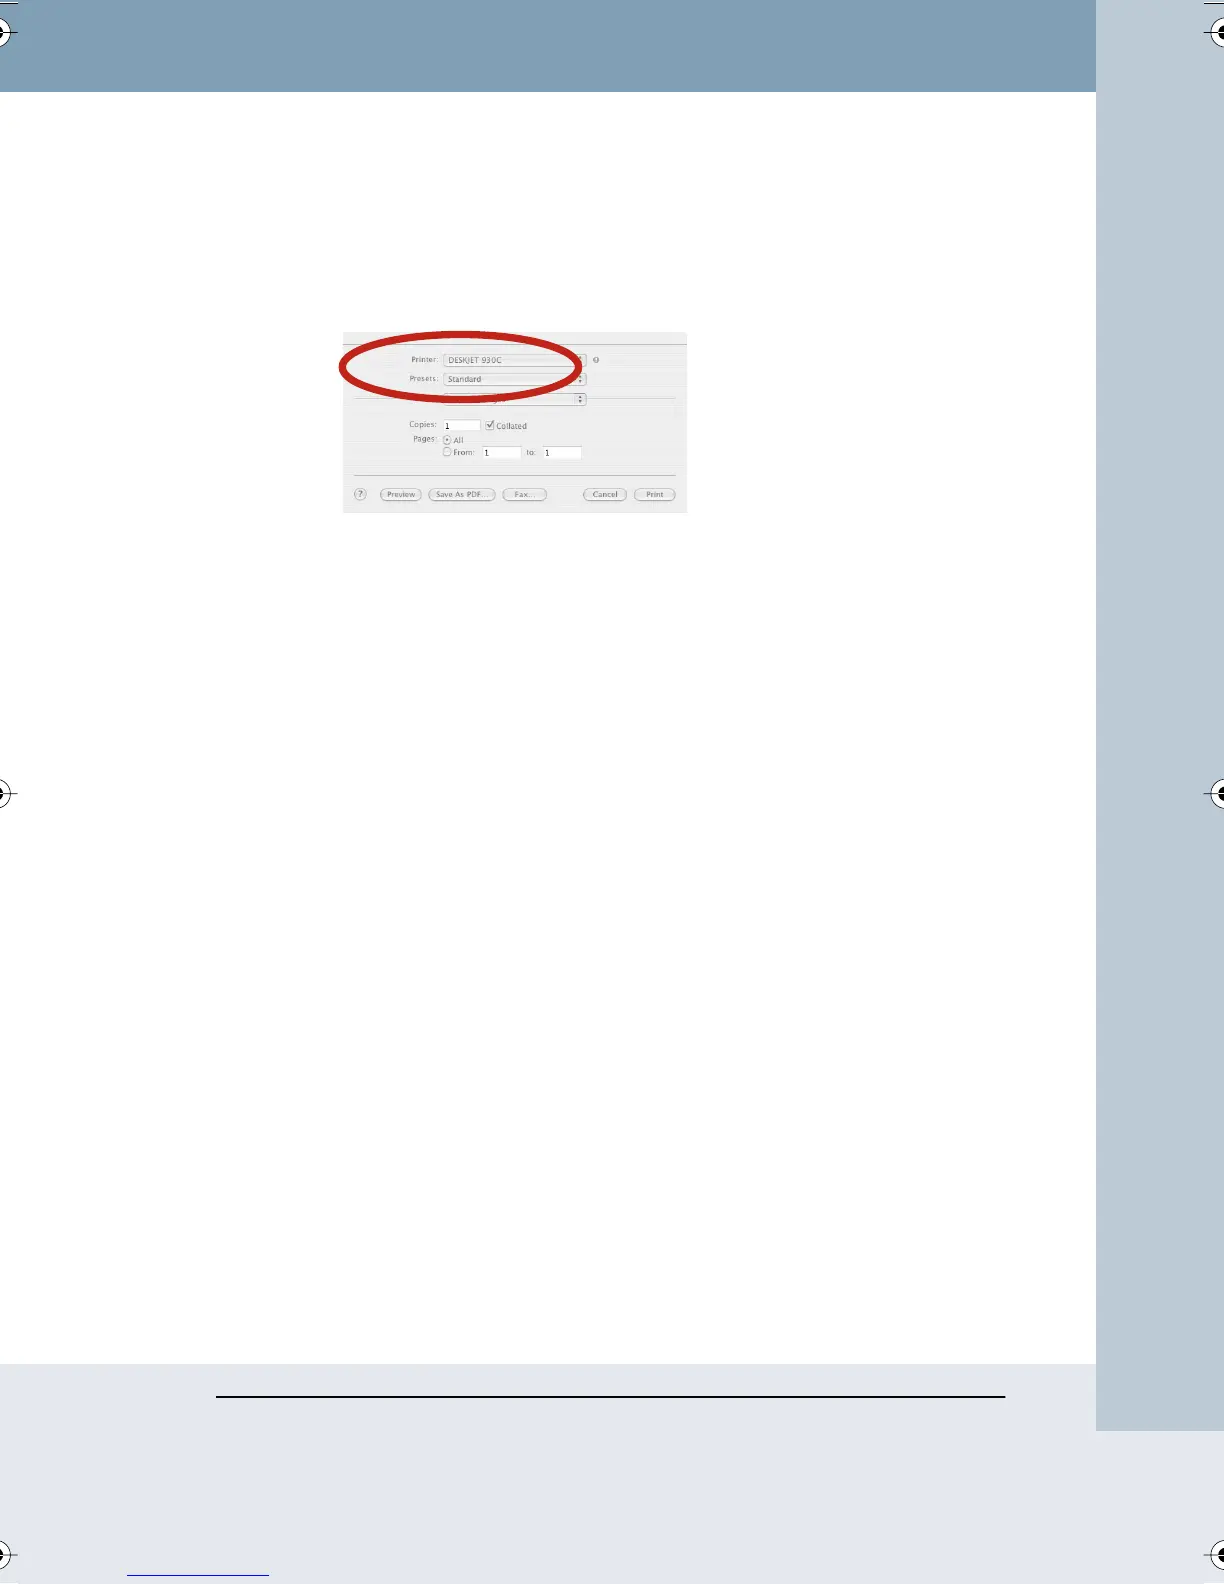
2 Choose “Print” from the File menu. The Print dialog for your printer
opens. A sample Print dialog is shown below.
3 Choose “Webster” from the drop down list.
4 To specify the items to print, click a radio button beside “All Snapshots
and Current Board,” “Selected Snapshot(s),” or “Current Board.”
5 Click “OK.”
To view a preview of the printed snapshot on a Macintosh:
1 Choose “Print Preview” from the File menu.
2 To scroll through all the snapshots in the Webster file, click the
navigation buttons at the top right corner of the window.
3 To specify the items to print, click “Selection.” The Print Settings dialog
opens and you can choose between printing “All Snapshots and
Current Board,” “Selected Snapshot(s),” or “Current Board.”
4 Click “Print” to open the Print dialog, or click “Cancel” to close the
window and return to the main window.
Each snapshot printout contains a header that includes the file name, the
snapshot caption, and the page number. To change the header, rename
the snapshot. Refer to “Renaming Snapshots” on page 44.
ADDING A BACKDROP TO A SNAPSHOT
To help you create custom snapshots that include a repeated image or
design, Webster enables you to add a backdrop to your snapshots.
Backdrops are image files that you created in another application or in
Webster. You can use backdrops:
• As grids or patterns for repeated use (such as music paper)
Webster_draft2.book Page 51 Friday, November 3, 2006 2:24 PM