Lower Unit
RO
3) Removing Lower Unit
WARNING
When working with outboard motor in tilt
up position, be sure to lock with tilt
stopper.
· Removal of lower unit does not require removal
of power unit from outboard motor body.
· When removing lower unit from outboard motor,
tilting the outboard motor makes the work easier.
3
1 2
1.
Shift the gear into forward (F) to set shift rod to upper
position.
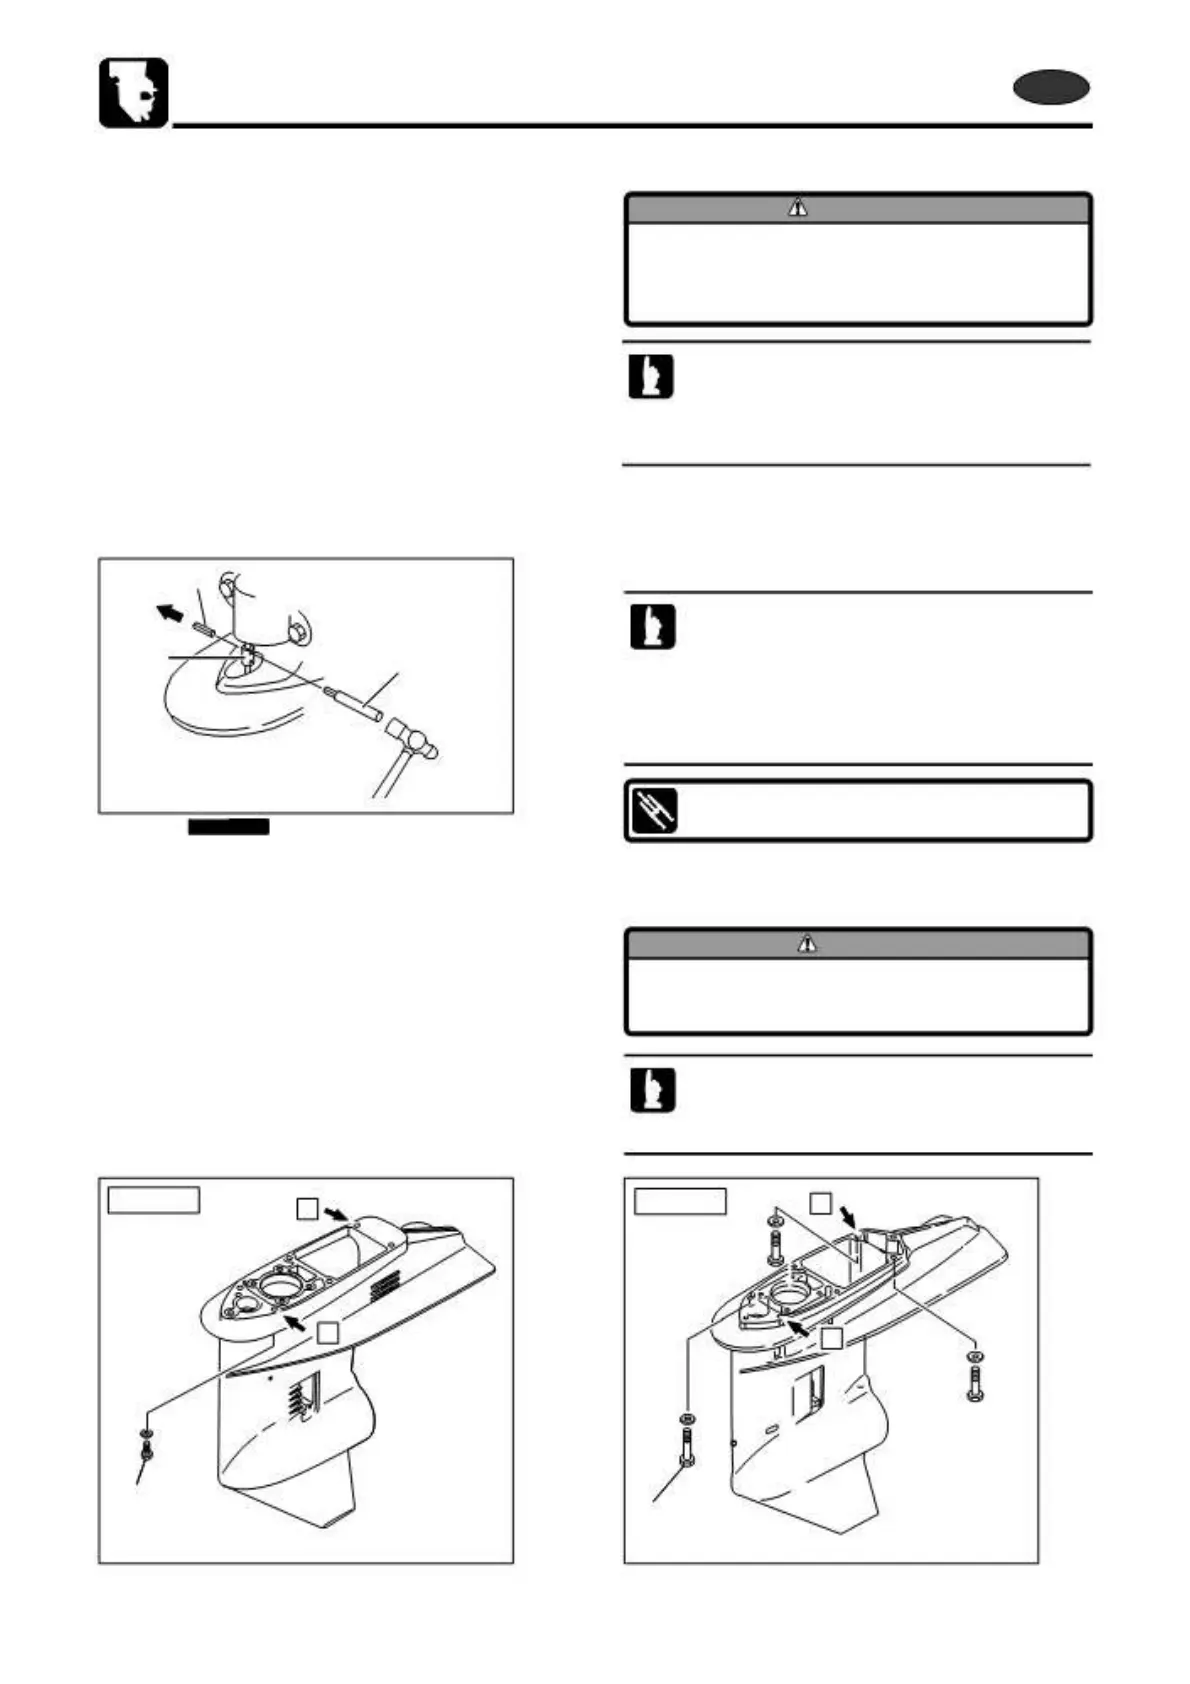
2. Remove spring pin and disconnect shift rod.
· Disconnect shift rod at upper side of shift rod
joint 1.
· Use spring pin tool A 2 to remove spring pin.
· Do not reuse removed spring pin.
· To hold lower unit, keep spring pin tool inserted
until the step of removal of lower unit.
Spring Pin Tool A 2 (ø3.0) :
3 Spring Pin
Do not reuse. P/N. 345-72227-0
3. Remove lower unit installation bolts 4, and pull lower unit
ass’y downward to remove.
CAUTION
Hold lower unit while removing it to prevent it
dropping on the floor.
Loosen all lower unit securing bolts except B (2
pcs.) in diagonal order, remove bolts B, and then,
remove all other bolts.
4
4
4 MX50:M8 6pcs. 4 MWX50:M8 4pcs., M10 2pcs.
6-24
2st 50D2 2011