Lower Unit
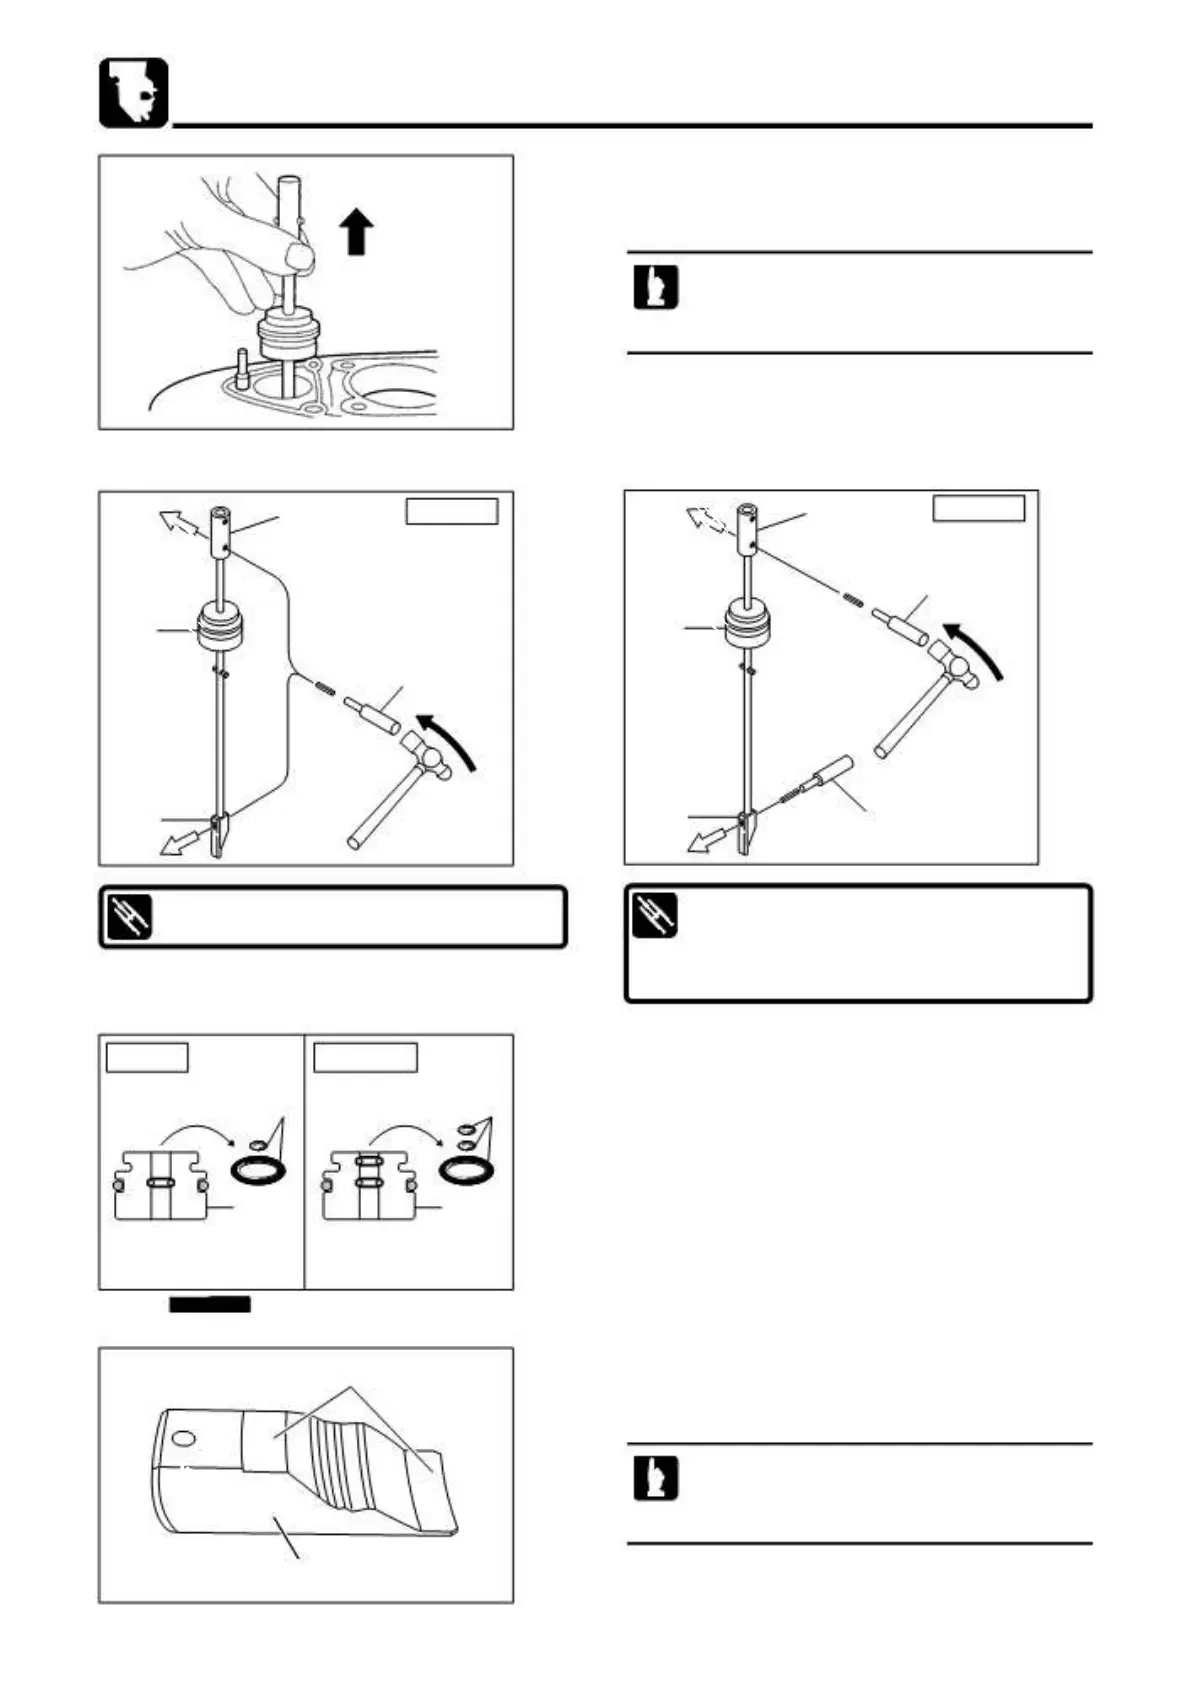
4) Disassembly of Cam Rod
1. Remove stopper, pull out cam rod bushing, and take out
cam rod from gear case.
When removing cam rod bushing, put a bladed
screw driver into groove of the bushing and pull
out while lifting it.
2. Remove shift rod joint 1 and clutch cam 2.
1
1
3
6
6
3
2
2
4
Spring Pin Tool A 3 (ø3.0) :
P/N. 345-72227-0
3.
5 5
6 6
Spring Pin Tool A 3 (ø3.0) :
P/N. 345-72227-0
Spring Pin Tool A 4 (ø3.5) :
P/N. 369-72217-0
Remove O ring 5 from cam rod bushing 6.
5 O Ring Do not reuse.
5) Inspection of Clutch Cam
a
1. Check the part for wear and damage.
Replace if necessary.
Check especially for wear on the face a that
scrapes against push rod and flaws on the
circumference b.
b
6-26
2st 50D2 2011