8 | iZoneControl
56 / 100 Operating instructions
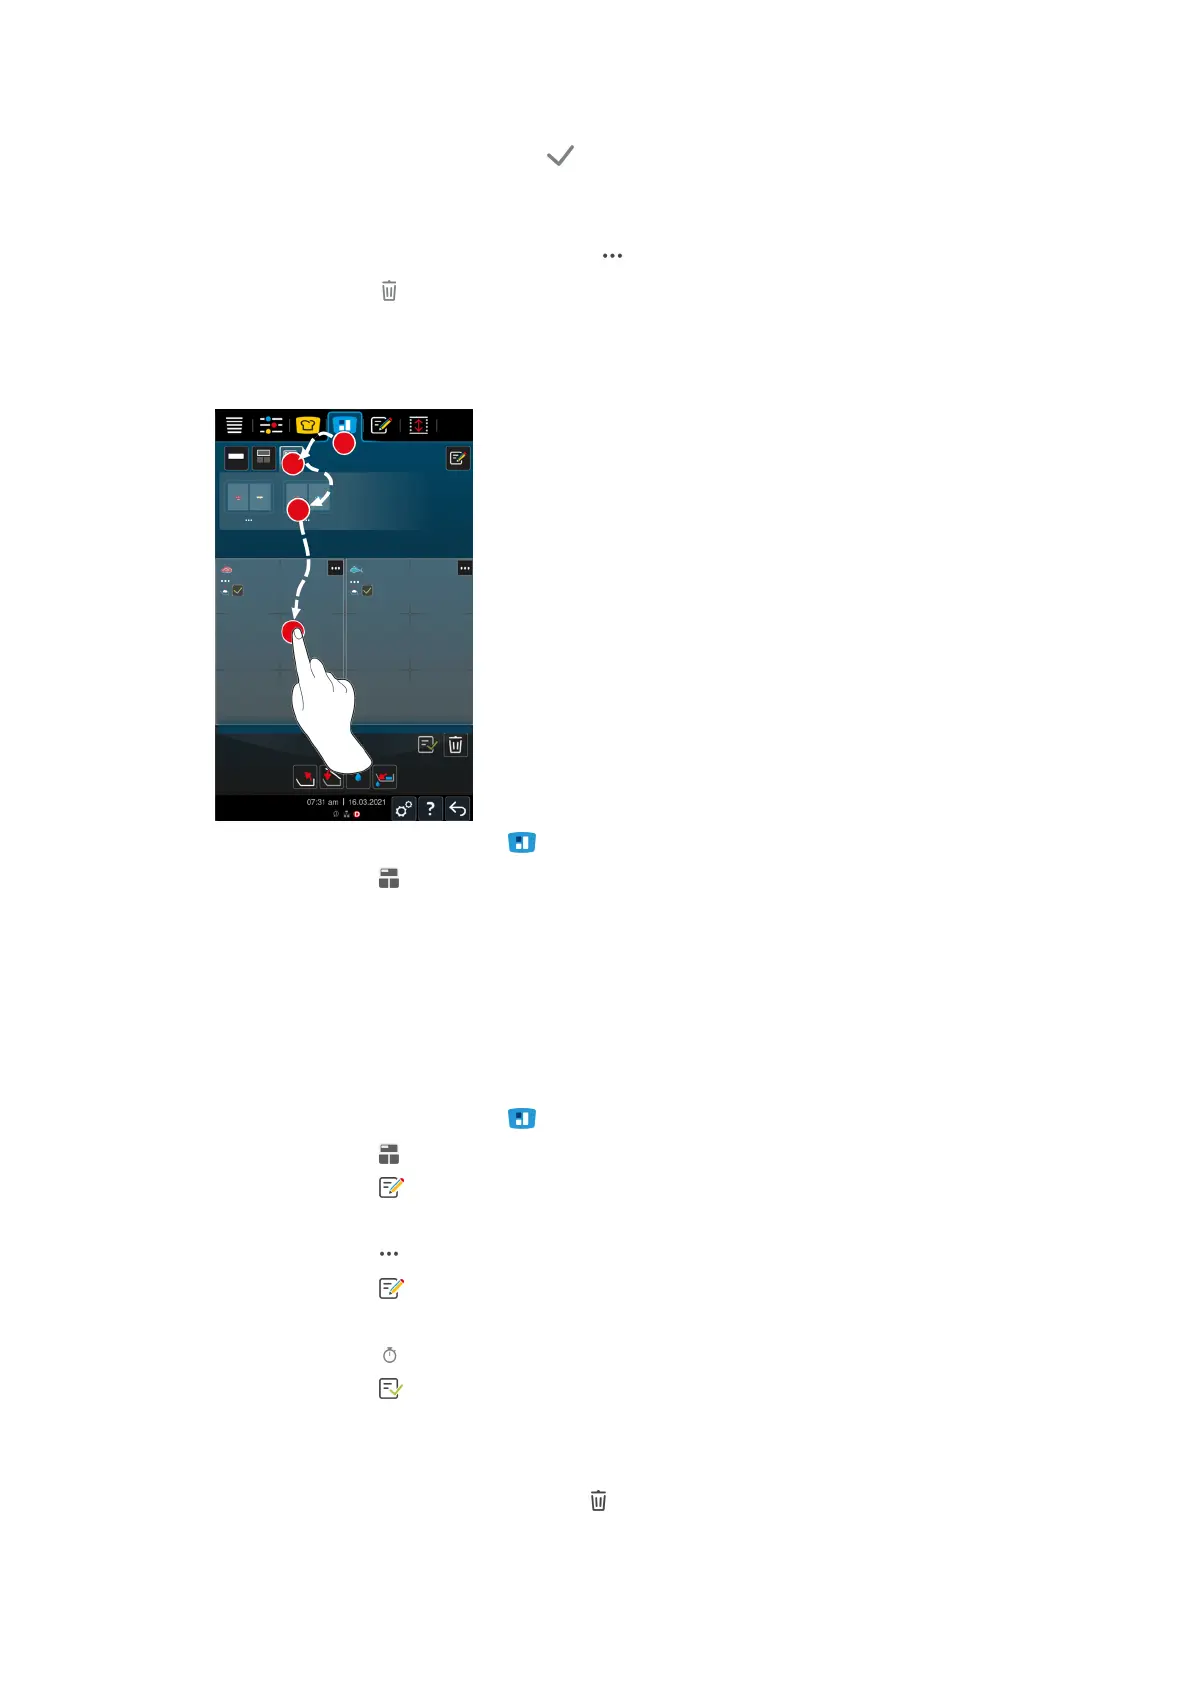
7. To confirm the zone, press the button:
> The zone is confirmed.
8. To add another zone, tap on the area in the pan that is not yet allocated or wait briefly.
9. To delete a confirmed zone, press the button:
10. Press the button
8.3 Pan allocation
8.3.1 Preset pan allocation
1. Press the button in the menu bar:
2. Press the button
> The preset pan allocations are displayed.
3. Select the desired pan allocation.
4. Press on the pan surface.
>> The pan will automatically be allocated with the corresponding settings. The zones are preheated to the
defined temperature. Once the temperature has been reached, you will be prompted to load the unit.
8.3.2 Creating your own pan allocations
1. Press the button in the menu bar:
2. Press the button
3. Press the button
4. Now you can create a pan allocation and name it.
5. Press the button within your created pan allocation.
6. Press the button
7. Select either a cooking path or a program to be added to your pan allocation.
8. Press the button if you want to add a timer to your pan allocation.
9. Press the button to save your pan allocation.
10. Either scroll through the list of possible pan allocations or press buttons 1, 2, 3 or 4 to sort the list.
Delete pan allocation
1. To delete a pan allocation, press the button: