SCANNER SECTION
B044/B045/B046 3-12 SM
3.4.6 SCANNER ALIGNMENT ADJUSTMENT
1. Remove the rear cover (☛ 3.3.2), operation panel (☛ 3.3.7), and exposure
glass (☛ 3.4.1).
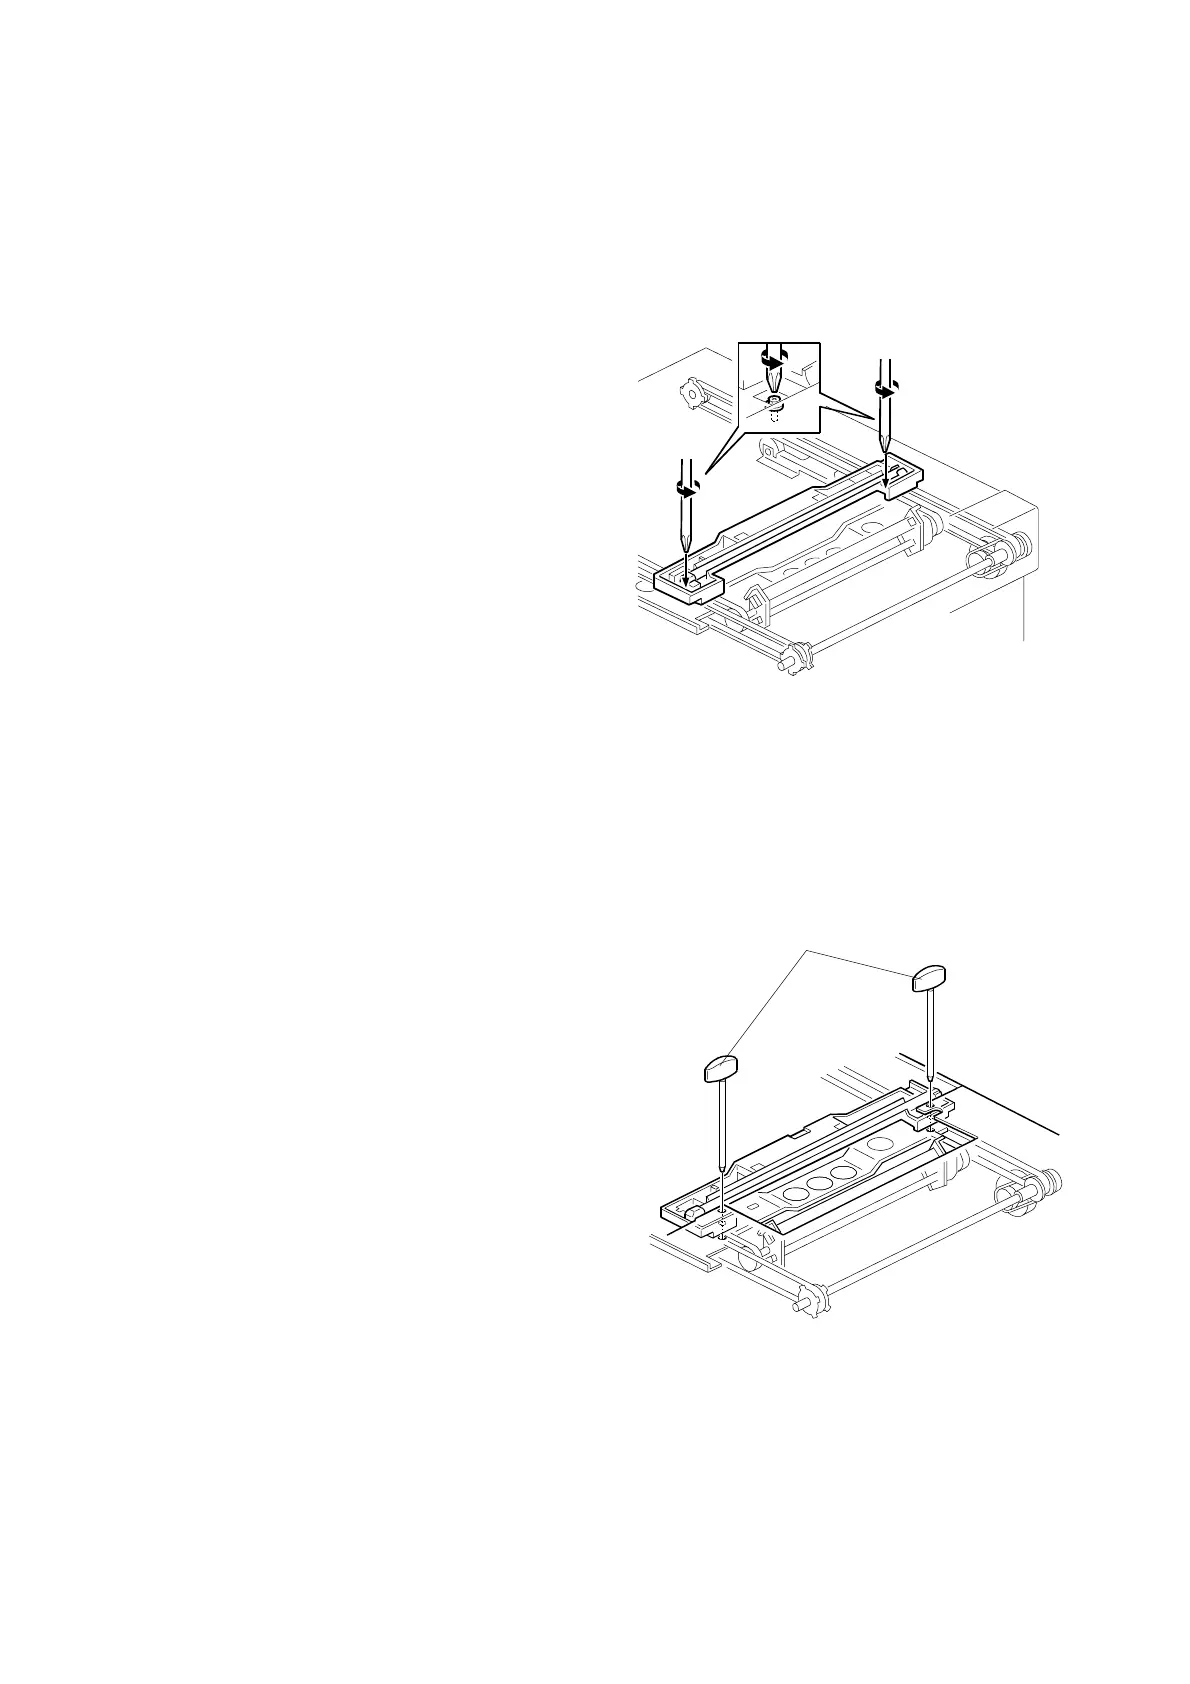
2. Loosen the 2 screws holding the 1st and
2nd scanner belts in place.
3. Slide the 1st and 2nd scanners so that all four of the following are roughly
aligned on both the front and back sides:
• The hole on the copier's lid
• The hole on the 1st scanner
• The corner right hole on the 2nd scanner
• The hole at the base of the scanner
4. Insert the two optics adjustment tools
[A], and adjust the scanners as
necessary so that the tools go through
all four holes.
5. Tighten the two screws that you
loosened at step 2 above, so that the
belts are firmly clamped into place.
6. Remove the adjustment tools.
B046D002.WMF
B046D003.WMF
[A]
 Loading...