-53-
Optical Adjustment
1. Each adjustment requires hex wrenches and slot screwdrivers.
2. Set the motorized lens shift to the center position (horizontal and vertical) with LENS SHIFT Button.
Press and hold the LENS SHIFT button for more than 5 seconds, the lens will move to the center position auto-
matically.
3. When adjusting optical components adjustments, using Standard Zoom Lens (LNS-S03) is recommended.
4. When adjusting the optical center adjustment, follow the following procedure.
a) Disconnect the connectors K22C, K8E, K88F, K88G,
K25Y and three flexible cables of the LCD panels on
the main board.
(Do not touch the electrode of flexible cables.)
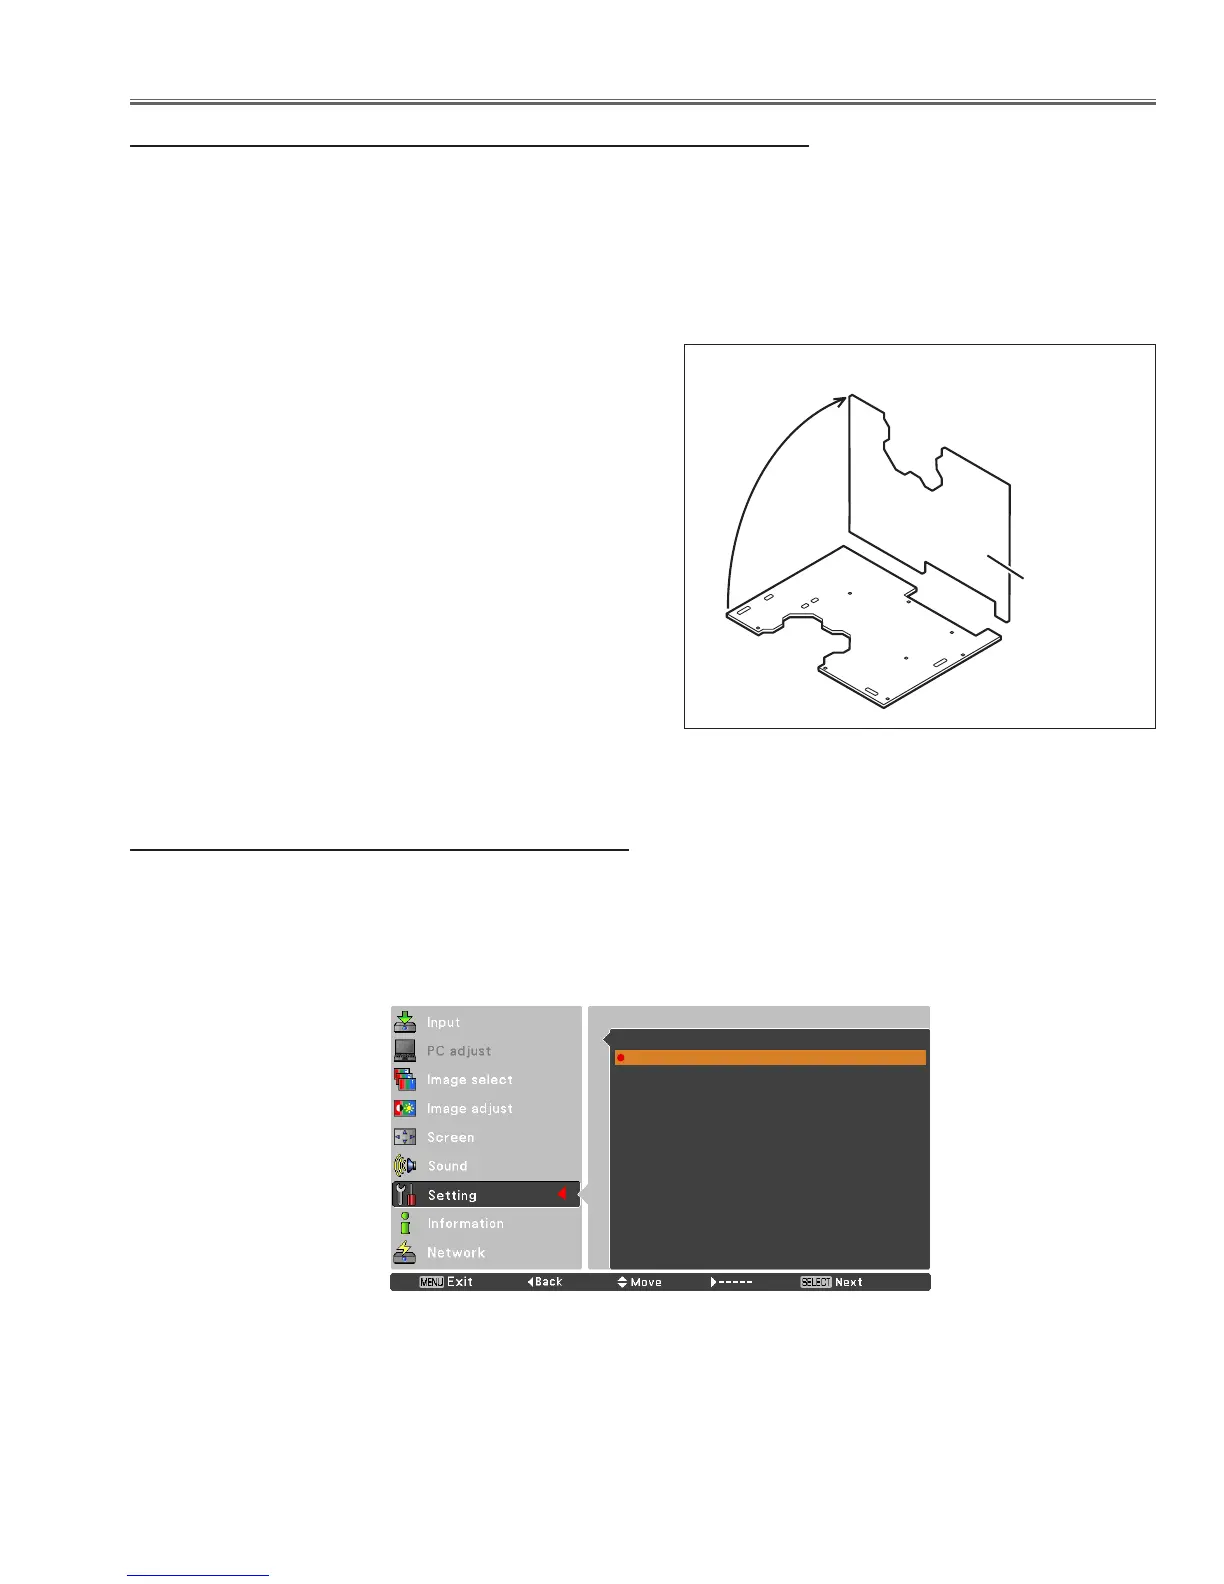
b) As shown in a figure right, set the main board to the
upright position.
c) Remove the shutter assy from the cabinet.
d) Replace the polarized glass unit with the adjustment
tool. This Adjustment tool can be ordered as a service
part. The part no. is shown on next page.
e) Press and hold the AUTO PC ADJ. button on the con-
trol panel and then turn the Mains switch on. The LED
indicators will flash twice to indicate that the mode is in
the optical adjustment mode. Then turn on the projector
by pressing the ON/STAND BY button.
CAUTION: Do not short main board with the chassis. Pro-
tect main board with necessary isolation mate-
rials from shorting.
CAUTION:
When adjusting the optical components, do not insert any materials into the
optical block for blocking the light. Or the optical block may be damaged by
overheating or scratching the parts.
Before Adjustment
To select the internal test pattern
K8E
K88F
K28C
K22C
K88G
K25Y
Main board
Open upper way.
1 Press the MENU button.
2 Select the "Test pattern" from the "Setting" menu.
3 Press the SELECT button. The test pattern menu appears on the screen.
4 Select a pattern name and press SELECT button.
To cancel the test pattern, press any of the buttons.
Color
Gradiation 1
Gradiation 2
Gradiation 3
Gradiation 4
All white
All black
Cross
Test pattern
 Loading...