SEEDMASTER 2023
102
CREATING JOB PROFILES
Use Job Profiles for each field. The Job Profile can be used year after year. It stores field data, scouting
information (FLIP Maps), AB Lines, and Grower/Farm/Field (GFF) information.
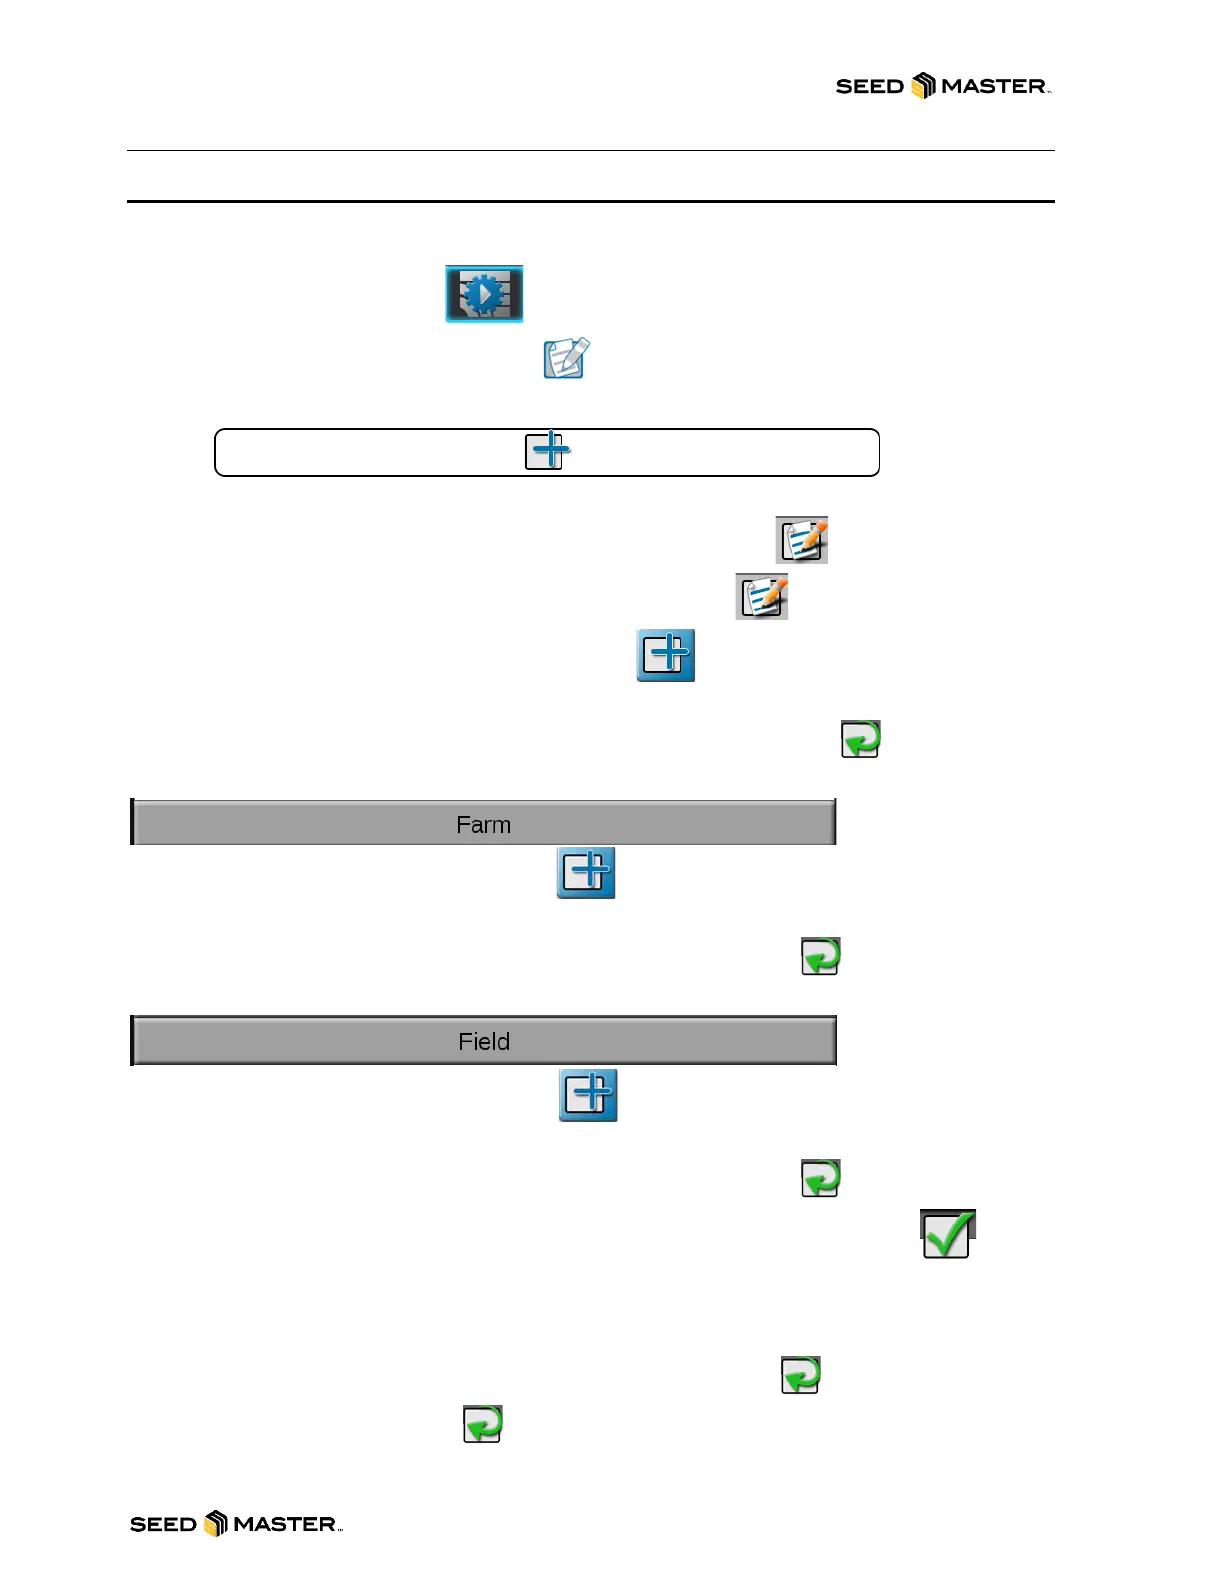
1. Touch the Job Profile Icon.
2. Touch the Configure Job Profile Icon.
3. Touch the Add Button at the bottom of the screen.
4. Enter a Profile Name for the Field (Field Name).
5. Touch the Edit button to add the Grower/Farm/Field Information.
6. Touch the Edit button again to add Grower/Farm/Field data.
7. Touch the Add button to add Grower Information.
8. There are several data fields that can be added to the Grower Info. Add Grower info as desired.
The more information the better. Touch the check mark when complete.
9. Touch the Farm Panel to add Farm data.
10. Touch the Add button to add Farm data.
11. There are several data fields that can be added to the Farm Info. Add Farm info as desired. The
more information the better. Touch the check mark when complete.
12. Touch the Field Panel to add Field data.
13. Touch the Add button to add Field data.
14. There are several data fields that can be added to the Field Info. Add Field info as desired. The
more information the better. Touch the check mark when complete.
15. After adding the Grower/Farm/Field information touch the check mark to confirm.
16. For general settings choose Last Pass for Guidance.
17. If FLIP maps are set up you can add the appropriate FLIP map to the scout setting. This will
preload FLIP maps when starting a job.
18. Touch the check mark when complete, the Job Profile is created.
19. Touch the check mark to exit.