SEEDMASTER 2023
59
ISO RCM QUICK START PROCEDURE
Before you go to the field, please review the steps below to ensure your ISO RCM is field ready.
Step 1. Review ISO Toolbar Quick Start Procedure (PAGE 23)
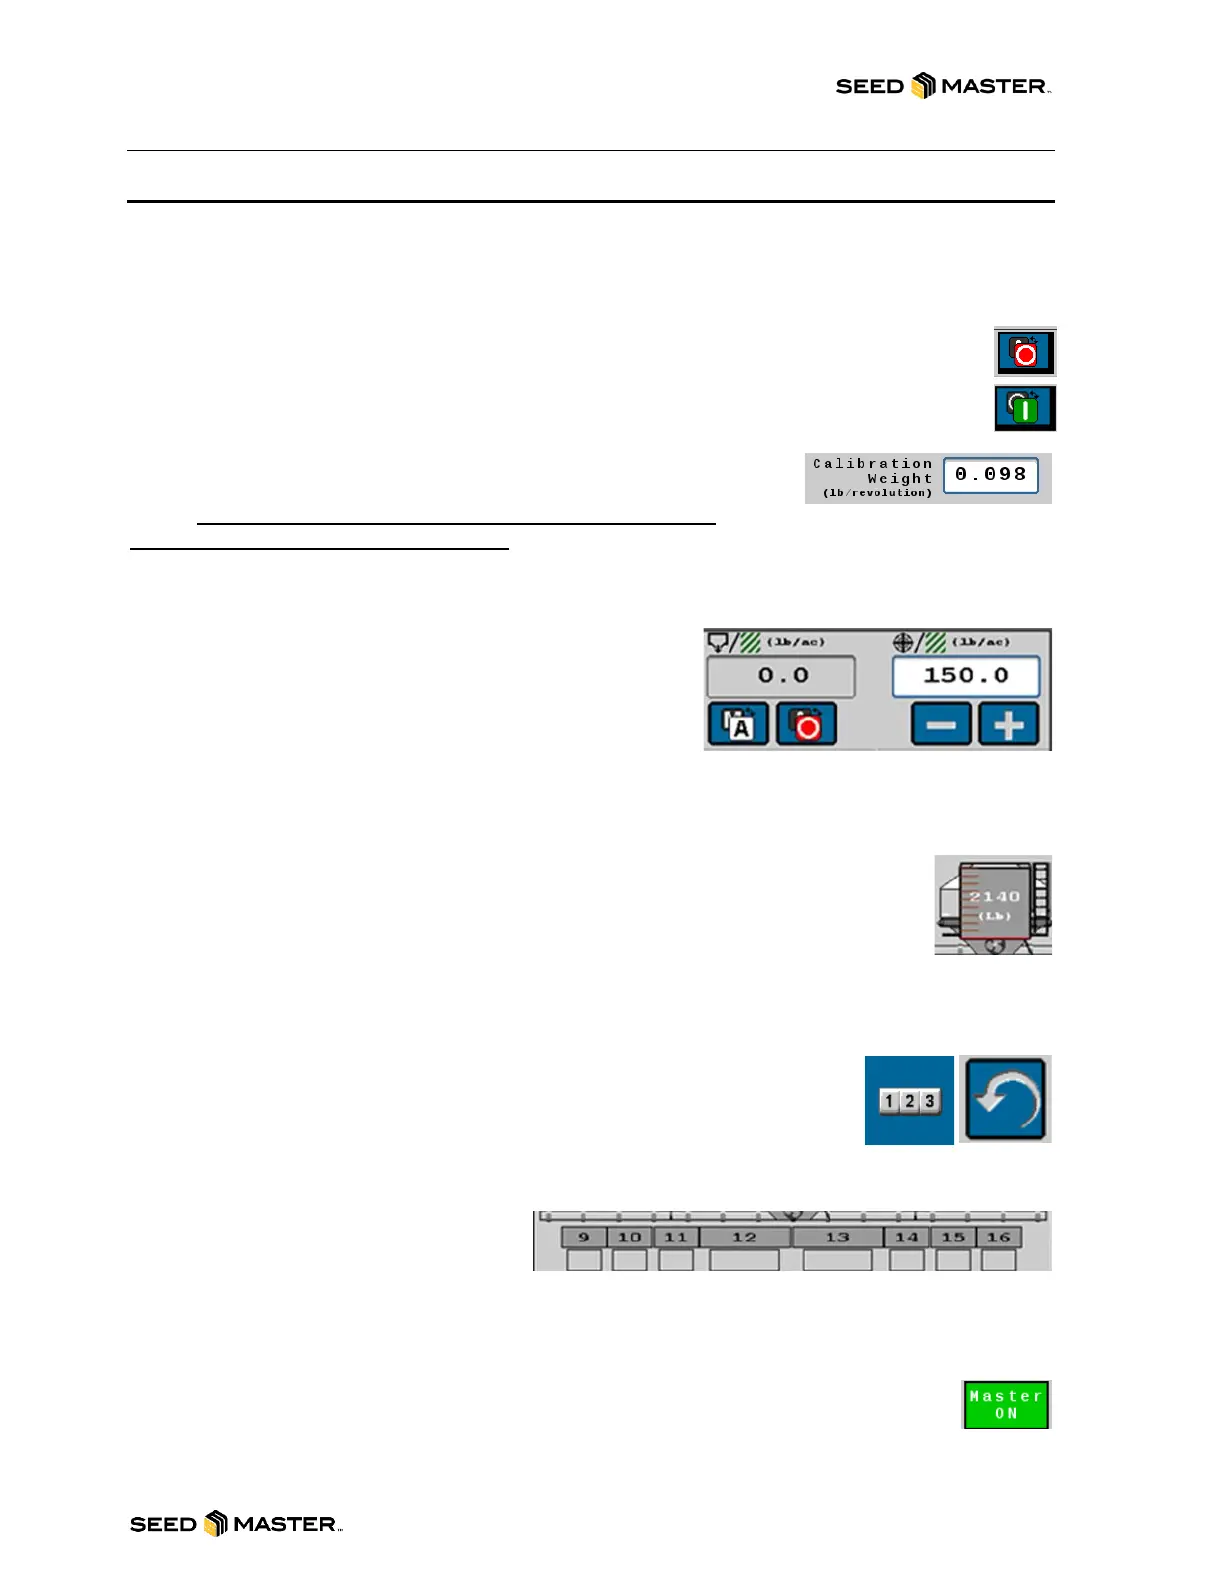
Step 2. Turn Product Master ON/OFF Switch ON for each product being applied: Before
turning the switch on, please ensure the machine is free of any persons, animals, or objects
that could damage your equipment. Touch the RED safety switch. The Safety Switch will turn
green indicating that the system is ready.
Step 3. Review the Calibration Weight: The Calibration Weight value
indicates the number of pounds per revolution that the product meter will
output. ALWAYS ensure that the correct Calibration Weight is
entered into the Calibration Weight area. Refer to the Catch Test Calibration Procedure (PAGE 63)
section for instructions to perform a Calibration Catch Test. To access the Calibration weight, touch the
tank for the active product. It is important to review the calibration weight for any active product.
Step 4. Review the Target Rate & Product Control: The
target rate is the desired pounds of product that will be applied
per acre. Before going to the field, ensure the correct rate is
set. Also, ensure that the product control is set to “Auto”. Auto
mode will automatically adjust the product rate during seeding
to keep the rate at the desired target. If set on Manual, it will lock the PWM valve at its current setting
and will not adjust for terrain changes or speed changes. Typically, manual mode is used for
troubleshooting or the loss of the rate controller’s speed input.
Step 5. Review Tank Weight: The live tank weight from the load cells is displayed on
the home page in the middle of the screen. Ensure the tank weight is correct before
entering the field. Before filling the tank, it is important to zero the scale. Touch tank then
the “zero” button. After filling, a tank capacity can be entered. Touch the tank, then view
the Current Tank Level, and then enter that number into the Tank Capacity. This would
be used if a low tank alarm is being used. If scale weight is inaccurate, refer to page 73 to recalibrate
the scales.
Step 6. Review Tally Registers: Before starting a new field, review and reset
the Field Area and Field Product Weight. Touch the reset button on the Current
Totals page to reset the Tally Registers for a new field.
Step 7. Review Onscreen Switch Box: Ensure that all Zone Sections are enabled. There will be a
square located below the Zone Sections indicating that the Zone is enabled and will be engaged when
the product control is turned on. The
square will turn green when zone is
engaged.
Step 8. Review Fan RPM: Fan RPM is located Display Menu Area. Ensure that each active product
has a Fan RPM.
Step 9. Turn Master Switch ON: When the machine is in position to apply product, use the
foot switch to turn the master switch on. The Master will display Green and ON.