SEEDMASTER 2023
19
MANUAL SWITCH BOX INSTALLATION AND
OPERATION
INSTALLATION
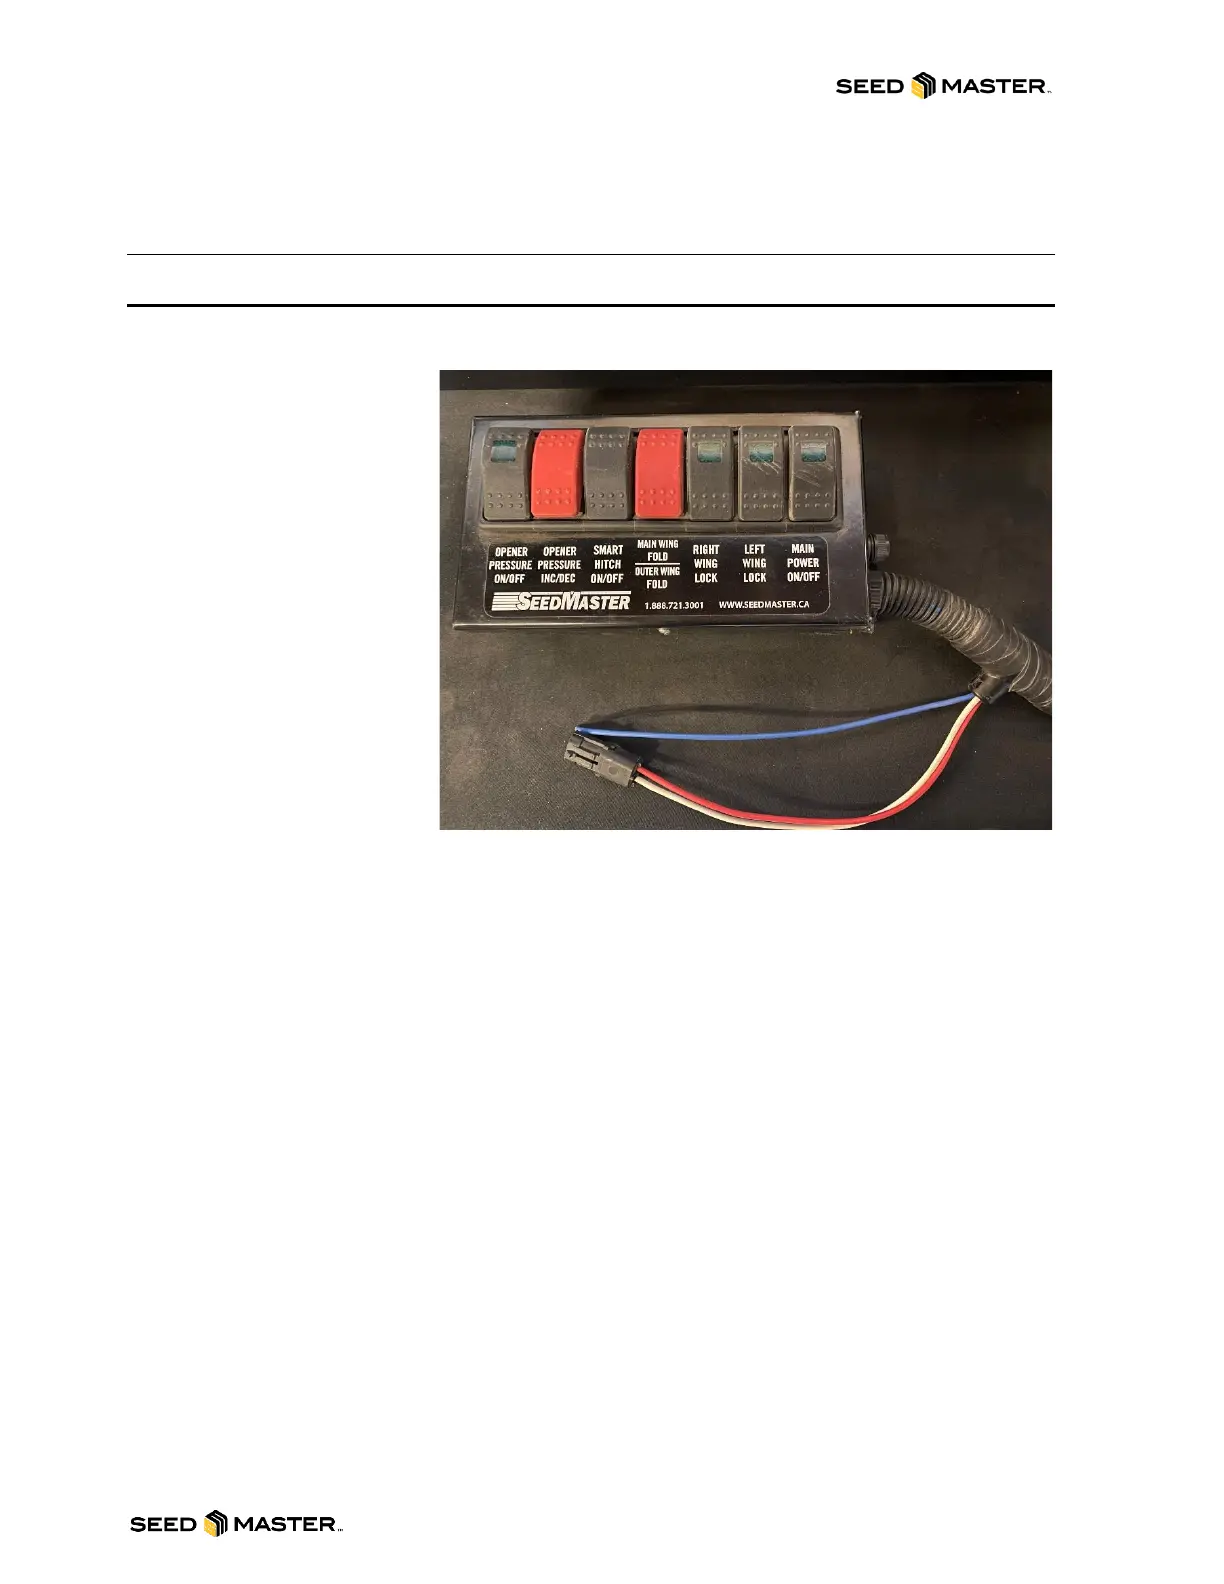
The SeedMaster Manual Switch Box consists of 7 switches, a 20-amp fuse, and a wiring harness.
1. Place the electrical box
in the cab at a
convenient location.
2. Mount the box at the
chosen location by
opening the box and
fastening the back panel
at a desired location in
the tractor cab.
3. Use a 14-gauge wire to
provide ground to the
white wire. This can be
from the battery, or from
your tractor’s switched
power.
4. Use a 14-gauge wire to
provide 12-volts to the
red wire. This can be from the battery, or from your tractor’s switched power.
5. Run the harness through the cab to the hitch. Connect the plugs at the hitch to the mating plugs
on the drill.
BLUE AUXILIARY WIRE
If you are using our switch box in combination with a third-party metering system, you may be able to
link the two using the blue auxiliary wire (provided both are operating at 12 volts). This allows the
operator to activate only one switch for a headland turn. There are two different ways the blue wire can
be used:
1. Use the blue wire to apply 12-volt signal to activate a relay for 3
rd
party metering devices. Power
is supplied to the blue wire when the opener pressure on/off switch is activated from the
SeedMaster control box.
2. If you are using another manufacturer’s 12-volt product metering system, you can use the blue
wire to signal the SeedMaster Manual Switch Box “opener pressure on/off switch”. This is done
by back-feeding 12-volt power to the blue wire. If this is your choice, always leave the switch in
the off position.
NOTE: The blue auxiliary wire is not a ground. It may or may not be used depending on seeding
system installation.