3-25
3
Operation Examples (Distance measurement)
7
3
4
6
2
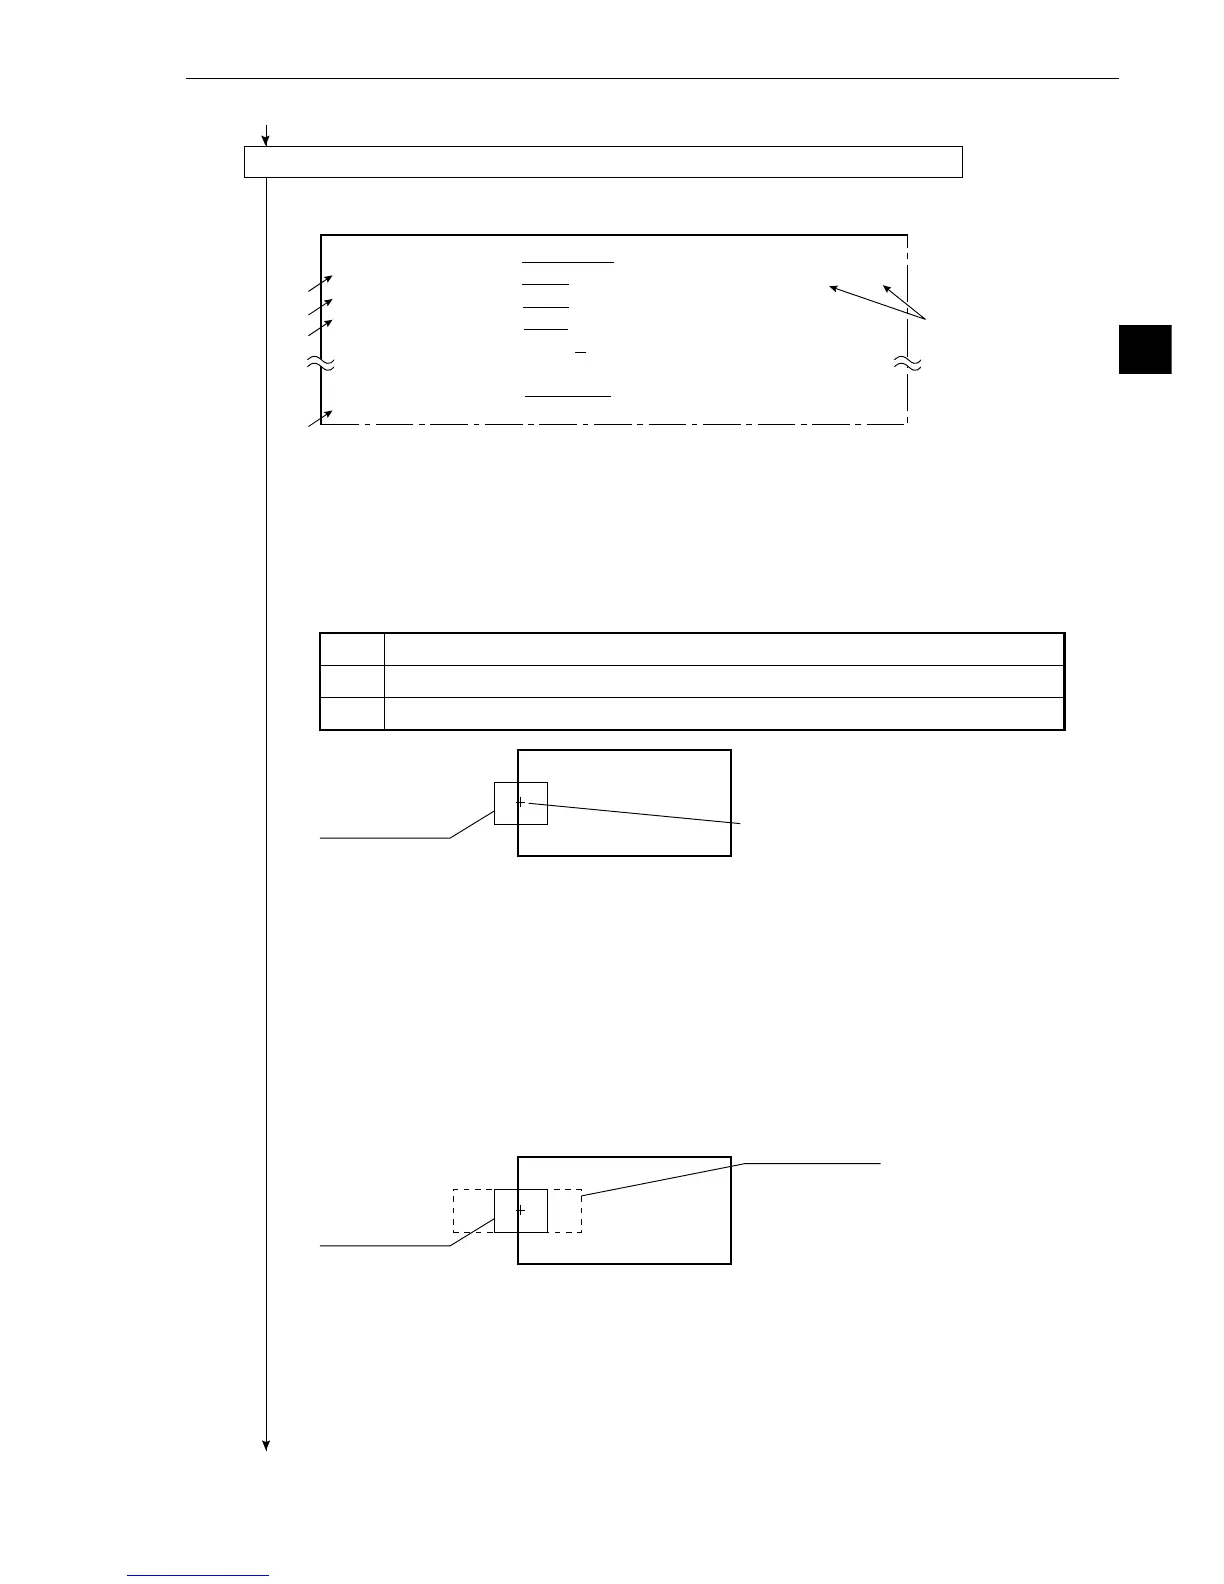
1MEASURE WINDOW RECTANGLE
X-LINE Y-LINE
2REFERENCE IMAGE
MOVE UP.L(224,208)LO.R(287,271)REG. DISP
3SEARCH AREA MOVE UP.L(
216,200
)LO.R(
295,279)
4DETECTED COORD
CNTR FREE(256,240)
5CONTRACT PIXELS
1 2 3
qDETECT ACCURANCY STANDARD HIGH
wUPPER MENU
Image window
(solid line)
Move the image window crosshair
cursor close the vertical line.
Search window
(dotted line)
Image window
(solid line)
MOVE The white rectangle is moved using the up, down, right or left keys (4 pixels at a time).
UP.L The upper left corner is moved using the up, down, right or left keys (4 pixels at a time).
LO.R The lower right corner is moved using the up, down, right or left keys (4 pixels at a time).
Continued from the preceding page
(7) Operation for the gray scale search matching setting (setting the starting point 00)
1. Press the ESC key, and all menus used for the gray scale searh matching setting) will be
displayed.
- If the menu overlaps the image to be measured so that further image settings is hindered,
press the ESC key. Only item 1 will be displayed.
2. Move the cursor to 2 REFERENCE IMAGE (reference image) with the up and down keys,
and press the SET key.
3. Create an image window (solid line) for reference image.
- Move the cursor to MOVE, UP.L, or LO.R with the left and right keys, and press the SET
key. Then, position the window.
When the position is correct, press the SET key.
- After the image window position has been defined, move the cursor to REG. (registration)
with the left and right keys, and press the SET key.
- Move the cursor to DISP (display) with the left and right keys, and press the SET key. Then,
the stored image will be displayed in the lower right corner of the screen. After checking the
image, press the ESC key.
4. Press the ESC key, move the cursor to 3 SEARCH AREA (search window) with the up and
down keys, and press the SET key.
5. Set a search window (dotted line) to be used as a search area.
- The search area is the area within which the new image will be searched for a match with
the image stored in step 3. (see "Glossary").
- The procedure for defining the search area is the same as in step 3.
Create a search window with the same height as that of the image window registered in step
3 (because the image window will be moved only in the X-axis direction).
- After defining the search window size and position, press the ESC key.
Continued on the following page