Service and maintenance
10.3 Replacing the Power Module
SINAMICS G110M Operating Instructions
280 Operating Instructions, 04/2015, FW V4.7.3, A5E31298649B AD
4. Reconnect CPI ribbon cable to the CM.
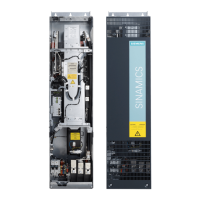
5. Replace the PM. See System Installation (Page 39).
6. Reconnect all the power supplies to the terminal housing.
7. The Inverter goes into the "ready-to-switch-on" state.
8. If you have backed up your settings:
– Load the settings from the operator panel or via STARTER into the Inverter.
– For Inverters of the same type and the same firmware version, you can now switch-on
the motor. Check the function of the drive.
– For a different type of Inverter, the Inverter outputs alarm A01028. The alarm indicates
that the settings that have been loaded are not compatible with the Inverter. In this
case, clear the alarm with p0971 = 1 and recommission the drive.
9. If you have not backed up your settings, then you must recommission the drive.
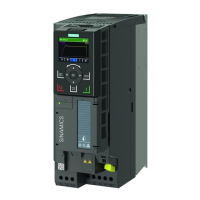
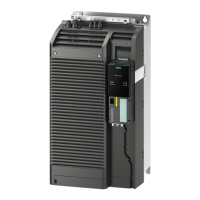
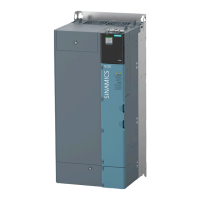
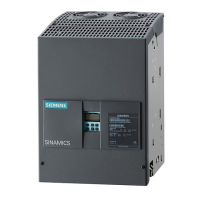
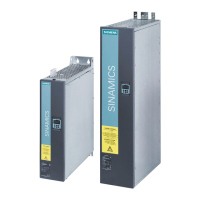
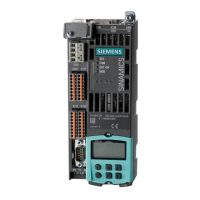
Replacing the Power Module
Procedure for replacing a Power Module
Hazardous voltages are still present for up to 5 minutes after the power supply has been
switched off. Do not carry out any installation or replacement work before this time has
expired.
No Hot-swap of components
The components of the SINAMICS G110M system cannot be swapped, installed or
removed without securing any loads controlled by the application, removing the power
supply from the system and waiting 5 minutes to allow the electrical components of the
system to fully discharge.
Static discharges on surfaces or interfaces (e.g. terminal or connector pins) can cause
malfunctions or defects. ESD protective measures should therefore be observed when
working with Inverters or Inverter components.
Removing the Power Module
1. Disconnect all external power to the system; this includes the line supply and the 24 Vdc
supply to the Control Module (CM).
2. Wait 5 minutes to allow all residual voltages and currents to dissipate.
 Loading...