Installation
4.2 System Installation
SINAMICS G110M Operating Instructions
54 Operating Instructions, 04/2015, FW V4.7.3, A5E31298649B AD
● Clean the connection to the steel construction from paint or dirt.
● Use a ring clamp to terminate the cable to ensure a good physical connection which is
resistant to accidental disconnection.
Figure 4-4 Terminal housing PE terminal
Installing the 24V power supply
Introduction
The optional 24V PSU allows the user to draw the necessary 24V to power the internal
electronic of the Control Module direct from the converters DC link voltage. This has the
advantage that no external cabling is required and therefore, only a 3-phase mains supply
cable is required.
The following electronics are powered by the optional 24V PSU:
● Internal circuits in the Control Module (CM).
● Low voltage components in the Power Module (PM).
● All input and output, for example the digital outputs on the Communications and Power
Interface (CPI).
At the base of the 24V PSU housing is a cable gland opening (which is sealed with a
blanking plug) which provides and entry point for the cables from an external braking
resistor.
The optional 24V PSU can be ordered using the following order number:
6SL3555-0PV00-0AA0
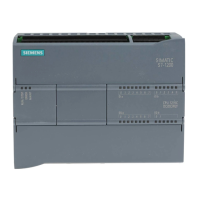
A brief description of the layout and the connections of the 24V PSU are given in the
following figure.
 Loading...
