Preparation
• Setting for MSU
CLOSE button → OFF (dark)
GAMMA OFF button → OFF (lit)
MASTER GAIN → 0
DETAIL OFF button → OFF (lit)
• Attach the lens to the camera.
Refer to “5-1-1. Required Equipment, Tool” for using the lens.
Procedure
1. Press the TEST 1 button of MSU.
The TEST 1 button lights (ON), TEST SAW waveform is output.
2. Check that the amplitude is 700 mV using the waveform monitor.
If the amplitude is not 700 mV, check that WHITE [R], [G], [B] values are 0.
MENU:PAINT
PAGE:VIDEO LEVEL
ITEM:WHITE [R], [G], [B]
3. Press the TEST 1 button of MSU.
The TEST 1 button is turned off (OFF), TEST SAW waveform is not output.
4. Shoot the grayscale chart so that the chart frame is aligned with the under scanned monitor frame.
5. Set the lens iris as follows.
F8(59.94P)
6. Set as follows by camera setup menu.
MENU:MAINTENANCE
PAGE:OUTPUT FORMAT
ITEM:CURRENT → 4K59.94P
7. Set as follows by camera setup menu.
MENU:SERVICE
PAGE:OHB_ADJ1
ITEM:FILTER → OFF
ITEM:MONITOR SEL → R
8. Adjust [R1] and [R2] of [GAIN CONT] so that A portion level of R channel waveform becomes 100%.
The values of [R1] and [R2] should be same.
9. Adjust [G1],[G2],[B1] and [B2] of [GAIN CONT] in the same way as step 8.
10. Store the file.
MENU:SERVICE
PAGE:OHB_ADJ1
ITEM:STORE FILE
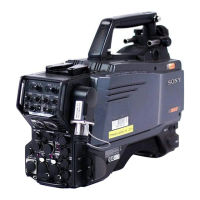
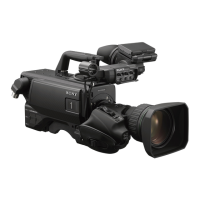
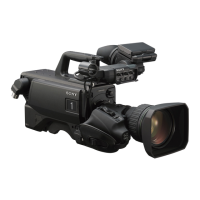
HDC4300
5-11
 Loading...