189
25. ROUTE SURVEYING
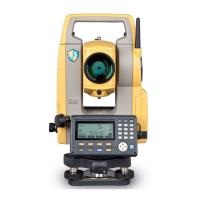
5. Set the base point (BP).
Input the coordinate for the BP, and
press [NEXT].
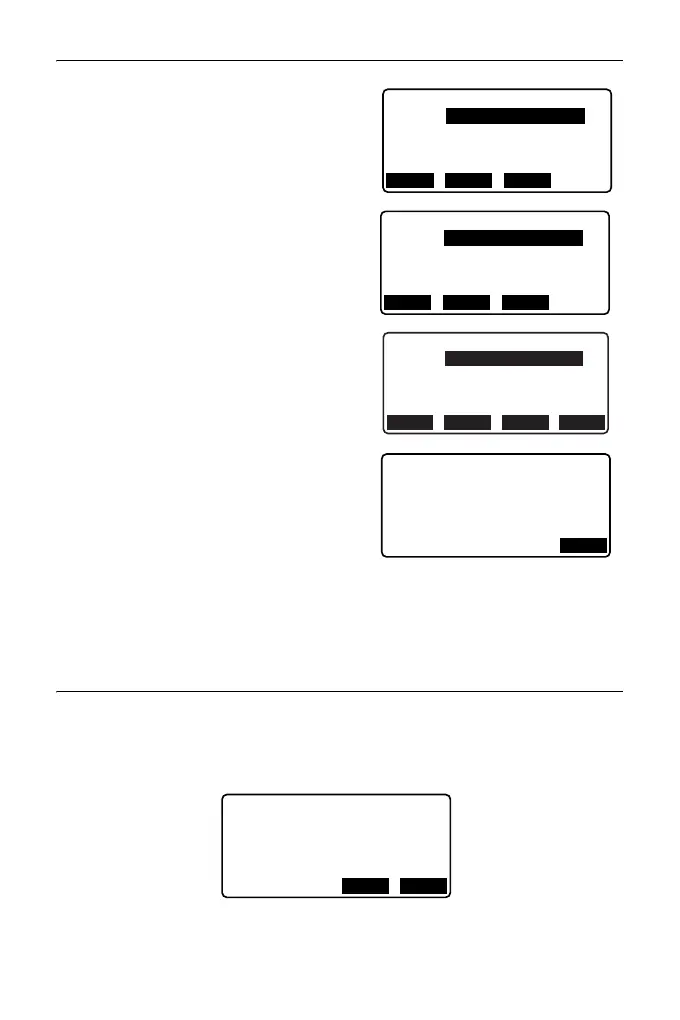
6. Set the IP 1.
Input the coordinate for the IP 1, and
press [NEXT].
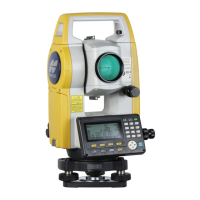
7. Set the following IPs.
Input the following IPs in the same
manner as step 6. To define the input
IP as the end point (EP), press [EP].
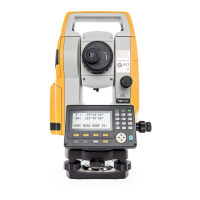
8. Check the EP.
Check the coordinate for the EP, and
press [OK].
9. Quit inputting the IPs.
Press [OK] in the screen shown in step
8.
The screen returns to <Curve Element
Setting>.
25.8.2 Inputting Curve Elements
• Automatic setting of the BP (step 3): You can set the BP for the next curve as
the IP or the EP for the previous curve (KA-2 or the EC point) in advance.
• If multiple curves overlap when the next curve is calculated based on the input
curve elements (when [OK] is pressed), the screen below is displayed.
Np:
Ep:
BP
100.000
100.000
RECLOAD NEXT
Np:
Ep:
IP 1
200.000
200.000
RECLOAD NEXT
Np:
Ep:
IP 3
400.000
200.000
RECLOAD NEXT EP
Np:
Ep:
EP
400.000
<Curve number:2>
200.000
OK
1mm
Curve overlap
Continue?
Element 2
-
Element3
YES NO