Chapter 7: Field Service Components 00.053.129, Revision C SonixTablet Service Manual
7-16
7.4 TRANSDUCER TESTING
Ultrasound transducers are highly sensitive medical equipment requiring proper care and cleaning.
There are two possible sources when a client is experiencing image problems:
• transducer
• transducer MUX board.
After performing the following tests, report any failures to Ultrasonix Technical Support.
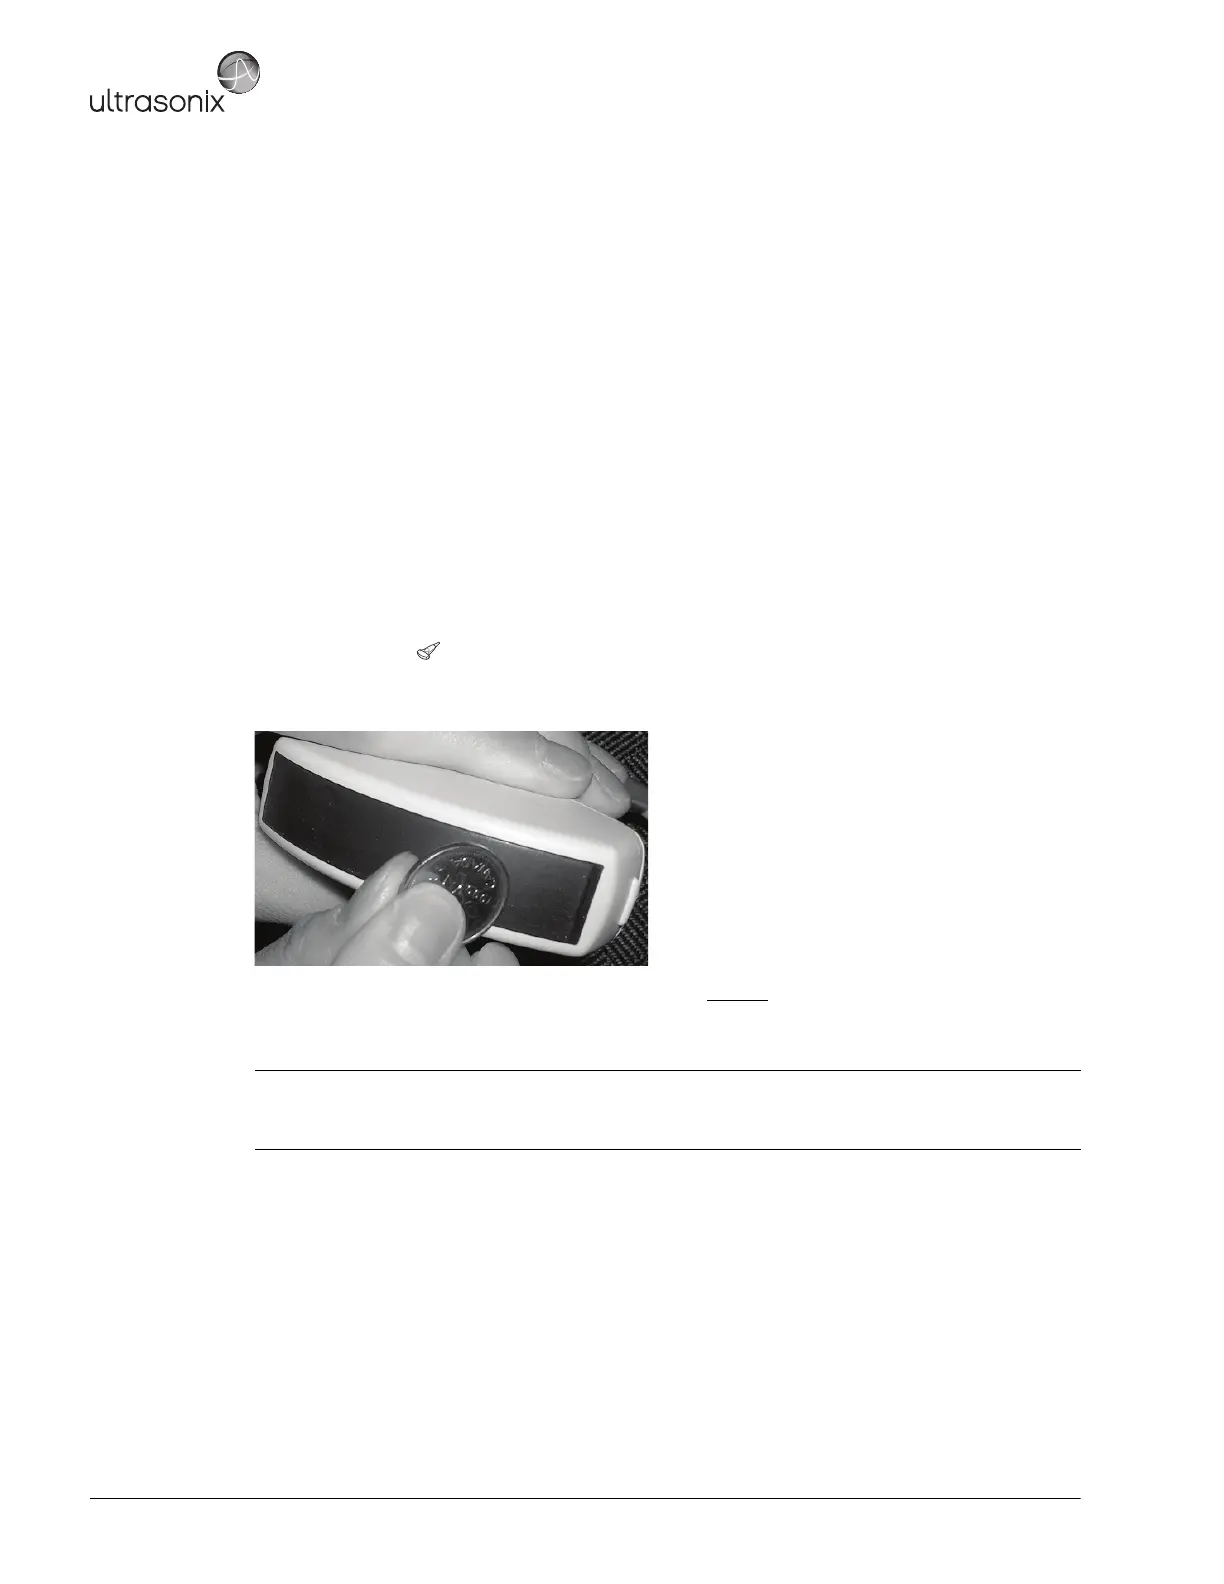
7.4.1 Testing the Transducer
Equipment/Tools Required:
• coin (with no rough edges).
To Test a Transducer:
1. Connect the transducer to the system.
2. Tap the touch screen button and select the relevant transducer.
3. Gently slide the edge of any coin along the transducer face to test for a line(s) or shadow(s) in the image on the
LCD display.
4. If there is a problem, unlock the transducer and move it to a different transducer port.
5. Repeat step 3 and check to see if the line/shadow(s) reappears in approximately the same place in the image
on the LCD display. If it does not disappear, then the transducer is the problem and it needs to be serviced.
Note: Refer to Figure 7-3 for an example of an acceptable transducer image.
If there is any doubt about the image, contact Ultrasonix Technical Support and forward them a digital copy
of the image in question for verification of the diagnosis.