User's Guide ______________________________________________________________________
82 __________________________________________________________________ M211296EN-A
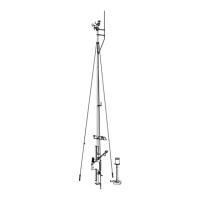
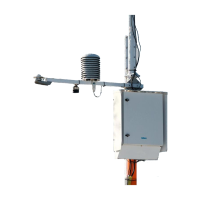
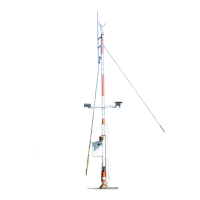
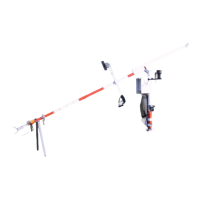
Installing Pyranometer CMP6
Pyranometer CMP6 is installed on a mounting plate for thermal isolation.
1. Install the mounting plate (number 2 in Figure 41 on page 83) onto
the sensor support (1).
2. Prepare the sensor (3):
a. Carefully remove the plastic cover of the sensor by pressing
the clips on the cover.
b. Attach the cable to the sensor and push the plastic cover back
into place.
NOTE
Be careful not to drop the sensor when you remove the cover. The cover
is attached tightly.
3. Attach the sensor onto the mounting plate
1)
on the sensor support.
Place the pyranometer on the mounting plate so that the leveling
screws (8) and the leg set in the small drillings on the mounting
plate. Two long screws (6) and two nylon insulators (7) are
provided for fixing the sensor on the mounting plate. The
pyranometer should first be secured lightly with the screws to allow
leveling.
4. Level the sensor by turning the leveling screws (8). Use the screw
nearest to the spirit level first. When the sensor is straight
according to the spirit level, the thermopile is horizontal within
0.05 °. This causes a maximum azimuthal variation of ±0.5% at a
solar elevation of 10 °.
NOTE
Correct leveling of the sensor is essential for obtaining accurate
measurements. Use the spirit level on the CMP6 to level the sensor.
5. Secure the pyranometer tightly with the two screws (6). Ensure that
the pyranometer maintains its leveled position.
6. Route the sensor cable along the sensor support and secure it with
cable ties.
7. Connect the sensor cable to the Sol. Rad. connector on the bottom
of the enclosure; see section Connecting Sensor Cables on page 97.
1)
Temperature fluctuations of the pyranometer body can produce offset
signals. Thus, the sensor is thermally isolated from its fixtures using
non-conducting materials.