Personal TitleMaker User Guide
36
LESSON 1
GETTING STARTED
This lesson explains how to power up the equipment and create a new
project.
1 Press
POWER DEMO on the Personal TitleMaker keyboard to
provide power to the unit.
2 Turn on your output device (VCR) and video monitor.
You don’t need to turn on the input device at this point, although
you can do so if you wish. You don’t need the input device to cre-
ate projects, pages, and titles.
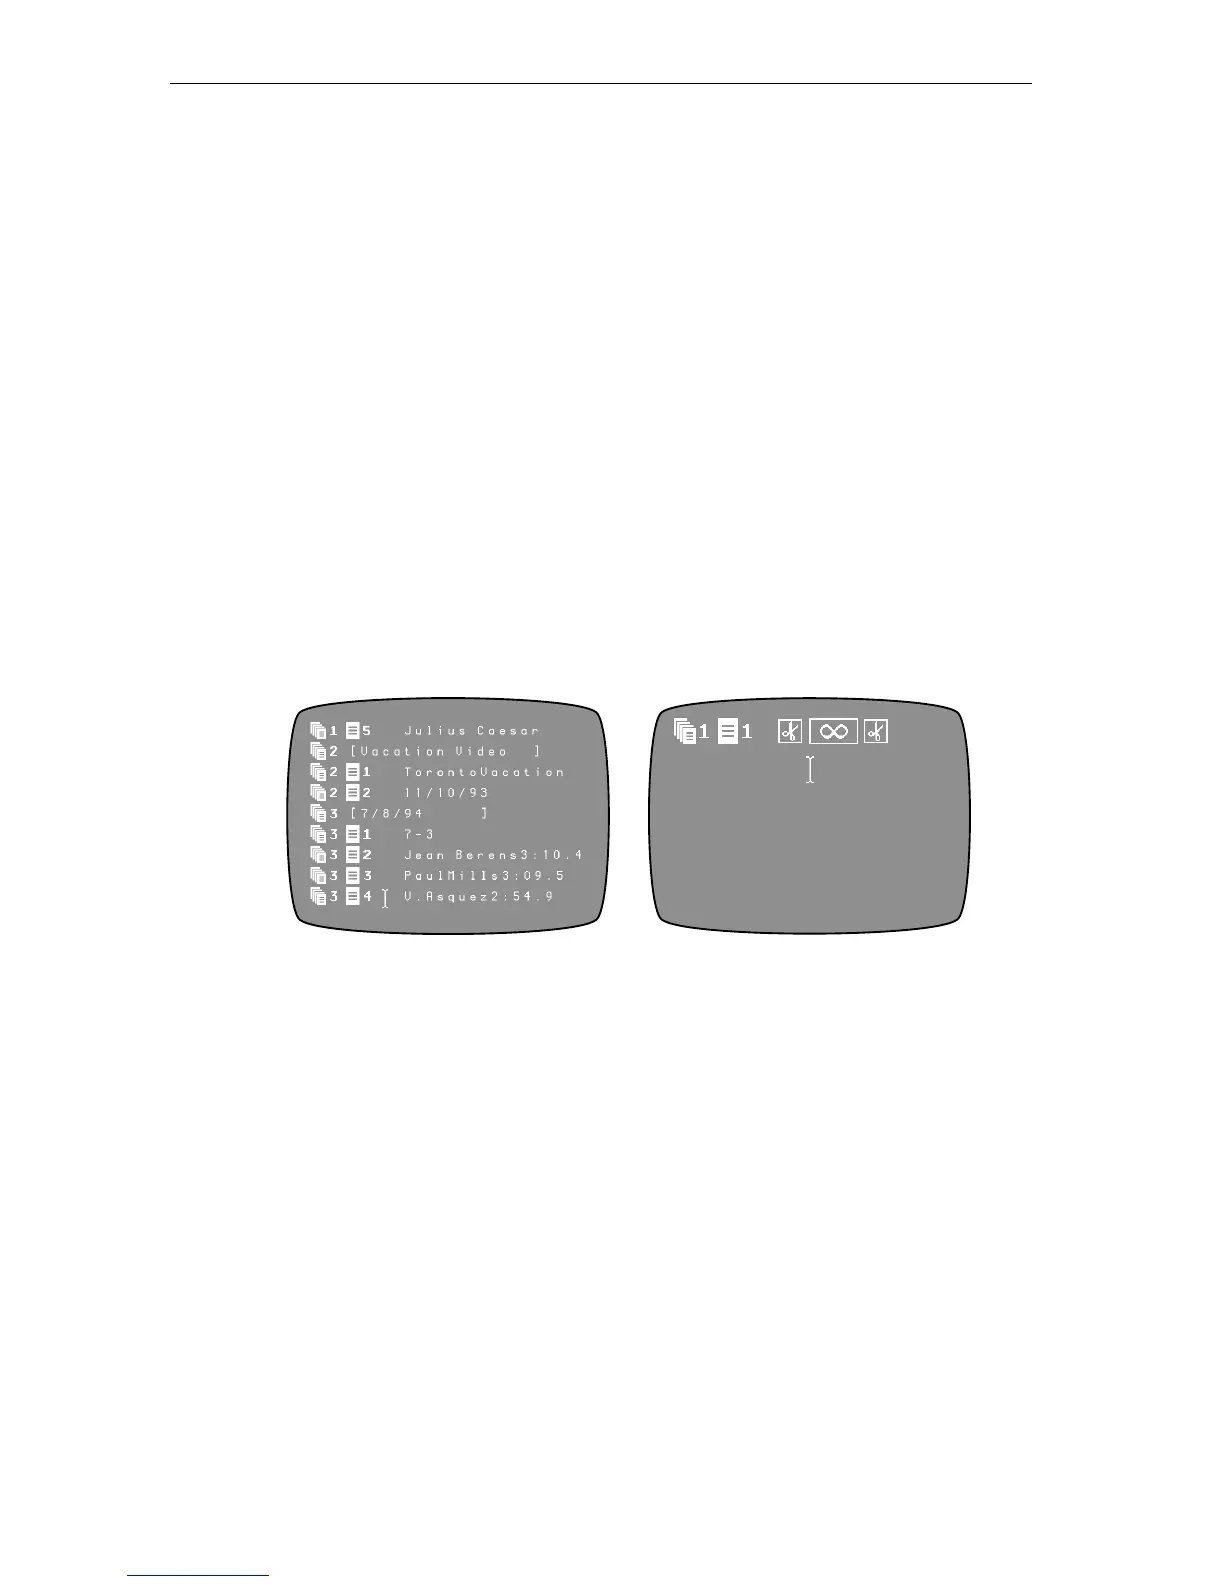
Once everything receives power, you’ll see either the Page Index
or Editing Screen on your video monitor. Personal TitleMaker
remembers where you were when you last turned off the unit and
returns you to that point the next time you turn it on.
Your next step is to create a new project for the tutorial.
3 If the Page Index Screen is currently on your monitor, skip
ahead to the next step — otherwise, press
PAGE INDEX to dis-
play that screen.
To create a new project you must be on the Page Index Screen;
you cannot create new projects from the Editing Screen.
4 Press
CMD+NEW PAGE to create a new project.
Personal TitleMaker creates a new project header line and the first
page for the new project immediately below the header.
Page Index Screen Editing Screen