Maintenance2722−2/A1
Winterthur Gas & Diesel Ltd.
4/ 7
3.3 Injection Valve −
Disassemble
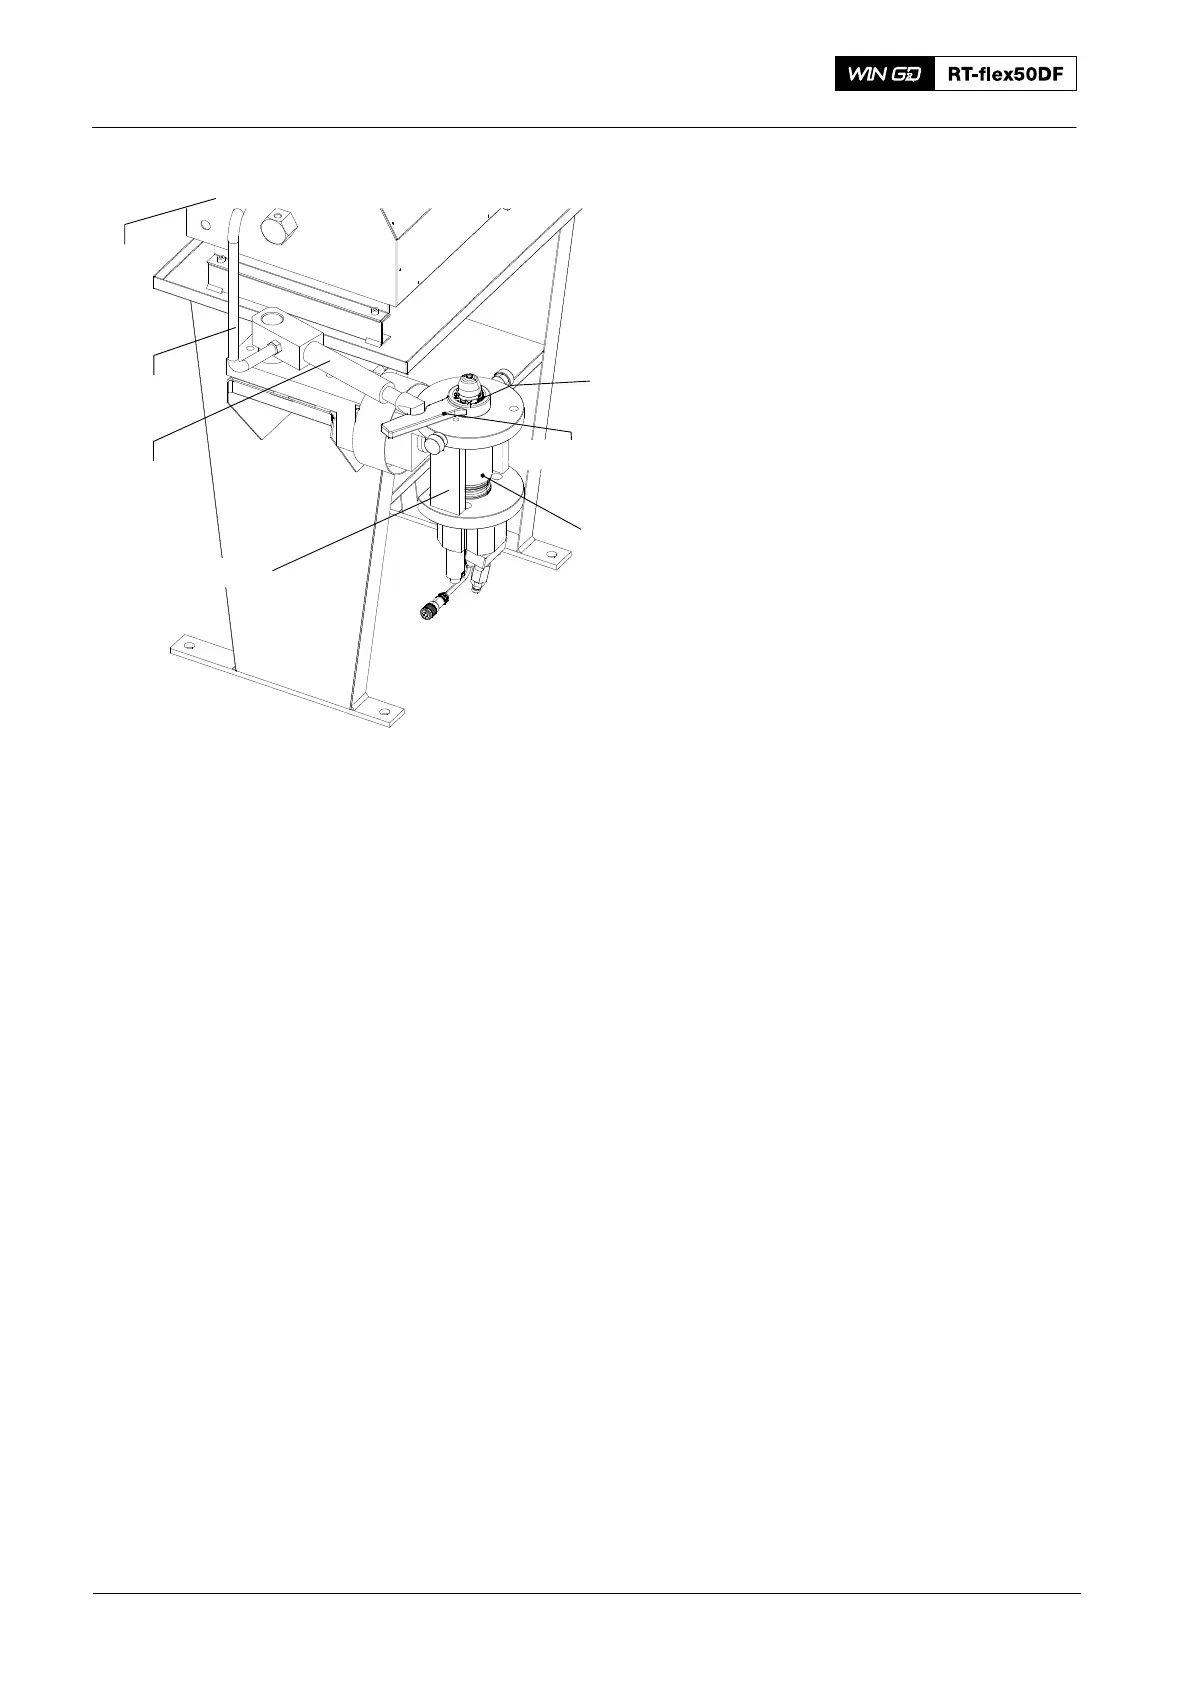
1) Make sure that the test bench (94272)
and HP hose (94275) have no
pressure.
2) Remove the receiver (2, Fig. 1) from
the valve holder (94273).
3) Disconnect the HP hose (94275, Fig. 2)
and the cable (94275A).
4) Turn the valve holder (94273) through
180° .
5) Operate the hydraulic cylinder
(94269B) and the slugging wrench
(94269A−46) to loosen the locknut (1).
6) Remove the locknut (1).
Note: The needle and nozzle body are
machined together so that their
sealing surfaces have the same
contours. You must keep these
items together. If it is necessary to
replace the needle or the nozzle
body, you must replace the two
items. Do not replace only one
item.
2016
Injection Valve: Disassemble, Checks, Assemble
94275
94269B
94269A−46
WCH03003
Fig. 2
94272
1
2
94273